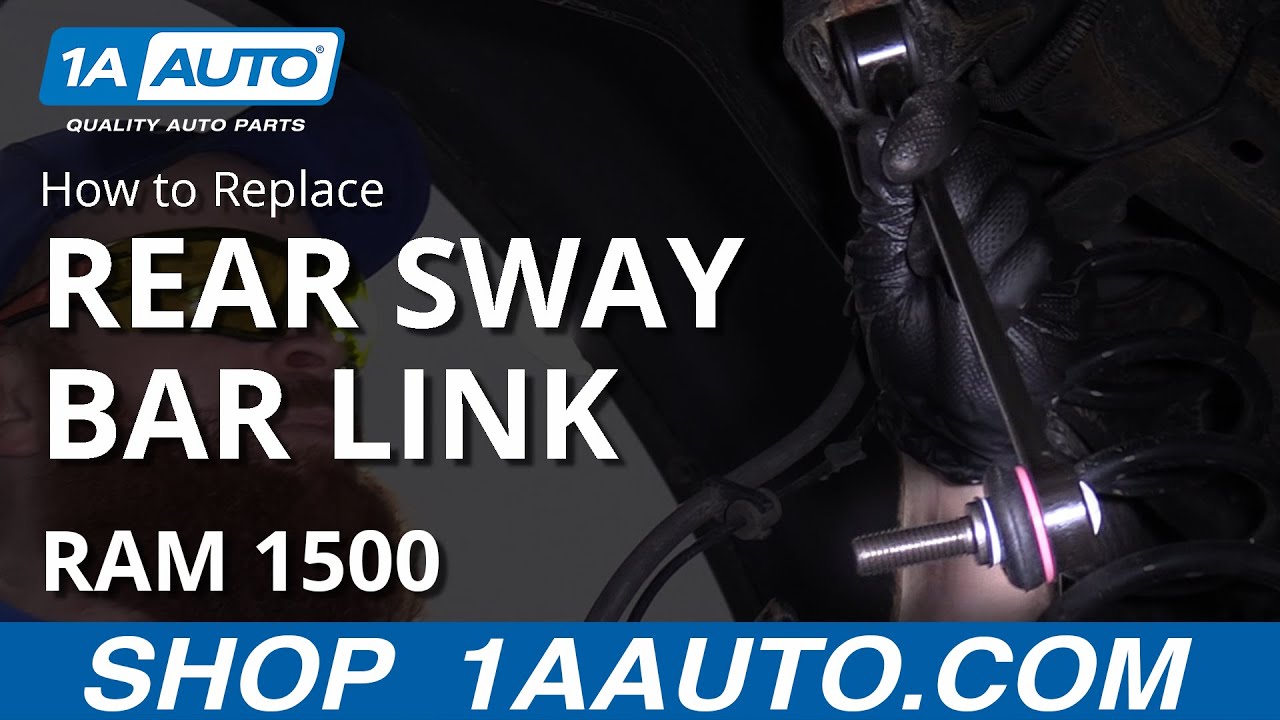
Hey, friends. It's Len down at 1A Auto. Today I'm going to be showing you a very simple task. We're going to be doing rear sway bar links on a 2016 Ram 1500 Big Horn. It's going to be very easy. I want to be the guy that shows you how to do it. So if you need any parts for your vehicle, you can always come down to 1A Auto and check us out. Thanks.
We've got our long breaker bar with our 22 millimeter socket. I'm going to go ahead and break all these free. I'm not going to loosen them up very much. I have most of the weight of the vehicle off the ground, but the tire is still on the ground. I'm turning to the left, counterclockwise. We don't want to go too loose. We don't want this wheel flopping around, you could break a stud. There we are. Now we can lift it up and we can continue to remove this wheel.
We've got our last lug nut coming off. I'm going to hold the wheel. Put this aside. Grab it, carefully bring it down, and roll it aside. So first what we're going to do is we're going to grab our locking pliers, whatever style you might have. I'm going to try to get in between this boot and the bar and see if I can crimp down onto that to hold the stud from moving. It might be kind of hard. I want that to be as tight as you can get it with your hand strength. Next we're going to take an 18 millimeter socket, try to remove this by turning to the left. If for some reason it's very hard to turn you can use something like this, a little torch. Let's see, we might not need it. A little bit of penetrant goes a long way apparently. I'll just get this nut all the way off of here. There it is. That aside where we won't lose it. Remove our locking pliers. Bonk that right out of there, nice.
So now we're going to remove the upper mounting area. There should be an 18 millimeter nut here and an 18 millimeter bolt head here, so I'm going to go ahead and take those out. I've got my 18 wrench on the back side. I've got this on the front side so that's the way I'm working from, this side. If you're working from the other side you could switch them around, whatever you want to do, it's your prerogative. If you happen to have access to an air gun that would be helpful. Just want to get that nut off of there. There we are. I'm going to hold onto this and now we've removed our rear sway bar link.
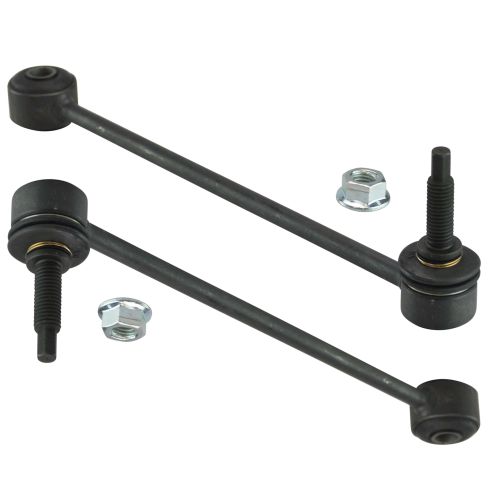
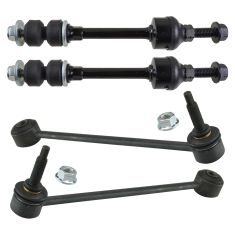
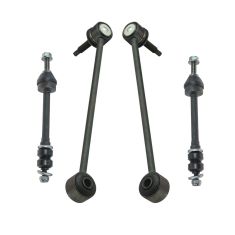
So here we're going to do a product comparison. We have our old and our new. This is a quality 1A Auto part. What we want to do is we want to check the length. Make sure they're approximately the same. If you have one that's like this or like this, you might have the wrong part. I think this looks great. It's got the same holes, that's great. Same studs. This one's a little bit different for the way you can hold it. It's actually an upgrade. Get this nut out of the way. So here you can put a little hex head in there if you want and be able to get in there a lot easier than having to do it this way. It's up to you either way, but this is going to work just fine. So I don't see any reason why we can't install this quality 1A Auto part. If you need this, or any other part, you can always come down to 1aauto.com and check us out.
All right, so now we're going to install our quality part. We're just going to bring it up here and start our bolt through, just like that. We'll get our nut started on there. There we are. We don't need to tighten it up yet because we're going to put this through here, just like that. We'll put on our new nut and now we're clear to tighten these down. So we're going to start up here at the top. I'm going to be using my 18 millimeter wrench to hold it. I'm going to come up here with my other 18 and use a ratchet wrench, socket, whatever you have acess to. Might be good to really tighten it down with something with a longer handle than this, but until then we'll just go with this. There we go. I'm going to go ahead and start snugging this up and then we'll finish tightening them up. I'll put this on. Getting down to the end here. Get this snugged up. There we go. Get this off of here.
I believe that I told you that this is a 6 millimeter Allen head for that right there. Just double-check that I did. I'm just going to go ahead and tighten this. Feels good. Nice and tight. If you wanted to do that instead of using your hand you can go ahead and use a long handle pry bar or a long handled ratchet I should say, or a little rubber mallet action. That would be nice. But now it's nice and tight, good and installed.
So we're going to grab this big old wheel. We're going to put it up on here. I want to make it clear that you never want to lift with your back. You don't want to go like this and try to lift it up, okay? I just felt my back crack actually just thinking about it. You want to grab it like this. I'm going to have my leg behind here. I'm going to lift it, roll it up onto my leg and lift like this. Abs of steel, that's what they're there for. Ready? Nice and easy, nice. Hold it and get my lug nut on there. We've got our torque wrench set to 130 foot-pounds, our 22 millimeter socket. We're going to start at the top, we're going to make a star pattern. One, two, three, four, five. Then you can go around again if you want. That's one, two, three, four, five. If you want to go around again, go ahead. Just go around in a circle this time. We know the wheel is set in nice so we can go in a circle. Some people will still go in a star. You can do that as well. There we are.
Thanks for watching. Visit 1aauto.com for quality auto parts shipped to your door. The place for DIY auto repair and if you enjoy this video please click the subscribe button.