Brought to you by 1AAuto.com, your source for quality replacement parts and the best service on the Internet.
Hi, I'm Mike Green. I'm one of the owners of 1A Auto. I want to help you save time and money repairing or maintaining your vehicle. I'm going to use my 20-plus years experience restoring and repairing cars and trucks like this to show you the correct way to install parts from 1AAuto.com. The right parts installed correctly: that's going to save you time and money. Thank you and enjoy the video.
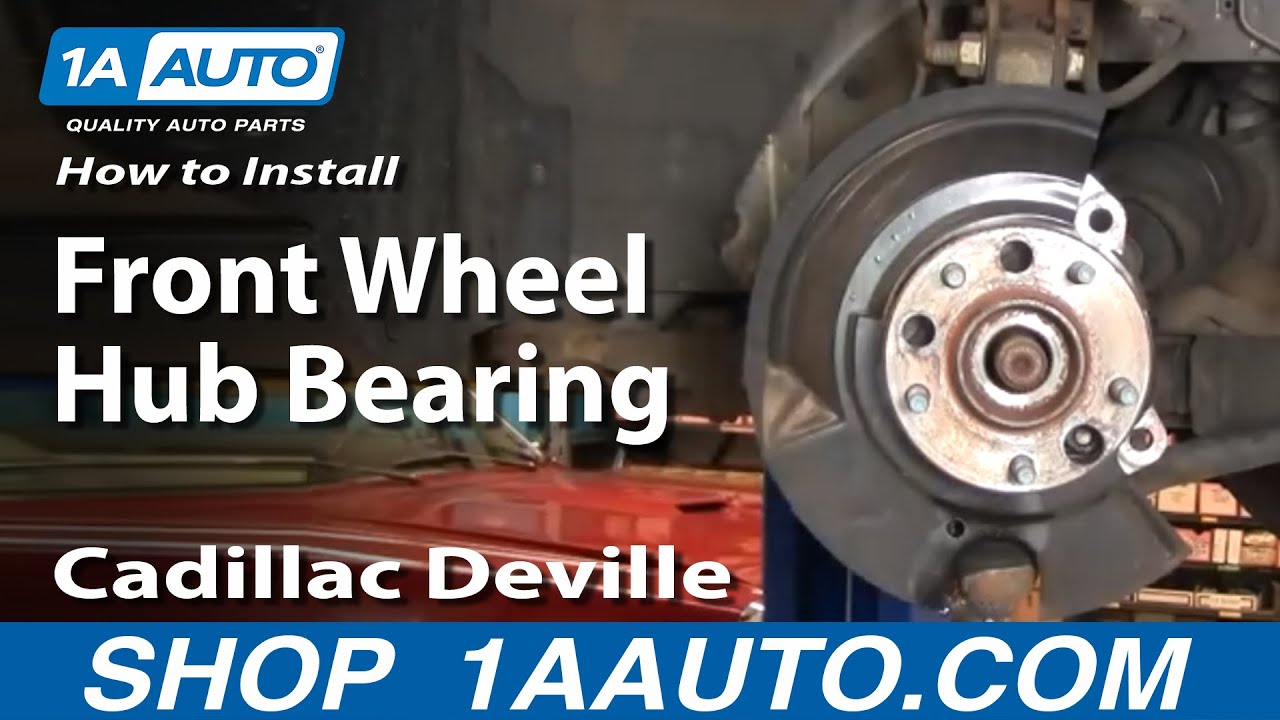
In this video, we're going to show you how to replace the front hub on this '97 DeVille, same as any '97 to '99 DeVille. Tools you'll need are jack and jack stands, 15 and 19 millimeter sockets with ratchet and extension, a breaker bar or a pipe for some extra leverage on some of those tougher bolts, a 13 millimeter 3/8 drive socket with a ratchet and extension, a large 34 millimeter socket, a large hammer, and a flat blade screw driver.
Use the screwdriver. I like to use a rag so I don't scratch the wheel or the center cap right underneath there. Your lug nuts 19 millimeter if you don't have the benefit of air tools, you want to start with the wheel on the ground, loosen the lug nuts then ready to secure the vehicle and remove the lug nuts the rest of the way. Also at this point, since we're doing the hub, if you don't have access to air tools with the vehicle on the ground, you're going to want to use your breaker bar and your 34 millimeter socket to loosen up that center hub nut.
Okay, now with your wheel turned, you can see right inside here, you can see that little hole in the brake pad, that is actually a wear indicator, it would indicate on this brake pad you're in good shape and then if you look at your outer pad, we can see that there's still some pretty good life left in it and then you want to make sure you check on both sides because sometimes you can have one side that's not worn, and the other side can be more worn but our brakes are fine. I have checked both sides, but I am going to take them apart and put them back together just to show you how to do it.
The next thing you want to do is removes these two bolts here which releases your caliper. These two bolts are 15 millimeter. These should just pull apart pretty easily. We'll speed it up here as we take out those bolts. Make sure that before you put these back together, that these pins are nice and clean and they have a little bit of grease on them. These look very good. Now, wrench the caliper off. We put the caliper up here out of the way. There's our inner pad again, and our outer pad and you can see the wear mark there and they've still got some good life on them, not a ton of miles but definitely don't need to replace them yet. But if you did want to replace them, you can just pull your pads right out like that. Now check your rotors and on this vehicle, well, with most vehicles, what you want to do is take your back of your fingernail, run it along the rotors, feel for any deep groves or gouges and then just kind of inspect the condition of the routers and these look absolutely fine. If you feel any grooves or there's too much rust or corrosion or your rotors look thin, then you do want to replace them.To remove and replace the rotors, there's two large bolts here and here. These bolts are 15 millimeters as well. What I have here is my ratchet and I'm going to use a piece of pipe. Okay, the pipe goes on there, gives me some extra leverage and then I'll push slowly down on the pipe. I can feel the bolts start to break loose. On top here I'm going to use a short extension. With this pipe again, it's easy pressure to the bolt to break lose. And then once that's bracket's off the rotor comes right off.
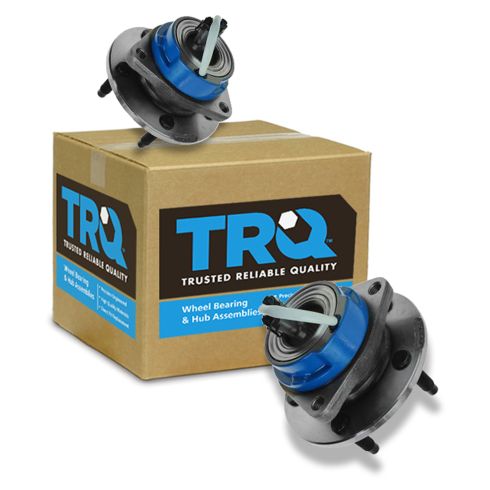
To remove the hub, there are three bolts. See one here, one up in there, then one around the other side. What you want to do is use some penetrant, spray the back sides of those bolts and let it sit for a while. Okay, while it's sitting, we're going to remove our hub nut; it's 34 millimeter. If you don't have an impact tool, what you need to do is loosen this while your tire is still on the ground and you do that with a big breaker bar and your pipe probably. Since I have impact tools, it'll come right off. You want to make sure your axle is free of your hub and generally you don't want to just bang on this thing repeatedly but what I usually do is just give it one good wrap and watch the axle in relation to the hub and if the axle moves, that means it's nice and free and most of the time they are free. Just give it one good hit and I saw it move.
This will come apart pretty easily. I'm going to use 3/8 inch drive tools, they're narrower, allows you to fit them in better. I'm going to put my 13 millimeter socket on there and then I use a piece of pipe again to create some leverage. Then slowly apply the pressure and the bolt will start moving. We're juts going to fast forward through removing the front two bolts and then turn our attention onto the rear bolt. Additionally, while I'm back here, I'll pull and disconnect my ABS harness. Remove the clip from the backing plate. Now, we're going to fast forward as we manipulate the steering and just remove those bolts the rest of the way. Now, you want to unseat the hub and you want to be careful not to damage this backing plate and then they come off pretty easy. Then, just start to come out, push the axle kind of the side and feed the harness clip through. Now that's the end of part one. We'll stop there with the hub off and if you want to see re-installation, just check out our other videos for the one with the same name but part 2.
We hope this helps you out. Brought to you by www.1AAuto.com, your source for quality replacement parts and the best service on the Internet. Please feel free to call us toll-free, 888-844-3393. We're the company that's here for you on the Internet and in person.