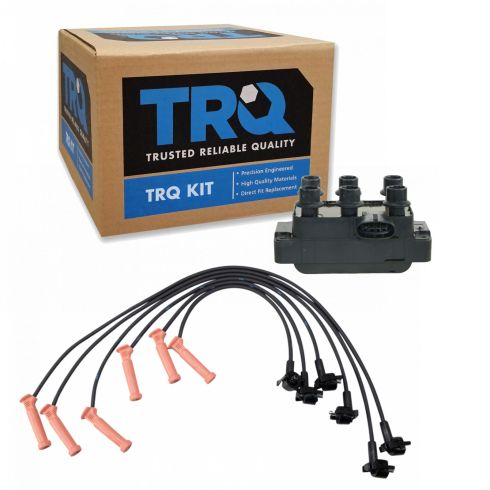
Matched TRQ Kit: Fit, lab, and road tested for peak performance
Application Specific Design: No modifications necessary
Heat Range and Life Cycle Tested: Exact match to stock specifications
Complete repair to restore your engine to like-new conditions
Item Condition:New
Attention California Customers:
WARNING: This product can expose you to chemicals including Chromium (Hexavalent Compounds), which is known to the State of California to cause cancer, and birth defects or other reproductive harm. For more information, go to www.P65Warnings.ca.gov
Lifetime Warranty
This item is backed by our limited lifetime warranty. In the event that this item should fail due to manufacturing defects during intended use, we will replace the part free of charge. This warranty covers the cost of the part only.
Returns: Parts with electrical components cannot be returned once installed.
FREE Shipping is standard on orders shipped to the lower 48 States (Contiguous United States). Standard shipping charges apply to Hawaii and Alaska.
Shipping is not available to a P.O. Box, APO/FPO/DPO addresses, US Territories, or Canada for this item.
Expedited is available on checkout to the United States, excluding Alaska, Hawaii.
Final shipping costs are available at checkout.
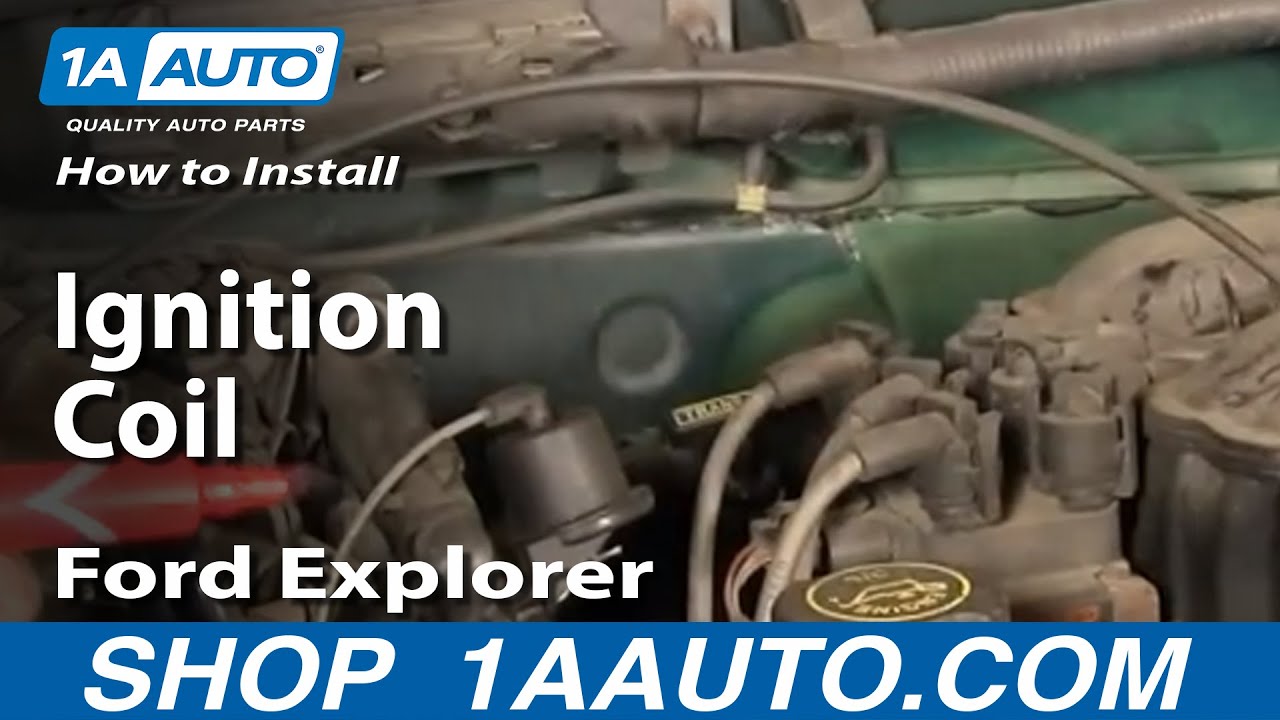
How to Replace Ignition Coil Pack 1991-2010 Ford Explorer
Created on:
Tools used
Flat Blade Screwdriver
8mm Wrench
8mm Socket
Ratchet
Marker / Writing Utensil
1. disconnect the battery
Use your 8 mm wrench to disconnect the negative battery cable.
2. Uninstall the ignition coil
Mark the spark plug wires so you know where they plug back in.
Twist and pull to remove the wires.
Unplug the wiring harness from the ignition coil
Unbolt the four 8 mm bolts and remove the coil.
3. Install the new ignition coil
Bolt in the four 8 mm bolts to install the new ignition coil
Plug the ignition coil into the wiring harness
Put the spark plug wires back in the same order they were in before, in accordance to your marks.
Reconnect the negative battery terminal with your 8 mm wrench
Brought to you by 1AAuto.com your source for quality replacement parts and the best service on the internet.
Hi. I'm Mike Green. I'm one of the owners of 1A Auto. I want to help you save time and money repairing and maintaining your vehicle. I'm going to use my 20 plus years' experience restoring and repairing cars and trucks like this to show you the correct way to install parts from 1AAuto.com. The right parts installed correctly; that's going to save you time and money. Thank you and enjoy the video.
In this video we're going to show you how to remove and then reinstall an ignition coil in this 1998 Explorer with a 4.0 liter V6 with the EFI. This is basically the same as quite a few trucks with that motor in it. The only tools you'll need are an 8 mm wrench or socket and ratchet and a flat-blade screwdriver.
Disconnect the negative battery cable with an 8 mm or 5/16 wrench. Okay, so on this motor the ignition coil is right here, right on top, really easy to get to. If I'm just replacing the coil what I like to do, and actually even if I'm replacing the coil and the wires you want to do one at a time. You don't want to just pull all the wires off and pull them all off the plugs and then it will be kind of a mystery of how to get them back on. What I like to do is I just number them front to back. I don't worry about which cylinder on the engine they are technically, but I just make a mark. There's one and I make two marks on that one and then I know the one without a mark is the third one. Same thing on the other side. One mark on the first one and two marks on the second one. Okay.
Now I can pull my plug bars off by squeezing on here and then twisting and then off. Okay and then you've got your harness connection here. Use a screwdriver pull up. You'll have to pull pretty hard and it comes right off. Then four 8-mm bolts. Okay, this first one over here has kind of a harness connection. So you want to make sure that when you put it back together you put that back on where you just remove those four bolts. Two bolts are in the back kind of blind but they're just right at the corner. Okay and once those bolts are off the coil comes right up and out.
Okay, so here's your original coil, new coil from 1A Auto. You can see the 1A Auto coil is exactly the same. It's going to go in there and it's going to connect up the same. Now on this vehicle since it's kind of a demonstration vehicle and this coil is actually working fine I'm just going to reinstall the original one. Reinstallation, pretty straightforward. I'm going to lift those up and out of the way. Okay. Just make sure everything is pretty clean right there. Coil goes right down into place. Get one of the bolts started and then I'll get them all started and then tighten them up.
Okay then you remember, on this one over here you've got this bracket that you want to put on. Okay, and when you tighten these you want them firm, but they don't have to be incredibly tight. Okay, and now we've marked our wires here so there's my two. There's my nothing, so here's my one. So, that was closest to the front. Push it on. Two is the second one, and no mark is the third. Okay, we'll actually plug in the power connection there. No mark on that one; that's probably three. Grab our two over here. One mark and two and we're all set.
We hope this helps you out. Brought to you by www.1AAuto.com your source for quality replacement parts and the best service on the internet. Please feel free to call us toll free 888-844-3393. We're the company that's here for you on the internet and in person.
ICA60069
In Stock
Product Reviews
Loading reviews
There are no reviews for this item.
Customer Q&A
No questions have been asked about this item.
Customer service
877-844-3393
Monday - Friday 8:00am - 9:30pm ET Saturday - Sunday 8:00am - 4:30pm ET
Mercury is a registered trademark of Ford Motor Company. 1A Auto is not affiliated with or sponsored by Mercury or Ford Motor Company.See all trademarks.
Enter Vehicle Year Make Model
Specify your vehicle's year, make and model to guarantee fit.
Year
Make
Model
Options
Drivetrain
This part doesn’t fit a . Select from parts that fit.