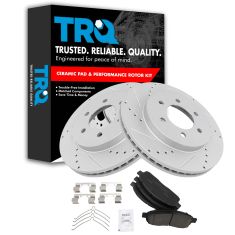
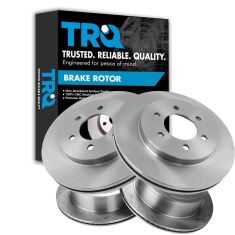
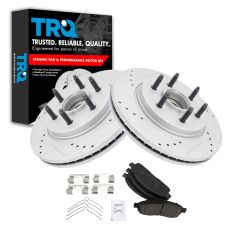
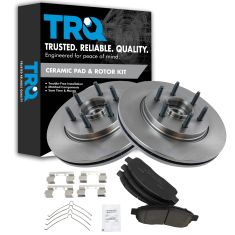
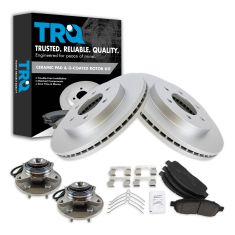
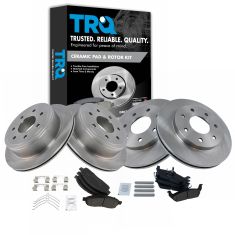
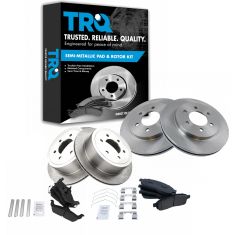
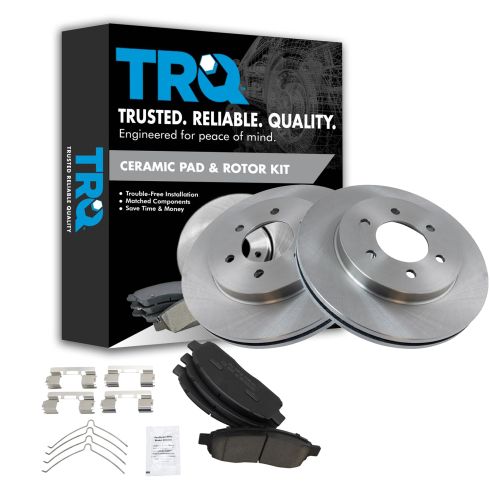
Okay, friends, to get started on this job, the first thing that we need to talk about safety. You want hand protection and eye protection at all times. With that said, safely raise and support your vehicle so you have your front wheel off the ground. We're gonna remove this center cover, and then we're gonna remove the lug nuts as well.
Get your wheel off here. Okay. Now that the wheel's off, we have a nice clear view of our inner tie rod end. We need to loosen this jam nut right here. I like to use a nice big pair of pliers. Give that a little turn, grab it. There we are. Make sure it's broken free. Now we're gonna remove our outer tie rod end nut. To remove your outer tie rod end, it's best to hit right along the knuckle. If for some reason that isn't working and you don't have a threaded area along the top of your tie rod, you can carefully try to bonk along on the top as well.
So now that we can make this spin around, this is gonna be much easier to be able to get access to this area. One of the first things I like to do is get the ABS wire off of here. I wanna make sure that it's disattached from the flex hose so that when we hang the caliper, we're definitely not gonna put any tugs on it.
Next, we're gonna remove these two bolts right here and take the caliper off of the bracket. Leave that in a little bit. Set those aside. Next, what we need to do is take a pry bar like this, and we're gonna come right in between this area. We wanna get between the caliber and the rotor, and just try to pry it. We wanna do it slowly and we're gonna try to push back the pistons. The reason for that is because the pad on the inside has a couple of little divots that are gonna go into the slots on the pistons.
I'm gonna turn this a little bit. Okay, just a teeny bit. Now I can grab this. I can pull it right off. It's always a great idea to inspect your caliper. Look for any leakage. If you see any fluid coming out from around these seals, more than likely the caliper is no good. Just set this up here for now. We don't want to put any pressure on this flex hose. You wanna make sure it's safe as can be.
Now we're gonna remove these clips from the pads themselves. They come right out at this point. Let's go ahead and get the pads out. Set those aside. Next, I like to push the caliper pistons back. If you look at the caliper, you're gonna notice there's two pistons. Well, that's really great. The only problem with it though is if you try to push back one piston at a time, it's gonna push out the other. With that said, I like to use a pad. Just use one of your old ones, of course, not a new one. And then, of course, your caliper depression tool, whatever you might happen to have this one works great. And now, I'm gonna carefully push in both those pistons at the same time nice and slow. That feels great.
If for some reason those pistons didn't want to push in, you know, you have an issue with the caliper as well. Set this aside so it puts no pressure on your flex hose. Next, we're gonna remove our two caliper bracket mounting bolts. Put in a couple of threads. Now that we've got the bracket off of there, let's get this cotter pin out of the way, and we'll get this little cover as well. Let's remove our spindle nut. Just take your nut, put it back on there just a couple of threads. At this point, we're gonna take our hammer, and we're gonna come from the backside and just try to break this free from the spindle. Make sure your nut's on there to keep you safe.
The rotor is gonna be a little heavy. There it is. Now that that rotor is out of the way, we're gonna inspect the backing plate. You wanna make sure it's in good condition. If yours is in condition like ours, obviously, you might wanna do something about that. I'm just gonna kind of push this so it's gonna be safely and secured, at least, for the purpose of this video, and I'm gonna move along.
Next, what I wanna do is clean up this area right along here. That's the area that the bearing is gonna be going around. If you look at it, and you see that it has a lot of rust or rot or buildup of any sort, you need to make sure you clean that down. I could use something as simple as sandpaper. Now, we need to clean up our braking surface on our rotors. Use a little bit of parts cleaner and a nice clean rag, and wipe it down. Do the same to both sides, of course. And then we'll get ready for an install.
Get our rotor up on here. That's completely in as far as it's gonna go. I'm gonna hold on to it because I don't want it to slide off. Okay, now we're just gonna go ahead and put the nut on there. If you're reusing your old nut, make sure you use some thread locker or, of course, replace the nut. Now, we're gonna torque our spindle nut to 296 foot-pounds. We made our way over to the bench with our caliper bracket. The reason for that is because we need to clean it up and dress it up so it'll be ready for our new brakes. Grab yourself a small pry bar or even a small screwdriver and remove your tins.
Next, what we need is a rag. And we're gonna grab right onto this area right here which is considered your slider, and you're gonna pull it right out. What you'll notice as you start to pull is that the boot wants to come with it. If you go right along this lip right here, it'll pull away, and then you can slide out the slider. Do the same to both. As you pull them out, make sure you have them on the same side that you remove them from. The reason for that is because if you were to clean them up, you're gonna see that one of them has this little rubber boot right here. This is great for vibration dampening and noise reduction, overall, and it's very important that it's on the same side of the caliper bracket that you removed it from.
When you clean up your caliper slider, make sure you get all up inside the lip right here. That's super important because that's where the boots gonna ride. If it's rotted, or rusted, or has any reason that moisture can make its way inside, there's a possibility that you could freeze up your slider inside the tube right here, and then your brakes won't function as they should.
Now that I have both my sliders clean, the next thing I wanna do is carefully remove my boot. If you were to take your small pocket screwdriver and come right along the edge of the metal and the rubber, you should be able to kind of weasel it in there. Once you do, the boot should come popping right out.
At this point, you wanna clean and inspect your boot. Take your rag, roll it around on it, get it nice and clean. If you see any rips, tears, or even if it seems like it's super stiff and it might break, you need to replace it. This one looks pretty great actually. I'll check the same on the other one. And if they're both good, we'll reuse them. Now that we have all that nice and cleaned up, it's time to continue cleaning up the bracket itself. As you can tell, there's nothing on here that we need to worry about damaging so we're doing all right. Inside this area right here is where the sliders need to be, they're gonna go in and out. It needs to be well lubricated. It also needs to be in good condition. So, you wanna make sure you clean that out, inspect it, and then, of course, re-lubricate it when you put in your new slider.
Once you've got it sprayed and cleaned out, just take a peek inside there, and check it out. This one looks great. We'll do the same to the other side, and we'll continue. Now that we have both of our slider ports cleaned up, we wanna clean up the area where those tins were. Remember when you're cleaning this, you wanna clean this area, this area right up here, and then, of course, the edge there, and the edge there. That's gonna be super important on all four corners because that's where the tin is gonna be, and then, of course, the pad.
Now if you don't have one of these tools, you can also use a nice wire brush, and do pretty much the same thing. It might just take a little bit longer. So all four of these corners look great at this point. We cleaned out the inside of those ports. Let's move along. We're gonna use some grease. This is just plain old caliper grease. It's nothing special. I'm just gonna put a little dab here, here, there, and there. With a glove finger or, of course, with the same brush, go ahead and spread it around, and make sure you coat all the areas that you cleaned off, only because this is gonna help keep moisture away and, of course, help with vibration dampening as well.
Now that we have the areas nice and lubed, we're gonna go ahead and install our tins. If you were to look at this area of the tin right there, it kind of pops out a little bit. That's gonna actually press into this area. So, as I bring it, I'm gonna go over these areas here, press this, and then I'm gonna bring this up and in, and make sure it's up against the bracket. That's what holds it in. Same to the other one. That's great. Take a little bit of your lubricant, and go right along this hole right here, and then, of course, the other one.
And now we're gonna do is we're gonna put in our boots. You might need the use of your flathead screwdriver, but more than likely, you won't. Just kind of start one end like that, and then you should be able to push it in with your finger. Give it a nice twist to make sure that the grease has made its way all the way around the inside of that boot. That's gonna keep the moisture out, of course. Looks great. Let's continue on with some more grease.
Now I'm gonna lubricate my slider. Not only do you wanna do the shaft area of the slider, but you wanna make sure you get up into this area right here. That's the area where the boot is gonna ride. That's gonna help keep moisture out as well. That looks pretty great. Slide it on in there, and give it a nice twist. Make sure there's grease everywhere in there. Do the same to the other one.
Let's make our way back over the vehicle, and get our bracket on there. We've got our bolts, and I like to use a little bit of thread locker. I'm just gonna put them right on there. Next, we're gonna snug them up, and then we'll torque them to manufacturer's specifications. Let's torque these to 148 foot-pounds.
Next, we need to prep our caliper. I'm gonna use a little bit more of this caliper grease. I'm gonna go right along that piston right there, this one right here, and then on the other side of the caliper, each one of these three ears. Let's get ready to install our pads. Let's start with the inboard one, same for the outboard. If you find that you have to use a hammer or anything like that to put these in, obviously, you probably didn't clean up the bracket enough. Your pads need to be able to slide around like this.
You're gonna notice that your kit came with these right here. These are to help separate the pad when you release the brake pedal. It's gonna help diminish overheating of the brakes. Put one in the top just like this, facing towards the center, and then, of course, one on the bottom doing the same.
Now let's grab our caliper. We're gonna put it right over this. Just push your pads together, should be able to slide this in. There we are. Take your two caliper bolts, a tiny bit of thread locker, start them in, snug them up, and then we'll torque them down. Torque these to 47 foot-pounds. Let's get this back on here. Now we're gonna put on the lock for the spindle nut. Go ahead and put that over. You wanna try to line it up so the slots that are on it, line up with the hole in the axle. Take a nice new cotter pin. It's a great idea to use a new one, of course. Slide it through and then, of course, peen over the ends so there's no way this nut can loosen up.
Now it's time to get our outer tie rod end into the knuckle. See if I can just turn it a little bit, slide it in here. There we are. Take our nut. If it has a lock, make sure the lock is facing up, of course. Now, we're gonna snug it down, and then we're gonna torque it to 111 foot-pounds.
Now it's time to get our wheel back up on here. We'll start on all of our lug nuts, bottom them out, and then we're gonna torque them to 150 foot-pounds. Next, you need to get your vehicle so the tires just barely on the ground so it can't spin. We're gonna torque the lug nuts like I said to 150 foot-pounds in a star pattern. Once you've torqued it, make sure you put back on your center cover, of course. Let's pump up the brake. You always want to make sure you top off your brake fluid anytime you're done.
Okay, friends, anytime you do any type of front-end work on your vehicle, it's always super important to make sure you get your vehicle down to a reputable alignment shop. They're gonna take care of you, and make sure you're going straight on down the road. Be safe out there.
