Brought to you by 1AAuto.com, your source for quality replacement parts and the best service on the Internet.
Hi, I'm Mike from 1A Auto. I hope this how-to video helps you out, and next time you need parts for your vehicle, think of 1AAuto.com. Thanks.
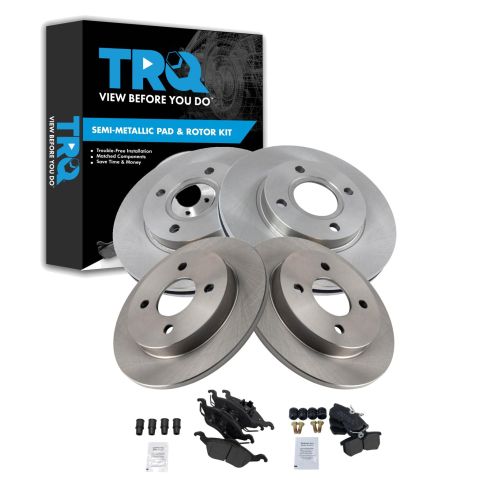
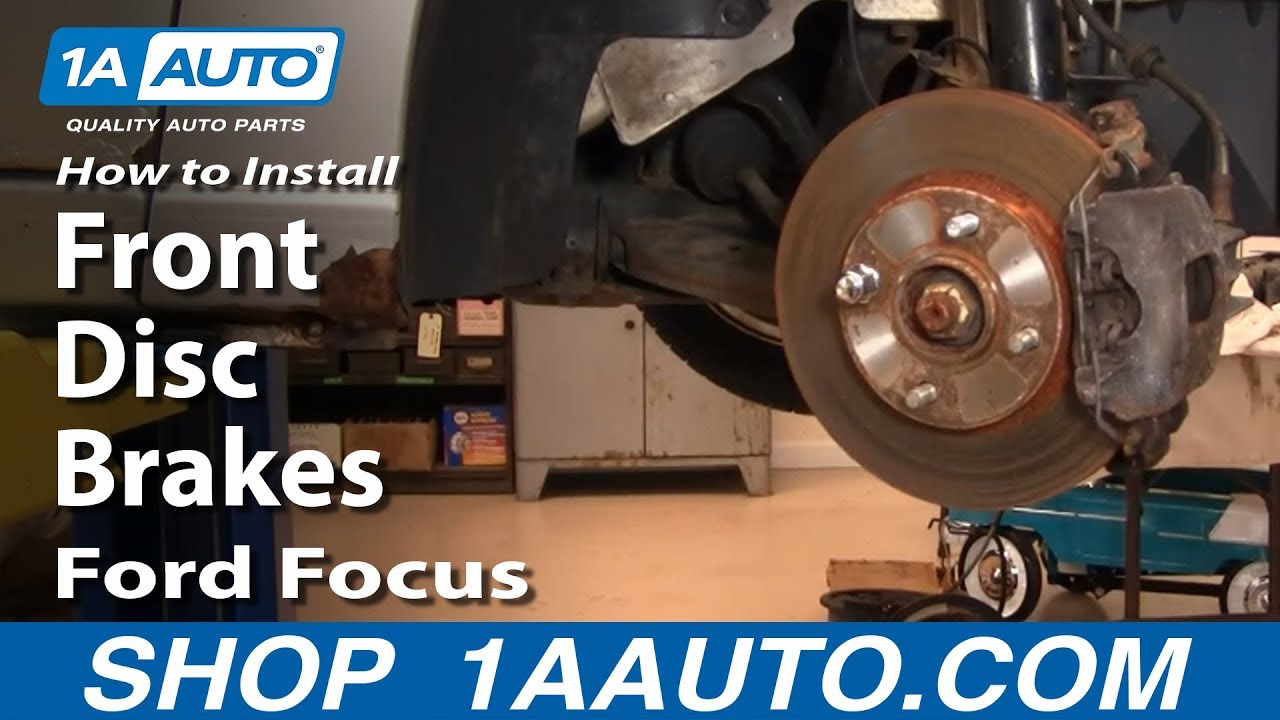
In this video, we're going to show you how to service the front brakes on this 2003 Ford Focus. It's the same process for any 2000-2004 Focus, and we show you how to do the right hand front. Obviously, you always want to do your brakes in pairs. So, the left hand front is the same procedure. Tools you'll need are jack and jack stands, 19 mm socket and ratchet, or a tire iron, T45 Torx driver, a large C-clamp, pliers, and a torque wrench.
Remove the wheel and tire. You can use your lug wrench that comes with the vehicle. If you're using your lug wrench with hand tools, you want to have the tire on the ground, loosen the lug nuts first, then raise and support the car, and remove the lug nuts. You will need kind of a thin-walled socket. Regular impact sockets don't really fit in here. Fast forward as I remove the lug nuts, and then, actually, I realize the wheel is stuck on so I thread two lug nuts back on and use a little bit of an alternative method to remove the wheel.
With the wheel off, we can inspect the brakes. These brakes actually look like they're fairly new. The rotor looks a little rusty but that's just from sitting. You can see in here . I'll spin the rotor a little bit ., on each side are the brake pads and you can see they're nice and thick so they're really new, but I'm going to show you how to take this apart and put it back together.
There are two bolts. I see it right here and another one right up here. Using a T45 Torx bit and the ratchet, and these things should not be too tight. I'll just fast forward here as I remove those two bolts. As those bolts come out you'll actually, and I'll show you a little bit later, want to try and pull them out just a little further because if they stay in they'll kind of grip on to the steering knuckle and make it difficult to remove the caliper. For this wire retainer here, just use a screwdriver and pry it out like that. You can give a pull on your caliper. It should loosen up a little bit. I'm just trying to pull out bolts just a little more. What I need to do is take a pair of pliers, hang onto this bolt, twist, and pull it out a little more. The caliper comes right off. Then pretty easily, with my screwdriver, I can pry the pad away from the caliper. Make sure it's free. Then pry up on the clips or even right here. Take that outer pad out. Then the inner pad just pulls and the outer piston comes off. For the time being, we'll take this little grommet, pull it out of there. Then take the caliper, put it right up there, for now.
To remove the rotor for replacement, take your lug nuts and just thread them back on a little bit. This just protects the studs from getting damaged. With the lug nuts protecting the stubs you want to hit it the rotor right here. You want to avoid making contact with the disc so you don't damage it. You can see it comes loose. Now we can pull our lug nuts off and the rotor comes right off.
Now, you have your caliper. As your brake pads wear, the caliper has to get narrower so what it does is this piston works its way out. You have to reset that before you put your new pads on. You use a nice big C-clamp like this. Put it on your caliper. As I tighten the C-clamp up this piston will go back up inside. Once you force that piston back in, then remove the C-clamp. With that reset we can put this back over here. I'm putting the old rotor back on, but the rotors from 1AAuto will go right on, and fit just like the original. What I usually like to do is take a lug nut and install on there just to hold it in place.
Now, replace your pads. Bring your caliper down. The inside pad has the clip on it. Force that into place. This outside pad slips down over. This wire retainer comes down and hooks on like that. For these here, you want to make sure that they slide back and forth. They don't have to be easy but you should be able to do it with your fingers. You want to slide them out all the way. Take your caliper put it down on. You can bring this down and it locks into place and holds things on. With the T45, I'm just going to make sure that your caliper is in there. Push on the wrench as you start turning it and get the bolts into the bracket. Start that one and then push in. I'll just fast forward here as I just preliminarily tighten those two bolts. Then, using a torque wrench, you want to tighten these up to 30 foot-pounds. Then, we can take your lug nut off. Last, but not least, make sure that this grommet is back in the bracket here.
We put the wheel back on. I'll fast forward here. Put the wheel on, make sure you thread the lug nuts on a few turns finger tight, just to make sure that they're not cross threading, and then tighten your lug nuts up preliminarily, and then you're going to put the vehicle on the ground and torque the lug nuts. You want to torque the lug nuts to 100 foot pounds and using a crossing pattern.
Make sure you pump your brakes. Get the pedal nice and firm before you try and do a road test. Then do stops from five and ten miles an hour before you take your car out on the road.
We hope this video helps you out. Brought to you by www.1AAuto.com, your source for quality replacement parts and the best service on the Internet. Please feel free to call us toll-free, 888-844-3393. We're the company that's here for you on the Internet and in person.