




★★★★★
May 20, 2026
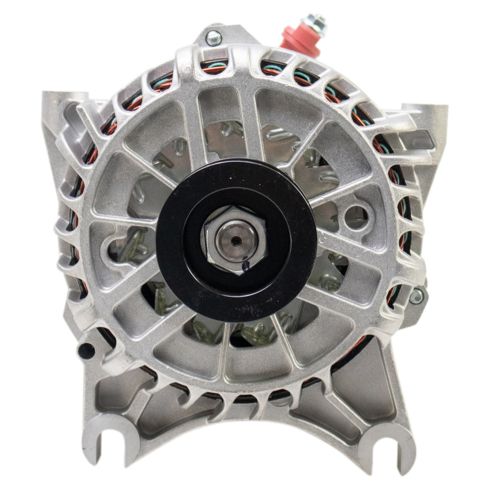
Grand Marquis alternator
arrived on time. Easy to install, checked voltage to ensure it was working. Vehicle is working fine.

Replaces
About TRQ:
TRQ is a trusted brand dedicated to making every repair a success story by combining premium parts with easy installation. Each TRQ part is engineered by a team of automotive experts to meet or exceed OEM standards, delivering enhanced performance and maximum longevity. With rigorous in-house testing, the brand ensures superior fit and function across every product line. TRQ also provides customers with best-in-class, step-by-step installation videos—so you can complete repairs with confidence, whether you're a first-time DIYer or an industry professional.
Product Features
Returns: Parts with electrical components cannot be returned once installed.
Attention California Customers:
 WARNING: This product can expose you to chemicals including Lead and Lead Compounds, which are known to the State of California to cause cancer, and birth defects or other reproductive harm. For more information, go to www.P65Warnings.ca.gov.
This part fits 9 vehicles spanning 2003-2011.
| Year | Make | Model | Description |
|---|---|---|---|
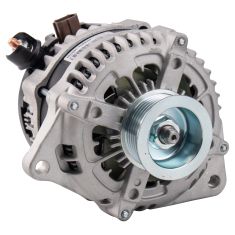
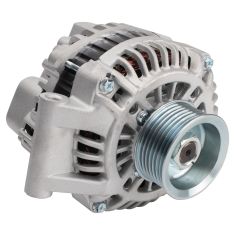
| 2003-2005 | Ford | Crown Victoria | Ford Crown Victoria with Police Package with 135 Amp Alternator Option Alternator TRQ ALA94416 |
| 2004-2005 | Ford | Crown Victoria | Ford Crown Victoria with 135 Amp Alternator Option Alternator TRQ ALA94416 |
| 2005-2008 | Ford | Crown Victoria | Ford Crown Victoria without Police Package with 135 Amp Alternator Option Alternator TRQ ALA94416 |
| 2003-2005 | Lincoln | Town Car | Lincoln Town Car with Police Package with 135 Amp Alternator Option Alternator TRQ ALA94416 |
| 2003-2005 | Lincoln | Town Car | Lincoln Town Car with 135 Amp Alternator Option Alternator TRQ ALA94416 |
| 2006 | Lincoln | Town Car | Lincoln Town Car without Police Package with 135 Amp Alternator Option Alternator TRQ ALA94416 |
| 2007-2011 | Lincoln | Town Car | Lincoln Town Car with 135 Amp Alternator Option Alternator TRQ ALA94416 |
| 2005-2007 | Mercury | Grand Marquis | Mercury Grand Marquis with 135 Amp Alternator Option Alternator TRQ ALA94416 |
| 2008 | Mercury | Grand Marquis | Mercury Grand Marquis To 7/20/08 Production Date with 135 Amp Alternator Option Alternator TRQ ALA94416 |
| Brand Label | Part Number |
|---|---|
| TYC | 2-08472 |
| USA Industries | 8315 |
| Delco-Remy | 20082 |
| Lester | 08472 |
| Delco-Remy | 23786 |
| Delco-Remy | 23753 |
| Lester | 8315 |
| MPA | 15486 |
| Bosch | ALT-1722 |
| Delco-Remy | 92556 |
| DIY Solutions | ECS00020 |
| WAI | 8315N |
| Hollander | 601-01040 |
| TERREPOWER formerly BBB Industries | 8315 |
| TERREPOWER formerly BBB Industries | N8315 |
This item may be interchangeable with parts from other brands with the above part numbers. This information is provided only for reference and does not guarantee that the item you are purchasing is identical to parts with part numbers from the brands listed above. To confirm that this item fits your vehicle, use the above "Check Vehicle Fit" option.
Lifetime Warranty
This item is backed by our limited lifetime warranty. In the event that this item should fail due to manufacturing defects during intended use, we will replace the part free of charge. This warranty covers the cost of the part only.
Returns: Parts with electrical components cannot be returned once installed.
FREE Shipping is standard on orders shipped to the lower 48 States (Contiguous United States). Standard shipping charges apply to Hawaii and Alaska.
Shipping is not available to a P.O. Box, APO/FPO/DPO addresses, US Territories, or Canada for this item.
Expedited is available on checkout to the United States, excluding Alaska, Hawaii.
Final shipping costs are available at checkout.

Created on:
Tools used
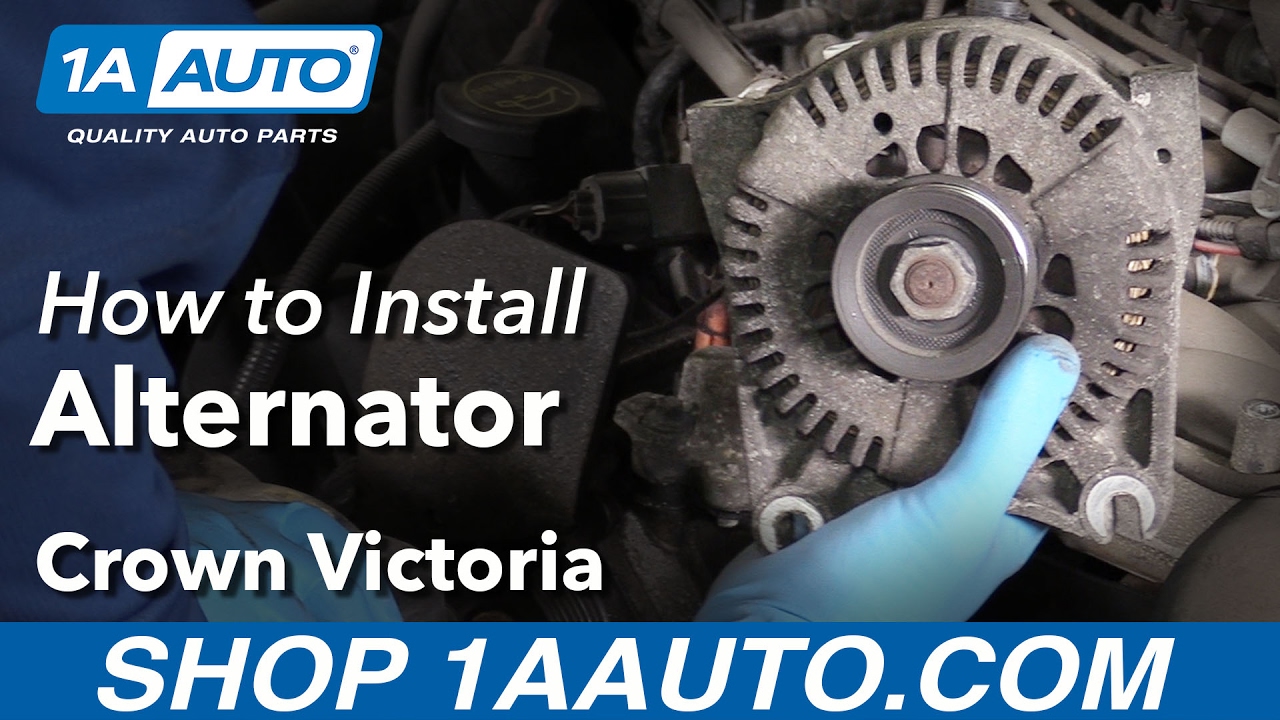
In this video we're going to be working with the 2004 Ford Crown Victoria 4.6 liter V8. We're going to show you how to remove and replace your vehicle's alternator, which is a very important part of the charging system and keeps the vehicle's power while running.
If you like this video, please click subscribe. We have a ton more information on this and many other vehicles. If you ever need parts for your car, you can follow the link down in the description over to 1aauto.com.
Here are the items you'll need for this repair.
Your battery is located at the front passenger side of your engine bay. Using an 8 millimeter or a 5/16 wrench, loosen the clamp on the negative side of the terminal. Once you've removed the negative battery terminal, isolate it away from the battery so it doesn't accidentally reconnect while we're working.
Using an open drive on the end of a 1/4 inch ratchet extension, loosen up this screw at the center of the engine cover. Lift it up, slide forward, and remove it from the vehicle.
Before removing your serpentine belt, be sure that the path is indicated somewhere in the engine bay, either on the original sticker like ours has here, or if yours is missing, simply take a marker or paint pen and draw one somewhere under the hood. Using the open end drive of a 3/8 ratchet, place it into the square inlet on the serpentine belt tensioner and rotate clockwise. Remove the belt from the pulley. Carefully release the tension. Remove your ratchet, and take your belt off the rest of the way. It's a little tricky to get it off this idler pulley here, so be careful not to cut it on this piece of steel. The rest should come off pretty easily.
Your alternator is located here at the top of the engine, dead center. To remove we'll pry up a little, because this connector's stuck. You may be able to do this by hand, but lift up on that tab and remove it. Then lift up on the boot for the power lead and remove the 10 millimeter nut underneath. We'll do this using a 10 millimeter socket and ratchet. Remove the power lead, and regardless of whether we're replacing the alternator or just removing it to get it out of our way for another job, we'll reinstall that nut on there just to make sure we don't lose it.
Remove the four 10 millimeter bolts at the top of the alternator going back to the intake manifold as a stiffener. We'll crack all of these loose with our 10 millimeter socket and ratchet, and remove them and the plate the rest of the way by hand. We'll also need to just pop this connector off of our power lead, and lay that off to the side. Using a 10 millimeter socket and ratchet, I've used a longer ratchet here than we did before because there's a lot more torque on these, we'll remove the two 10 millimeter bolts at the bottom of the alternator. You may need a small extension to help get your socket past the water pump pulley for the driver side lower alternator bolt. You don't have to remove the two bottom 10 millimeter bolts, as these are notched on the alternator and you can simply slide it up once they're loose. Once the bolts are loose, you can lift up and slide the alternator off of them to remove it from the vehicle.
Reinstall your alternator onto the studs. Reinstall the top bracket. We'll start these screws in finger tight. We'll then tighten down the backs fully. Once the rear bolts on the top bracket are in place we'll tighten down the bottom bolts. We'll then tighten up the two 10 millimeter top bolts and reconnect the electrical connector as well as our power lead. Tighten the 10 millimeter nut with your socket and ratchet and reinstall the boot.
Install the serpentine belt first around the harmonic balancer, or the crank pulley. Be sure that it's seated on there fully. I'll now take the passenger side of the belt and route it under my water pump, back up over the top of the water pump. From here, it'll go over the top of my tensioner pulley, under my A/C compressor on the bottom passenger side, through this tight little gap here, and over the idler pulley. I'll then go to the bottom driver's side and ride the belt around my power steering pump. I'll put some tension on it by hand, make sure that everything is seated properly on its pulleys, and then use the drive of a 3/8 ratchet in the square opening of the tensioner, and turn that clockwise to relieve the pressure, and install my serp belt over the top of my alternator before releasing the pressure and removing my ratchet. Double check that your routing is correct, and that the belt is fully seated on all pulleys before starting the vehicle.
Reinstall your engine cover by sliding it back over the hooks in the front and placing it over the stud at the top. Reinstall the nut and tighten it down with a 1/4 inch drive extension.
Reconnect the negative battery terminal, and tighten it back down with your 5/16 or 8 millimeter wrench. There's no need to crank these down; just go on there until it's nice and snug.
arrived on time. Easy to install, checked voltage to ensure it was working. Vehicle is working fine.
Works and fits like the original one
Alternator was bad and was told would not replace. Will not order from 1A auto again. Thanks
excellent customer service. The alternator worked for my 2007 Grand marquis LS.
Part was correct and arrived quickly. Quality is good.
Installed easily, so far it's working as it should. I was a bit skeptical due the price costing considerably less than my local stores, but all seems well. Sent fast and packaged well!
This is listed to fit the 2005 Ford Crown Victoria with 135 Amp Alternator Option with Police Package.
This part will not fit your vehicle, but we may have a part that is listed to fit. Please enter your vehicle's year make and model in the search bar at the top of the page. This will display parts guaranteed to fit your vehicle. Just be sure to verify all of the information shown in the Vehicle Fit tab before ordering.
No, this part will not fit and we currently do not carry the one you need.
This will only fit a 2003-2008 Mercury Grand Marquis Limousine V8 4.6L
