Brought to you by 1AAuto.com, your source for quality replacement parts and the best service on the Internet.
Hi, I'm Mike from 1A Auto. I hope this how-to video helps you out, and next time you need parts for your vehicle, think of 1AAuto.com. Thanks.
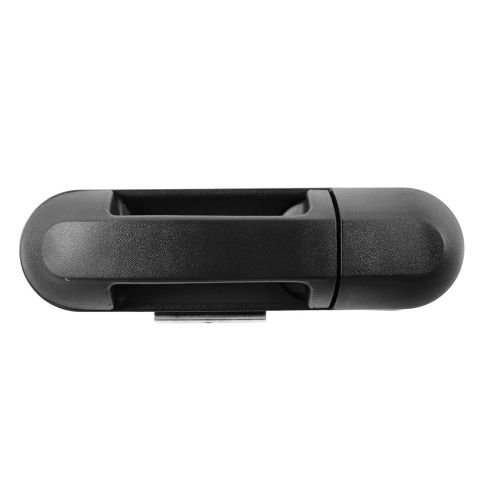
In this video, we're going to show you how to replace an exterior door handle on this 2003 Mercury Mountaineer. We'll show you on the passenger side, but the driver side is a similar procedure. It's the same part and similar procedure on these Mountaineers from 2002 to 2010. The items you'll need for this is a new exterior door handle from 1AAuto.com, 7mm and 11mm socket and ratchet, flat blade screwdriver, and a 90 degree pick.
Start off by prying out on this panel, and then just slide it off the door handle. Then lift up on the front of your switch panel and just slide it forward. Then push the tab on the harnesses to disconnect them. Now, remove this 7mm bolt and these two 7mm bolts down here. We'll fast-forward as Mike does that. Now, just lift the door panel up and then pull it back and it's free.
Carefully peel back your water shield, and you see Mike's using a razor to just help separate the adhesive.Using a pick, just pry open this clip and then pull the door handle rod free. Then remove this 11mm nut and this 11mm nut right here. We'll fast-forward as Mike does that.
Now pull the door handle from the door and just open it up a little bit to help pull the handle free. Then just pull the door handle rod up and out. This may or may not happen to you, but my stud came out the handle rather than the nut coming off of it, so I'm just going to use a good set of locking pliers here and lock on to it. The stud comes off and the nut comes off.Pull the door handle rod from the old door handle.
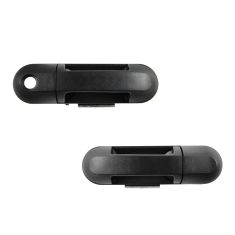
Up top is the old door handle. Below is the new one from 1A Auto. You can see they're identical, and they'll fit exactly the same. Okay, so our new handle is obviously black. If you have a broken handle, this will fix your problem easily enough. If you did want to paint it to match, you could do something as crude as just going to a hardware store or something and getting a white paint that matched closely and just spray paint it that way, or you could do an automotive parts store that has a paint department. They could help you match the paint from your vehicle and then you could finish the handle yourself.You would want to take this gasket off if you don't want to paint the gasket otherwise.
Put the rod in, twist it, get it into place, and feed the new door handle down into the door. Then push in the front first. Then open up the door handle, feed the top in, and push it back into place. Then just replace those two 11mm nuts and tighten them up. Reconnect your rod. You want to put it in place. Try and put a little bit of pressure down on the lever you're pushing into, and then push up on the rod just a little bit to make it a little tense back in place and lock the clip.
You've got a number of hooks on the door panel. They go into slots in the door. If you've removed your water shield for any reason, you just want to make sure it's all lined up. You can put the bottom ones on, bottom two, and then just make sure your harnesses come through. Push the door panel in and make sure the front and the back and the top is pushed down, and then reinstall the three 7mm screws. We'll fast-forward as Mike replaces those 7mm bolts and tightens them up.
If you have difficulties starting one of the lower ones, just do the other first one and it should help the other one line up. Plug in your switch panel. Put the back down in first, thrust it down, push it in, and there's a little slot that comes down that this actually hooks into. Put this in, first make sure those back tabs go in, and then make sure it snaps into place.
We hope this video helps you out. Brought to you by www.1AAuto.com, your source for quality replacement parts and the best service on the Internet. Please feel free to call us toll-free, 888-844-3393. We're the company that's here for you on the Internet and in person.