Brought to you by 1AAuto.com- your source for quality replacement parts and the best service on the internet. Hi, I'm Mike Green. I'm one of the owners of 1A Auto. I want to help you save time and money repairing or maintaining your vehicle. I'm going to use my 20-plus years experience restoring and repairing cars and trucks like this to show you the correct way to install parts from 1AAuto.com. The right parts, installed correctly that's going to save you time and money. Thank you and enjoy the video.
In this video, we're going to replace the ignition coil on this '04 Ford Ranger with a 4.0L. This coil does fit many Ford V6s from 3.0L up through 4.2L V6s. The only tool you'll need for this truck is a 7 mm and 8 mm socket and ratchet.
Coil on this is a 4.0L in a Ranger; this coil is the same for anything from a 3L to a 4.2L V6. To change the coil, the first thing I've done you can see I've marked these plug wires. I've just marked them basically one, two, three, four, five, six, closest to me then going around in clockwise order. For those of you that know engines, it has nothing to do with the firing order or what number plug these go to. It's just so that when I put them back on the coil, I'll put them on in the right order. If you're planning on changing plug wires, I suggest you replace the coil first and put the plug wires back on, and then just replace the plug wires one at a time.
For this video, we're just doing the coil. I'm going to remove all these wires. It's just a matter of squeezing the kind of lock here, and pulling up and off. These wires from over there, out of the way and these wires over here. Now your connection is right back here. Pull up on here and pull that connector right off. The coil is held on with four well, two bolts and two nuts. These are 7 mm bolts here and 8 mm nuts on the back, and I'll remove those.
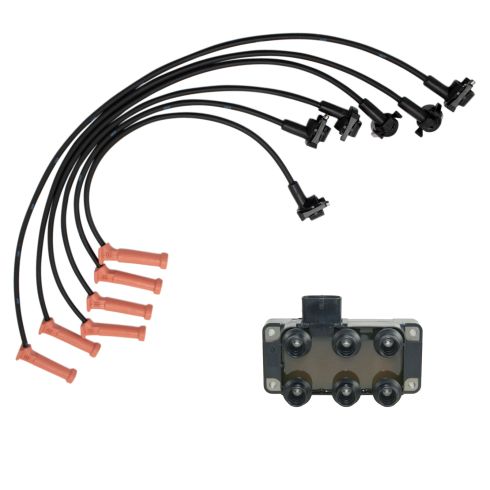
Once those four bolts are out, coil comes right up and off. Here's our old coil. Here's our new coil from 1A Auto. You can see everything's the same. It's going to bolt up all the same. You can screw it right down on there. There's a little resistor or capacitor or something here that goes on with the bolt, so make sure you get that correct.
Check these and make sure they're as tight as I want them. Put our connection back in, then our wires. I guess I've got number three here. Again, the marks I have on these wires have nothing to do with the cylinder number. They only pertain to the closest one to me, one, two, three, four, five, six and then around clockwise. Four, five, and six. Now we can start it up and everything should be nice and smooth.
We hope this helps you out. Brought to you by www.1AAuto.com, your source for quality replacement parts and the best service on the internet. Please feel free to call us toll-free, 888-844-3393. We're the company that's here for you on the internet and in person.