Brought to you by 1AAuto.com your source for quality replacement parts and the best service on the internet. Hi, I'm Mike Green. I'm one of the owners of 1A Auto. I want to help you save time and money repairing and maintaining your vehicle. I'm going to use my 20 plus years experience restoring and repairing cars and trucks like this to show you the correct way to install parts from 1AAuto.com. The right parts installed correctly, that's going to save you time and money. Thank you and enjoy the video.
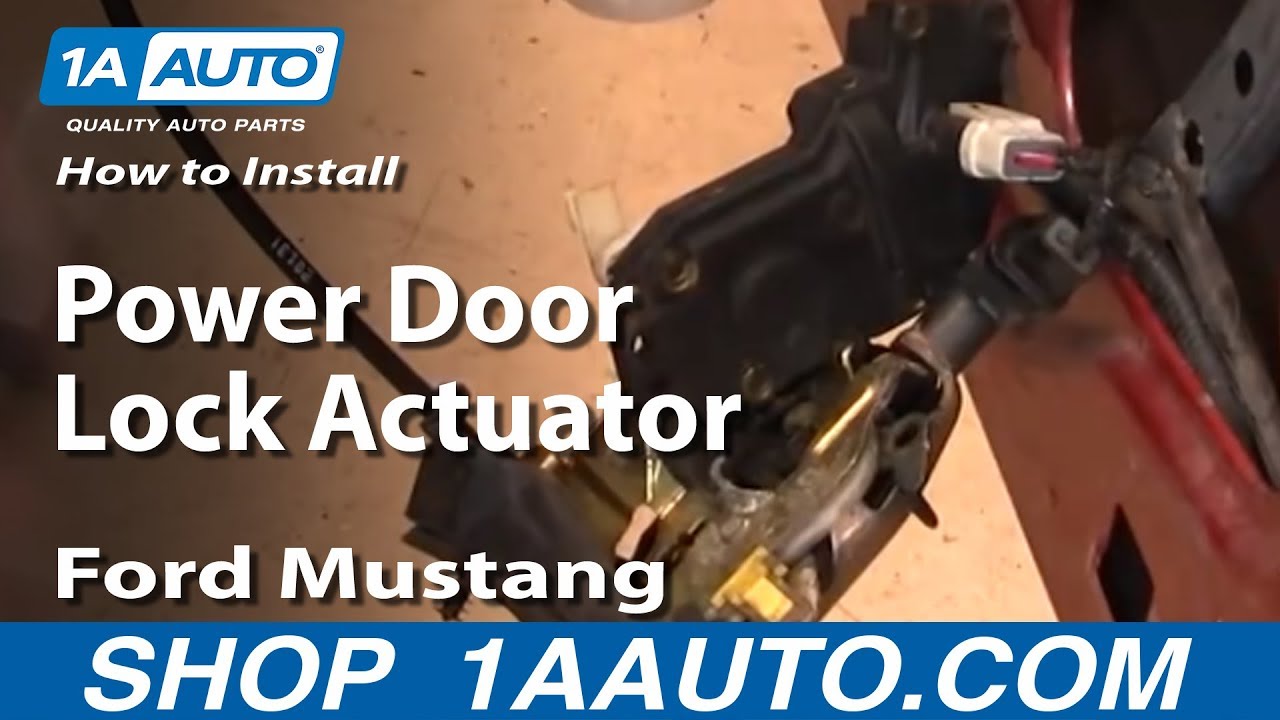
In this video, we're going to show you how to replace the door lock actuator on this 2004 Ford Mustang. We do the passenger side. Driver side is a very similar procedure. This is the same for most '94 to '04 Mustangs with the power door locks and basically if one side or the other of your power door locks is not working, it's usually that this actuator has gone bad. Tools you'll need are 8 mm wrench, flat plate screwdriver, Phillips screwdriver, both regular and small size and a T27 Torx bit with a ratchet driver. It's recommended that using the 8 mm wrench to disconnect the negative battery cable on your vehicle. First, there's actually a pin on the front side right there. I use a flat blade screwdriver. Carefully pry the clip and then once you get to a certain point, you can pull it out with your fingers.
Okay. Now right on top of this panel is a little notch, you inserts a screwdriver and lightly pry out and once we have this out and the screwdriver down here and pry out and bring this right out. Okay. And then use a Phillips screwdriver to disconnect switch from this panel. On this vehicle, there are two Phillips screws right here and I remember from some of my past experience, there's either kind of a pin, like there was down here, here or a bolt, but I'm going to remove these two Phillips screws. Let's keep in mind there are maybe another fastener here as well. Okay. Around your door handle, just insert the screw driver. All right. You want to pry the bottom first, not the top and you pull it off and up here, move your fingers for - there's a screwdriver by that panel right off. Right. And now you're door panel lifts up and off. Pull your water shield back and then reach in. Okay. And you can see the rod that goes up to your door handle. It's a little yellow clip there and you reach it with your finger and pull that clip off. Okay. And then pull the rod out. And now you want the T27 Torx driver on a ratchet, remover these 3 screws here that holds your lock mechanism.
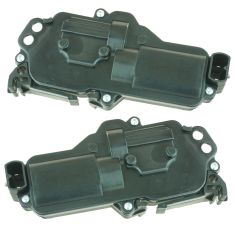
I'm just going to speed up as I take those three T27 bolts out. And now you can kind of reach in, and pull mechanism down and now you can see right here is your lock rod. You want to pull this clip back and off. That allows that to come. Okay. Now your lock rod can pull out and now you can kind of pull the whole mechanism right out through here. Now here is your door lock actuator. Right here you want to pry on this little tab here and then push your actuator off. Okay, so, and then your actuator unplugs right here. Screwdriver pry up the connector, disconnect it. Here's your new actuator from 1A Auto. This mechanism is all the same, slightly different shape, actually mounts a little easier. Okay. There's a couple of slots that you have to make sure line up on the mechanism and make sure your arm goes in. And push you on and lock it into place. Okay. Reconnect it and then put your mechanism back into the door, kind of spin it around and retrieve our lock rod. Make sure that comes up through here correctly. Push it into place. Going to walk around back in place, push it around and lock it on. Okay. So that's locked back into place.
Now we need to lock the mechanism into place. Make sure those holes line up. And speed up here again as I just put all three of those bolts in place first and then tighten them up nice and snug, you don't want to over tighten them. And ratchet came out of that old clip, put that back. Okay now, reach in here, put your rod- Now, put your water shield back in place and you're set to put the door panel back on, what you want to do is wine up here, lower tabs with the slots in the door. Okay. And then kind of lift it up, out your door lock in place, need to lift the back panel of the door a bit. Make your harness comes up through and lift up your panel on, start pushing it down in. And as you push it down in, you may see it do this. Just want to use a screwdriver and make sure that that goes down into the channel. Make sure it's down. Make sure the panel is right against the door all the way around and you put this corner, get that back on. The tab that goes into the front here to hold it. Okay. Our 2 screws at the panel here. I think we have something quite holding it here. Reinstall that. Take a switch, put it in and turn it over, start one screw. Take this, clip down in back here first and then push it down, lock it in place, and then your bezel should go into the door pull.
We hope this helps you out. Brought to you by www.1AAuto.com, your source for quality replacement parts and the best service on the internet. Please feel free to call us toll-free, 888-844-3393. We're the company that's here for you on the internet and in person.