What's up, guys? I'm Andy from 1A Auto. In this video, I'm going to show you how to replace the outer tie rod end on this 2012 Ford Escape. If you need this part or other parts for your vehicle, click the link in the description and head over to 1AAuto.com.
One thing you're going to want to do any time you do any kind of front end repair or suspension repair, you're going to want to go to a local shop and have your alignment performed, otherwise you're going to have premature tire wear.
I'm just going to use a little rust penetrant right here. Give that a squirt. Before I loosen this nut up, I'm actually going to loosen this nut up here. I'm going to use a 21 millimeter wrench, loosen it up. I'm going to use an 18 millimeter socket and a breaker bar, loosen this nut up and take it off.
Take that nut off. I'm going to take a hammer, and because of the way the threads are on this, I'm not going to damage the threads. I'm just going to hammer on the tie rod end. Up. When I unscrew this tie rod, the outer tie rod, I'm going to count how many times, so one, two, three, and on until I get it off. 22, 23, 24. So, 24. I'm going to write that down, 24, just going to remember that. If I'm going to install a new tie rod end, outer tie rod end, I'm going to put that on 24 turns or if I'm going to install a new inner tie rod end and reuse the outer one, I'm still going to do 24 turns.
I need to remove this nut. I am going to use a little rust penetrant and let that soak for a little bit. I'm going to use some locking pliers. We're going to take the socket and the ratchet and loosen this up.
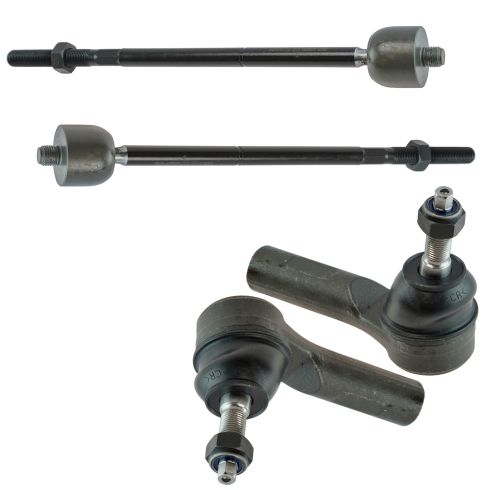
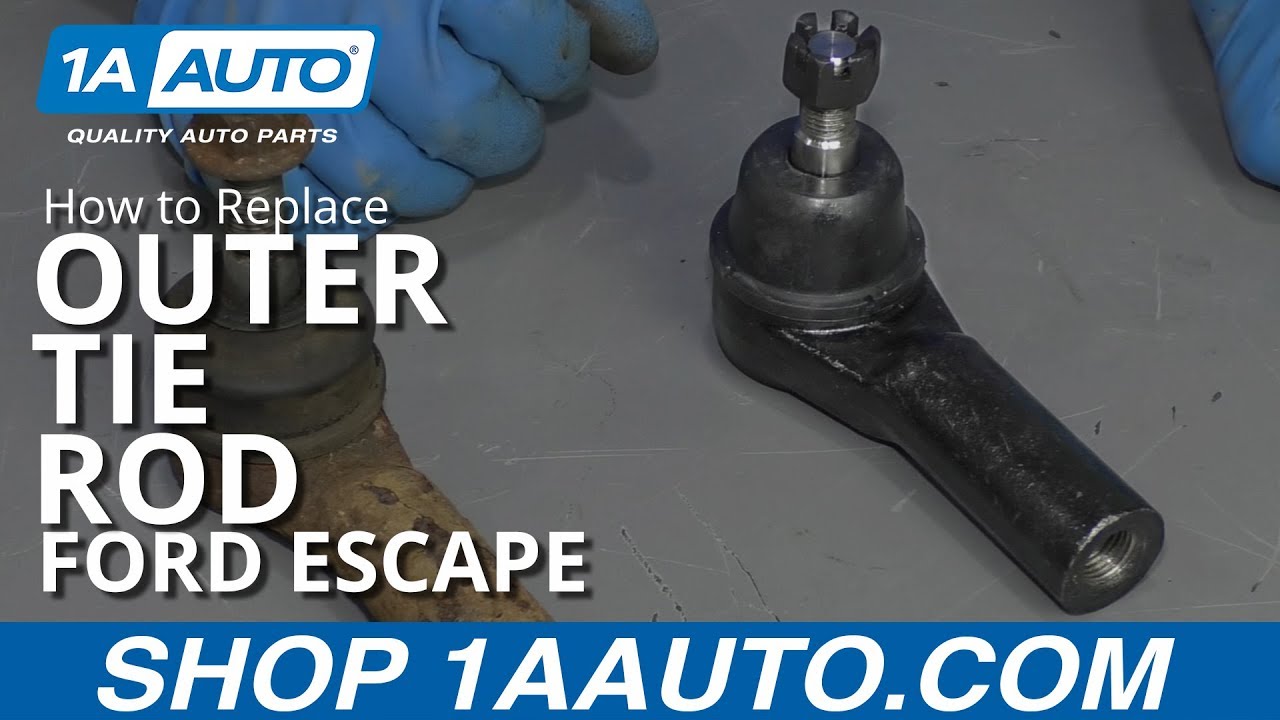
Here's the old outer tie rod end. Here's the new outer tie rod end, from 1AAuto.com. It comes with a new nut, this one's actually a castle nut and it comes with a cotter pin as well. The shape is the same. The ball and socket is the same. On the back side, the new one actually comes with a grease fitting, which is nice. That will prolong the use of the tie rod end. Get yours at 1AAuto.com and you'll be ready to rock and roll.
Then I'll take this nut and we'll slide this on this way. We're going to take the outer tie rod end, we remember that we turned it 24 times, so we're going to do the same as taking it off. One, two, three, four ... 23, 24. Okay, so we'll just make sure that jam nut is snug right there. Line the tie rod into the knuckle. Push it down.
Now we'll take this castle nut, slide this on the tie rod end. I'm going to use an 18 millimeter socket and ratchet, start tightening this up. We're going to use a torque wrench with the same 18 millimeter socket and we're going to torque this to 59 foot-pounds.
Now I'm going to take the cotter pin. The reason we have the cotter pin is so the nut doesn't loosen up. We'll slide it into the hole. If the castle nut doesn't line up with the hole, what you can do is tighten it a little bit more so that it lines up properly. And then I'll take some side cutters. I'm just going to bend the end of this and bend the end of the cotter pin down. Just fold it--there's not really any right or wrong way to do this, as long as it's not going to hit any suspension components. I'll just trim the excess.
Now I'm going to take the grease fitting, get this lined up, right there. Just take a 7 millimeter wrench, or you could use a socket and ratchet, and just snug it up, not too tight. All right, now I'm just going to use a grease gun and grease this, just give it a couple pumps. I normally watch the boot and see when it inflates a little bit, and that's when I stop. That looks pretty good, just two or three pumps and slide it off.
I am going to tighten this jam nut up using a 21 millimeter wrench. The torque spec on this jam nut is 46 foot-pounds, so just do the best you can.
At this point, we would put the tire on, put the lug nuts on, lower the vehicle, and torque the wheels.
Thanks for watching. Visit 1AAuto.com for quality auto parts shipped to your door, the place for DIY auto repair. If you enjoyed this video, please click the subscribe button.