Brought to you by 1AAuto.com, your source for quality replacement parts and the best service on the internet.
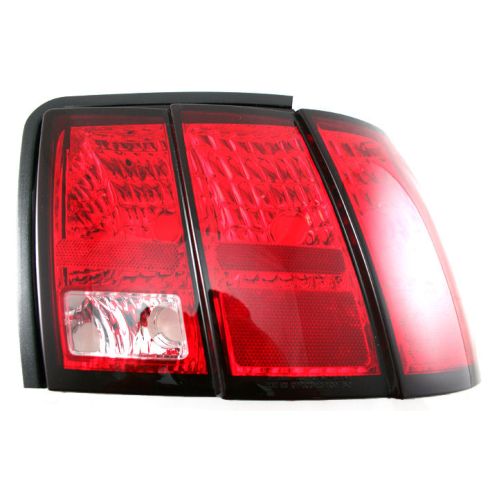
In this video, we're going to show you how to service the tail lights, both replace a broken assembly, as well as just replace your bulbs. We will be working on this 2004 Mustang and this is basically the same for any '94 to '04 Mustang. The only tools you'll need are a flat blade screwdriver and an 11mm wrench.
Okay, first inside your trunk; you are going to use a screwdriver and there's a plug right here. Turn it counterclockwise. And a little bit of fast forward as we remove that retainer. Okay, then there is another plug up underneath, just grab a hold of that and pull it off. Then you want to pull this panel back and this panel down. Coming out some. Okay then there is a series of bolts - there's one there, two right in there, and then one right down there and here's your connector. There is a tab right here, just push with your thumb and then pull it apart. Just going to use the 11mm wrench here and if you start these, they should come right off with your fingers. And we'll fast forward here. Like I said, basically you just start those nuts off with the 11mm wrench and then you can grab a hold of them with just your fingers and take them off the rest of the way. Now you want to push your little harness plug, just kind of pinch it and push it through and the tail light. Move it back and forth a little bit and pull it right out.
Okay, if you are just looking to change a bulb, these all just turn counterclockwise, pull out, then the bulbs should pull out of the socket. Push back in and that's counterclockwise with all of our bulbs. Then pull firmly and take the new light from 1A Auto, remove all the shipping covers. Push the retainers in first, push in clockwise until they lock, push in clockwise and lock, and this all goes back together the same way. Put our harness through the hole in the body. Just line it up. There are a couple of line-up pins for the bottom there. I think first, let's pull this plug through, make sure it comes all the way through and we can reconnect our harness. Okay and now just start putting our bolts back on. And I'll speed up the tape again here. So I just put each of the nuts on by hand first, kind of hand-tighten and then use the wrench. When you tighten them, you want to tighten them firm but you don't need to clinch them up real tight. You don't want to over tighten them and break the light or anything like that. Okay, push this one down and in place, this back into place, then pop our retainer onto to here and this retainer just pushes right on.
We hope this helps you out. Brought to you by www.1AAuto.com, your source for quality replacement parts and the best service on the internet. Please feel free to call us toll free 888-844-3393. We are the company that serves you on the internet and in person.