Hi, I'm Mike from 1AAuto. We've been selling auto parts for over 30 years! We're dedicated to delivering quality auto parts, expert customer service, and fast and free shipping, all backed by our 100% satisfaction guarantee. So visit us at 1AAuto.com, your trusted source for quality auto parts.
In this video, we're going to be working with our 1998 Ford F-150. We're going to show you how to remove and replace your vehicle's tailgate handle.
If you like this video, please click subscribe. We have a ton more information on this and many other vehicles. If you need this part for your truck, you can follow the link down in the description over to 1AAuto.com.
Here are the items you'll need for this repair: 10mm socket, ratchet, T30 Torx socket, small flat blade screwdriver
Now we're going to open the tailgate to do this, but if yours is broken and preventing you from opening the tailgate, these same steps can be followed from inside the bed with the tailgate in the upright position.
You have eight pieces of hardware securing the cover and the backplate onto the tailgate. Ours have clearly been replaced a few times and are various styles and sizes of hardware. Use the appropriate tool and ratchet to remove whatever hardware is securing your plastic back cover. If you don't have this plastic cover the hardware should be the same and in the same locations to remove the steel backing. Remove the plastic backing if you have it. Once you remove your plastic cover, if you have one, you'll have two T-30 Torx bolts you need to remove. I'm pretty sure this is the original hardware that should have been holding the plastic piece of the tailgate onto, so you probably already have this tool out. Remove the metal backing.
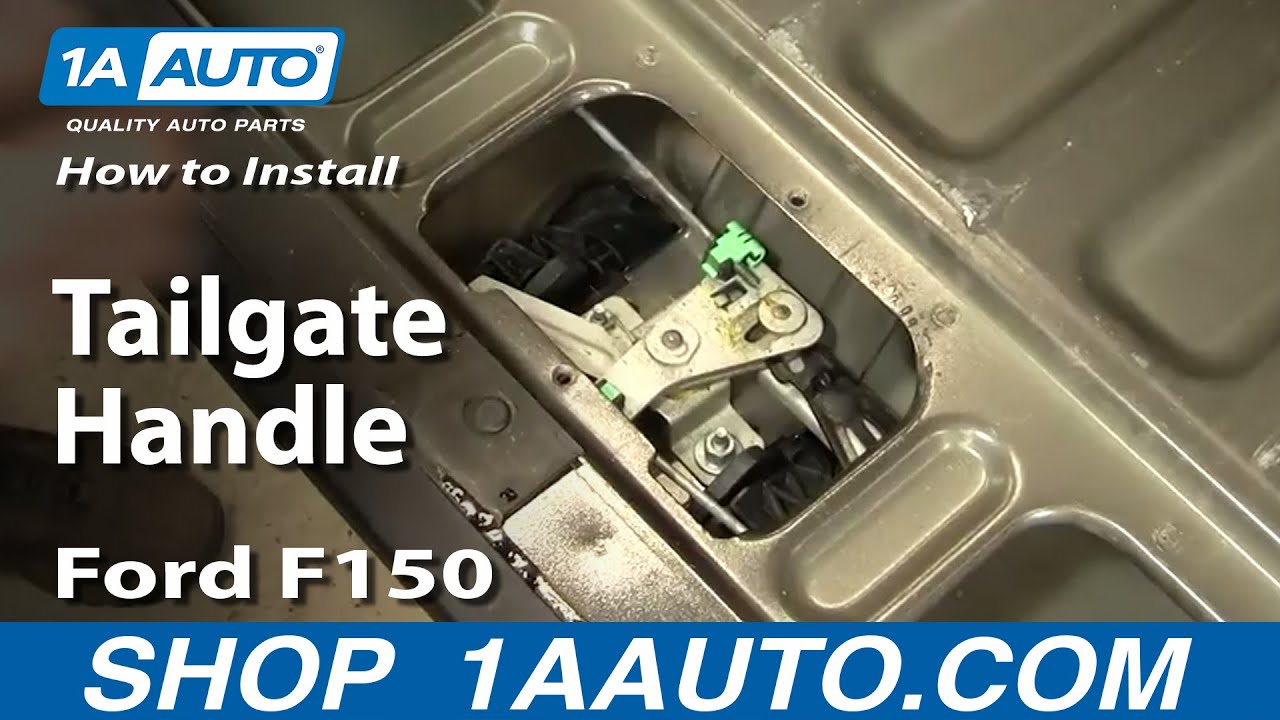
Now, once you've got the back cover off, there's a few things that could be preventing your tailgate from opening. Either this little leg which is what actuates the arm and turns the mechanism to open your latches is broken off and not moving the actuator. The actuator is stuck. Your latch rods are broken or out of adjustment. If the latch rod is broken, grab the mechanism or as close as you can to the mechanism here on both sides, and pull both latch rods toward the center, and open your tailgate.
Use a small flat blade screwdriver to pry up the tabs and release the lock rods from the tailgate. Using a 10-millimeter socket and ratchet, you can remove the two nuts securing the tailgate handle to the tailgate. We can then pull down and fold the bottom out to remove the handle from the vehicle. Our vehicle has a lock provision, as does the chrome tailgate handle we're going to be replacing it with. If your vehicle does not have a lock mechanism you can skip these steps here and go right back to installing it into your tailgate. If you do have a lock mechanism, use a small flat blade screwdriver to pry out this snap clip, and wiggle the lock mechanism out of the handle.
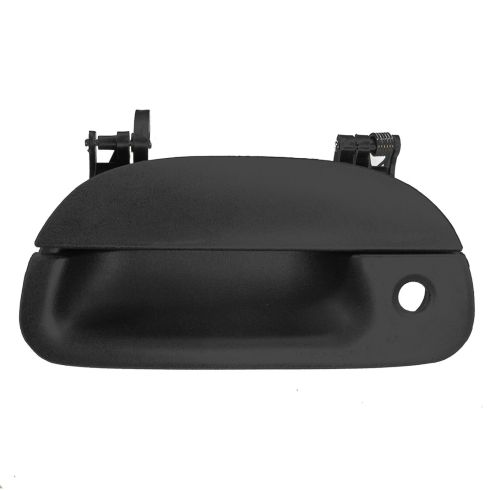
Here we have our old tailgate handle that we removed from our vehicle, and our new part from 1AAuto.com. Now the only real difference you'll see here is that our new piece is chrome because we wanted to upgrade the look of our truck a little bit. Other than that, all the mechanisms are going to be the same. We have the same lock provision, same handle, same two-bolt mounting on the rear. We have the same latch release. You can see everything operates in just the same way. So if your old tailgate handle is cracked, broken, or damaged, or you just want to make the back of your truck look a little bit nicer with this chrome upgraded piece, it's going to go in direct fit just like our original equipment. It’ll update the look of your truck, and fix you up right.
Take your new tailgate handle, which actually comes with a new snap ring which we'll pop out. Install our old lock to make sure everything works just like the original equipment did. We'll reinstall that snap ring into the channels. Reinstall the tailgate handle. You'll then have to set the mechanism back on there. There's some plastic clips on the bottom of the mechanism to lock it into place. Once it's in there, you can reinstall your two 10 millimeter nuts, and tighten them down with a socket and ratchet.
Now in reinstalling the latch rods, you'll want to pull the slack out of them without actually moving the latch, and lock them back into their tabs.
Now before we reinstall our back cover, we'll open and close the tailgate a few times to make sure our latch rod adjustment works. Now if the tailgate won't close fully on one side, you'll need to back off the adjustment a little bit, and give the rod some more slack, or if it's difficult to open, with having this off you can reach in there and pull it manually to release, and then you'll want to pull a little more slack out of the latch rods.
Reinstall the metal cover. Now if you have the plastic cover, start by installing the two T-30 Torx bolts. If you don't have the plastic cover, reinstall all ten of your T-30 Torx bolts at this point and tighten them down. Now if you have the plastic cover like we do, reinstall it, and you should have eight T-30 Torx bolts to reinstall. We have miscellaneous hardware that we'll be putting back in. Close your tailgate, and you're good to go.
Thanks for watching. Visit us at 1AAuto.com for quality auto parts, fast and free shipping, and the best customer service in the industry.