Mike: Hi, I'm Mike from 1AAuto. We've been selling auto parts for over 30 years.
Hey, everyone. Sue here from 1AAuto and today on our '06 Honda Element with out 2.4 liter we are going to be changing the spark plugs. We got these from 1AAuto. So, if you need this part or any other part for your car, click on the link below and head on over to 1AAuto.com. Going to take the cover off that covers the actual ignition coils and spark plugs. It's just a plastic cover with these four nuts on there and these nuts are a 10 millimeter socket. The coming out. That's okay. Same with that one. There we go.
So, a quick note, you'll see that there's two bolts missing. They're not actually missing they are part of the cover. So, these bolts are also bolts that go and hold the coils down. So, that's why I expected the nuts to come off. So, I'm going to put a 10 millimeter wrench on it. It's cut out as a hex and I'm going to break free the actual nuts. And then I'll put the studs down in to mount the coils. We'll start with the first cylinder, cylinder one, the 10 millimeter socket, and just to dismount the mounting bolt. Just grab that, lift the coil up. So now I'm going to disconnect the coil connector. It's that black tab here I'm going to push down on that. Pull it, drop that, and pull the coil up. So now I'm going to take a spark plug socket. I'm going to put it down in the cylinder hole. Get an extension. The spark plug socket is a five eighths. It's got that rubber bushing in it to hold onto the socket. I mean, hold on to the actual spark plug so that you don't drop it.
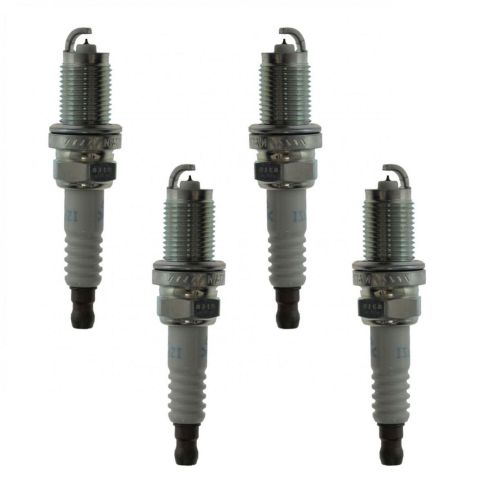
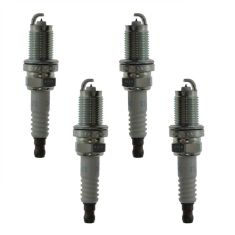
So here we have an iridium spark plug. It's looks fairly new, it's just black soot. So, here I have the new spark plugs from 1AAuto. It's an NGK brand. It's the actual brand that this manufacturer recommends. So, and here's the one that we took out. It's the same exact spark plug, same number, and it's iridium. So you cannot gap an iridium spark plug, you can only get a visual and make sure that it has a gap of what it mentions. In this case it's 0.43 which I know from experience about the gap of it and you just want to make sure that they're not, it's not closed touching.
Some people drop them, it gets dropped in the package. Accidents happen. And it looks pretty gapped pretty good. When you do all four lay them against each other and line up the gap to make sure they're all pretty much the same. You never want to touch in iridium spark book with your gapper because they say that it can actually chip the tip of the iridium. And then of course you're going to have a misfire and the spark plug would not be covered under defective because you made it defective.
So, if you need this part or any other part for your car click on the link below and head on over to 1AAuto.com. I'm going to put the spark plug in a spark plug socket. There's a rubber boot in there. We sell these at one 1AAuto so you can get an actual socket for your particular car and you'll never have to search for it again. So, we'll line that up, see the gap, and we're just going to bottom it out. Now the rubber is holding it in there and it won't come off. We've got a crush washer and that's when you look it up and it reads bottom out to crush washer, turn a quarter turn after, compressing that washer. That's what it means.
So, align it up into cylinder one, and I always like to start spark plugs by hand. And I'm just going to bottom it right out. Once I feel it's bottomed I'm going to turn it a quarter turn. I always like to apply a little bit of new dialectic grease silicone paste and it just helps the friction on the spark plug. So, line that up bring that down, find my ignition harness, line that up, click it in. And then drop that down in on my mounting bolt. Start that by hand. Just snug it up. I'm going to repeat that process for the other three cylinders.
Now the morning bolt for these two coils were missing in the beginning because the nuts were frozen on the plastic cover so we took them apart. I took a 10 millimeter wrench and a 10 millimeter socket broke them free. Now I'm going to install these on the actual coils then we can put the cover on. So I'm going to install the little plastic cover here. So those two front bolts or the coil hold down so these are the nuts and the actual back bolts, they're all one piece. And those go through the harness. There's an open casing in the harness so you're holding down exactly the harness. This is just a cover so you don't have to go crazy on the actual tightening. Just snug it down, let it just bottom out.
Thanks for watching. Visit us at 1AAuto.com for quality auto parts, fast and free shipping, and the best customer service in the industry.