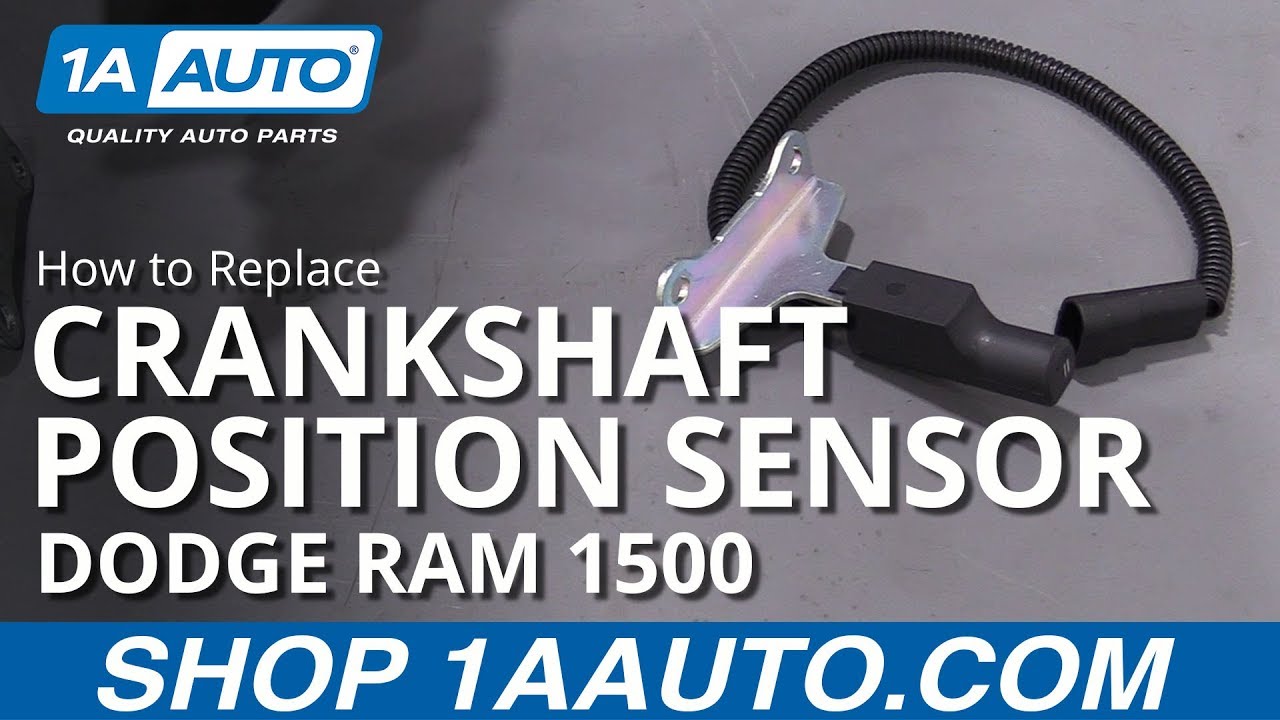
Lenny: Hey, friends. It's Lenny here from 1A Auto. Today, were gonna be working on a 1996 Dodge Ram 1500, and I wanna show you how to replace the crank sensor. If you need this or any other part, check us out 1aauto.com. Thanks.
Okay, friends. So, we got a nice long extension, swivel, short extension, and then swivel head 13. Makes a nice flimsy rig here. Hopefully, this is gonna make it so we can get down behind the firewall, up against the engine, onto our 13-millimeter bolt and then get our ratchet on here, take one out and then the other. That's our plan, let's make it happen. Just find your tranny dipstick, follow it down by hand until you get to the shelf. That you can feel the crank sensor sitting onto. Once you made it down to that point, we're just gonna try to get our 13-millimeter on there onto the bolt head.
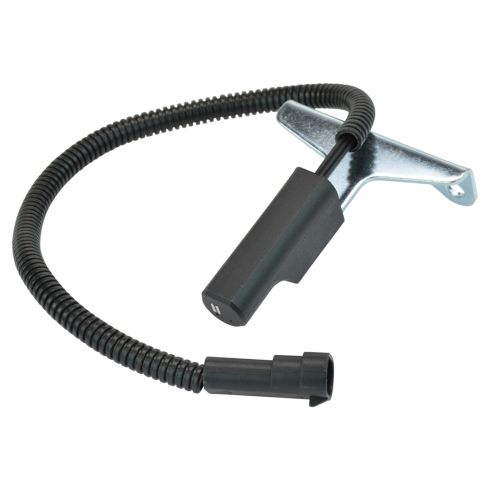
Come on, almost. Got it. There's our bolt. Bolt number two, same as the first. Awesome. Okay. So, now I'm just gonna grab our unit, slide it up and out of its hole that it's happy in. Get this up and out of here. Now, we can follow our cable, it should move over to the driver side, and it's gonna plug in right back over here. I don't know if you can see it or not. There's a little thumb tab that you just pull out of the way and then this thing should separate. So, you can see it right here. See if I can get this out of the way. There we go. Okay. Right here. Not much room to play with. Just pull on this little tab right there, and you should be able to separate these two pieces, generally. Here is our crank sensor, friends. Awesome.
All right. It's time to get this 1A Auto sensor installed. Wanna come right through over here, top of the engine, I'm gonna go right down along the driver side of the transmission dipstick and feel for the hole in the transmission. Once I find that, I'm gonna put the sensor in there. There we go. So, that's going down in there. I'm gonna try to start mounting this sensor. All right. I got one started, just gonna bring that down. I'm not gonna tighten it and I'm not gonna bottom it out yet because I need to be able to move the sensor around while I put in the other bolt. All right. So, we've got both of these started in, and now I'm gonna grab my tool and we're gonna snug them right up. Start with whichever bolt makes you happy. Looks like it's getting close here. So, once it stops, bottoms out. That's it right there. I'm just gonna give it just a teeny little tug after that and that's it. Now, I'm gonna go over to the other bolt. Just make sure that this is nice and snug. There we go. It's definitely tight. Awesome.
So, now we've got it bolted in, I'm gonna take the cable right here, can see the connector. I'm gonna make sure that I'm not wrapped around any of these spark plug wires. You don't want it wrapped around any spark plug wires. You don't want any electrical interference. Go right around the backside of the distributor cap along the firewall and then you can see it right down in there. See it moving around? Hello. Now, I'm gonna take our electrical connector from the vehicle wiring harness and I'm gonna push it right in. If you have some dielectric grease and you want to use that, feel free. Just plug it in here and I'll get my hand out of the way. Make sure it's clipped in. Give it a nice little tug. There it is. It's definitely clicked in. It's pushed in as far as it's gonna wanna go. Let's see. Yeah. Awesome. I'm just gonna take this, slide it back into where I got it from. Make sure I didn't disturb any hoses. Everything is still connected. That's connected, this is connected. Awesome.
Thanks for watching. Visit 1aauto.com, your place for DIY auto repairs for great parts, great service, and more content.