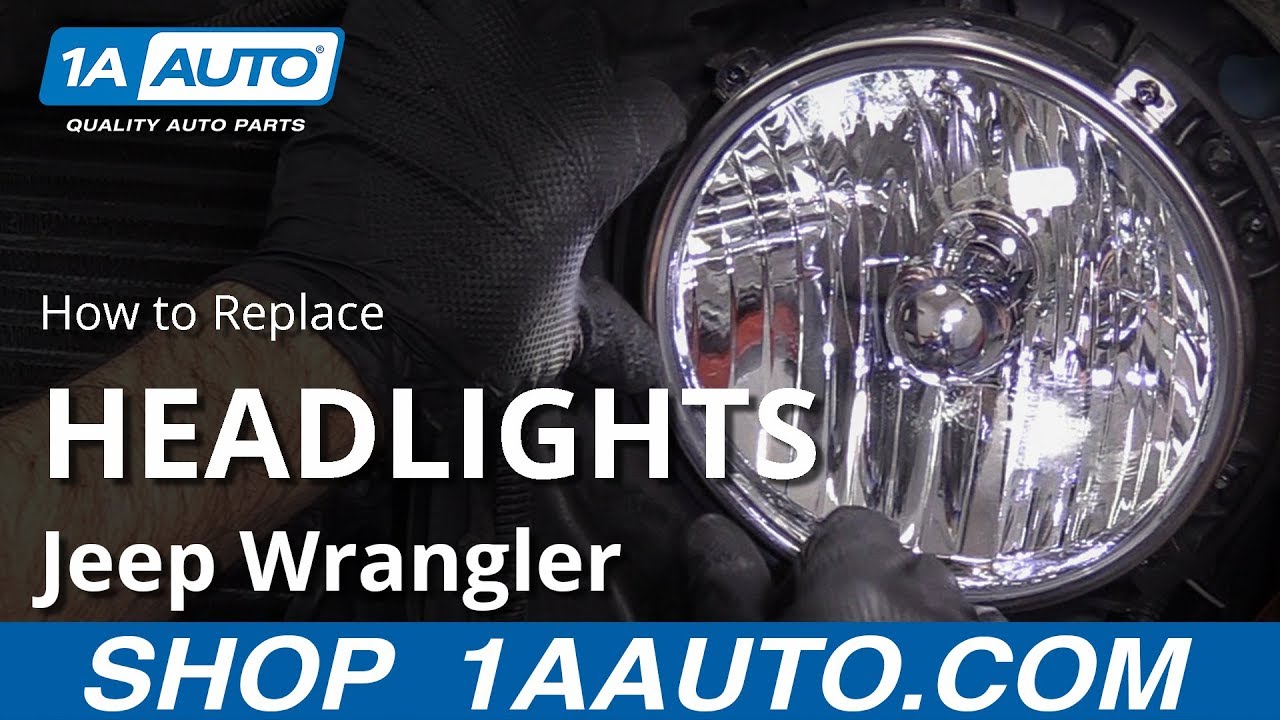
Hi, I'm Andy from 1A Auto. In this video I'm going to show you how to replace the headlights on this 2015 Jeep Wrangler. If you need this part or other parts for your vehicle, click the link in the description and head over to 1aauto.com.
Now, we're going to pull these clips out, there's three on this side, three on this side. I'll just use a trim tool. Get underneath the clip. Take that out. Do the same with the other ones. With that loose up top, just grab with two hands, and just pull straight forward. Be careful, these little lights are still connected. All right, now to remove this I'm just going to take the whole socket out, it's a little bit easier to untwist that. There's a little lock there, you'd have to move the lock to disconnect the connector. Set those aside. Same with this side. Take that off. And there's the grill. So, this new headlight comes with the bezel, and it comes with this bracket that the bezel mounts to, with the lens. So, on the old one, you could do it either way, you could take the bezel off, or you could take the bracket off with the headlight and replace the whole thing.
So, I'm going to show you both ways on how to do this. So, if you wanna take the whole bracket off, I'm just going to take a straight blade screwdriver, it's just pressed in on these three mounting points, right here, right here, and down here. So, what I'll do with the screwdriver is just get in here, and you're going to apply some pressure forward. Pull it forward. It may be a little bit tricky to do this, but ... They probably make a special tool to do this, but I just use a screwdriver. And then the last one, it was loose already, and it popped off. So, there's three little fingers on there, basically like this. Three little fingers and you're just pushing out on the fingers and pulling it forward. Then we'll disconnect the connector. There's this little red lock tab you wanna push that up. That's normally in this position, push it up, push down, you can slide the whole thing out.
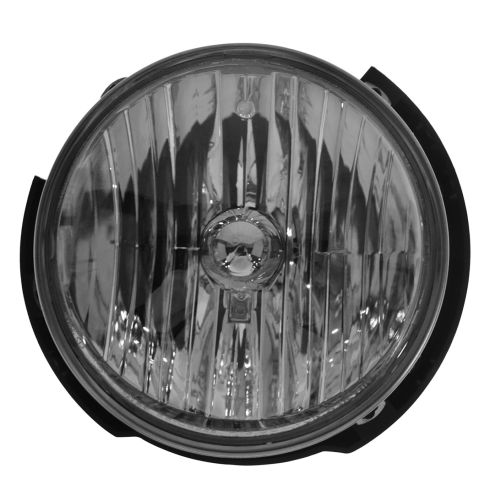
For this one, I'm just going to take the bezel out. I'm going to use a T15 and take these screws out. There's one, two, three, four. With all four of those screws out, now we can just grab the bezel, slide it forward, set it aside. Grab the lens. And there's that lock right there. Just take a pickk or a screwdriver, slide the lock back, and we can release it. Take it out. Here's the old headlights. Here's the new headlights from 1aauto.com. As you can see, the shape is the same. The same round face. The trim is the same. This actually comes with the frame. The back, it comes with the light bulb. Get yours at 1aauto.com, and you can do it yourself.
All right. So, on this side, we're just going to replace the lens and the bezel. So, I'm going to take this off the new one. Just use that same T15. All right. Now, I'll just pull this off of here. Take this, this is going to like up this way. So, if you look inside there, you'll see a little screw at the bottom of where the bulb is. That's going to go towards the bottom. Connect the connector. And then push down on that red lock. Just use a pick tool, push down on that lock. Now, this'll line up in here. And there is actually key-ways on this. So, right here, this is going to line up right there. So then, take the new bezel. And this is only going to go on one way. Like that. Take the screws.
All right, before I try to press this headlight on with the frame, I'm actually going to take a little bit of grease and just put it on these little tabs, right here and right there. That's just going to help slide it on a little bit easier. Connect the connector to the bulb. Then push that little lock tab in. You may need a pick or a screwdriver. Just be careful with it. Just push that lock down. Now, we wanna line these up. I'm going to line the bottom ones up first, because there's two little positions this top one could be in. You don't wanna put it on the wrong one. Just push on. Lock it in. Lock it in. And this is the last one. Just like that.
Now, we're going to line this grill up. First I'm going to put these lights back in. Lock that in like that. Do that same with the other side. Or, if you disconnected them at the connector, plug those back in. And that one's going to go that way. Line these tabs up on the bottom. And just push this on. Take these push pins, push these back in. After you're done installing new headlights, it's always a good idea to adjust them. To adjust them on this vehicle, you're going to use a T15 driver, and you're going to adjust them right here.
This is a basic tutorial on how to aim the headlights on your vehicle. Find the axis of your headlights. This is usually indicated with a small dot or the headlight bulb size on the lens. If not, it's the actual center point of your headlight bulb. Transfer this mark to a vertical wall, with a preferably dark color that'll allow you to back up 25 feet. Pull up and find the center line of your vehicle, as well as the center line of your headlight axis. Mark the wall with the height of the headlights and a straight line going across at that axis height. Back your vehicle up 25 feet from the wall to the front edge of your vehicle's headlights. Turn your headlights on and locate the adjusting screw, usually on the back side of your headlights. You'll want to rotate this until the passenger hotspot or focus of the beam is approximately two inches below the line. And the drivers side is four inches below the line.
We changed the heights on each side, so you can still get a good beam to the offside of the road on the passenger side. And have the drivers side low enough to not blind on coming traffic.
Thanks for watching. Visit 1aauto.com for quality auto parts shipped to your door. The place for DIY auto repair. And if you enjoyed this video, please click the Subscribe button.