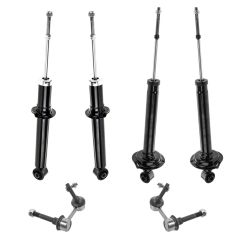
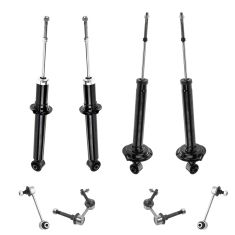
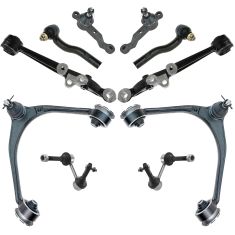
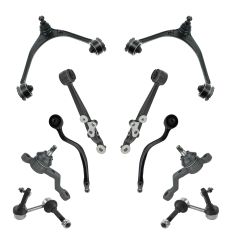
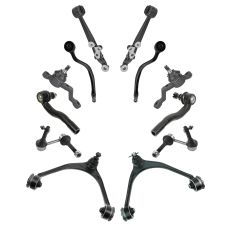
Hey, everyone. It's Len down at 1A Auto. Today we're going to be working on a 2001 Lexus GS300. Today we're going to be doing front sway bar links. Fairly easy to do. You might need a little bit of heat. You might need a little bit of lube, but we'll work our way through it. You can find this part and many other great parts on 1aauto.com.
All right--one of the first things that we're going to want to do is after we have the vehicle semi-supported off the ground, you want to make sure the wheel is still on the ground firmly. You take your 21 millimeter socket, and if you have along ratchet or a breaker bar.
One. Just a little bit. You don't want to go too far. As we take off this one last lug nut, you want to make sure you hold that wheel on. You don't want it to fall off, go bouncing off, hit you in the knee, and hurt yourself. Safety is key. Let that down nice and easy. Firstly, I should mention that I'm using a 12 millimeter six-point socket. Put it on there. You're going to want to turn these counterclockwise to the left. Hear that puppy break free? Oh, yeah. Get that one nice and loose. You don't have to take it all the way off yet.
Grab your other one. Give it a little push. Oh, yeah. All right, so what I did is I switched to a six-point 12 millimeter socket. It's the short version as opposed to the long version. The reason for that is because we have this large backing plate right here which is to help divert air into the braking system for help cooling and removing dust, but as you can see, that might get in the way once I get this bolt and nut almost completely out. There's one nut. That one bolt out. Remove the sway bar link from the sway bar and pull that right down and out of the way.
All right, so next what we're going to do for the sway bar link is we're going to remove this 17 millimeter nut using a six-point socket 17. You might need something with a little bit girth to it, a little bit of length to break it free. There we do. Just remove this nut completely. Now that the nut's off, we're going to try to take this stud out of here. It goes completely through this lower control arm and comes out the other side. It's probably going to be stuck in there depending on the year and everything of this, but odds are it'll be stuck in there pretty good.
I would try using an air hammer. You can get these anywhere, or you could try using a hammer. If you've got a lot of time and a lot of effort, I would go that way, as well, but the key is to just get it out, so watch your ears. Watch your eyes. Safety first. Here we go. Oh, wow. Here we go. Should just pull right out.
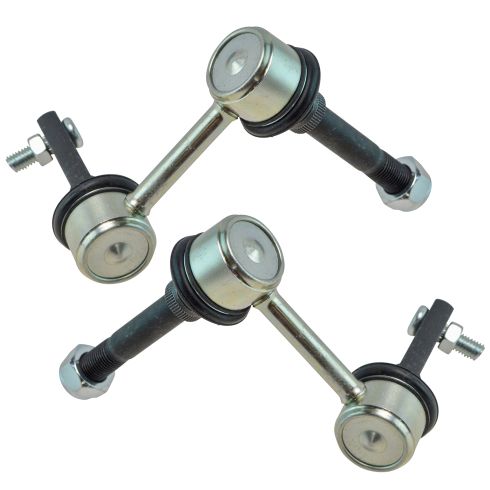
Sometimes the plate's a little bit in the way. It's flexible. Here we are. There's the old one. Out with the old. In with the new. Quality 1A Auto part right here. This is our old piece. You'll notice the length of the shaft right here. You'll also notice that it comes with a stud that's built right into it. It's driven in. You don't want to remove that. It should come with it. Great news is as with any part from 1A Auto, it comes with everything you're going to need.
You've got your extended shaft, which is about the same length of, well, the exact same length of what the old one is, and then it also comes with a stud. As mentioned, that should be part of the part and it is, and these were also non-greasable, pre-greased joints, so in all honesty, you really can't get a better part than that for a better price. I recommend coming down to 1A Auto for this part and many others.
All right, so our new 1A Auto part, sway bar link, comes with a brand new nut. Wonderful thing about it is the fact that it comes pre-locked. See how it's oblonged? Maybe you can't with the camera, but it actually oblonged. That means that this is a self-locking nut. Technically, you don't need to use any thread locker. It's up to you if you want to or not, but you should be good to go just using it as-is.
This is going to go in from front to rear. Should slide right through nice and easy. I got my locking nut on the back side. I can tell it's locking because it's oblonged. Start it on there. There we go. That should be a 19 millimeter. Got my 19 millimeter six-point. Put it on there. Shouldn't really need to hold it. It should hold itself pretty firm. In case it doesn't, we'll just grab on to there with some locking pliers, but let's see if it just blasts on. Nice. That's perfect.
All right, let's get this sway bar link in. We're just going to try to line up the study on the sway bar link to the hole in the sway bar. Get that as lined up as we can. We don't need to start the nut on there at this point. What we will try to do is get this other bolt started into the sway bar link while it's still loose. That started in beautifully. I'll get it in a few threads.
Next, I will put on that nut. There's no available torque spec for this, so use your best judgment. It's not a very heavy duty bolt or stud, so reefing on it could cause yourself an issue. I would just tighten it and give it just a little shake. It feels good. If you try going too tight, you could break it or you could actually stretch the stud and/or bolt in which case you'll weaken it and you could have issues further down the road.
With both of those tightened up, we know that this side's tightened up, as well. Sway bar link's good to go. All right, now it's time to get the wheel up on here. Roll it up onto your leg or your knee. Never lift with your back unless you have to, and you really sudden have to most times. Go ahead and grab a lug nut. We're going to start one on. Getting it lined up.
Now that we got our wheel on the ground, you don't want all your pressure of your vehicle on it because if this isn't tightened down snug enough, you could off-kilter your wheel. And even though you're thinking you're torquing it down to the 76 foot-pounds it's specified to be, it might not be. So with the wheel gently on the ground to the point where it can't spin on you, you're just going to start with one and you're going to go in a crisscross pattern with your 21 millimeter socket to 76 foot-pounds. One click. Criss-cross. Make a star. Feeling up to it? Let's go around one more time. One, two, three, four, five. This puppy's all torqued up. Good to go.
Thanks for watching. Visit 1aauto.com for quality auto parts shipped to your door, the place for DIY auto repair, and if you enjoy this video, please click the subscribe button.