Hi. I'm Mike from 1A Auto. We've been selling auto parts for over 30 years.
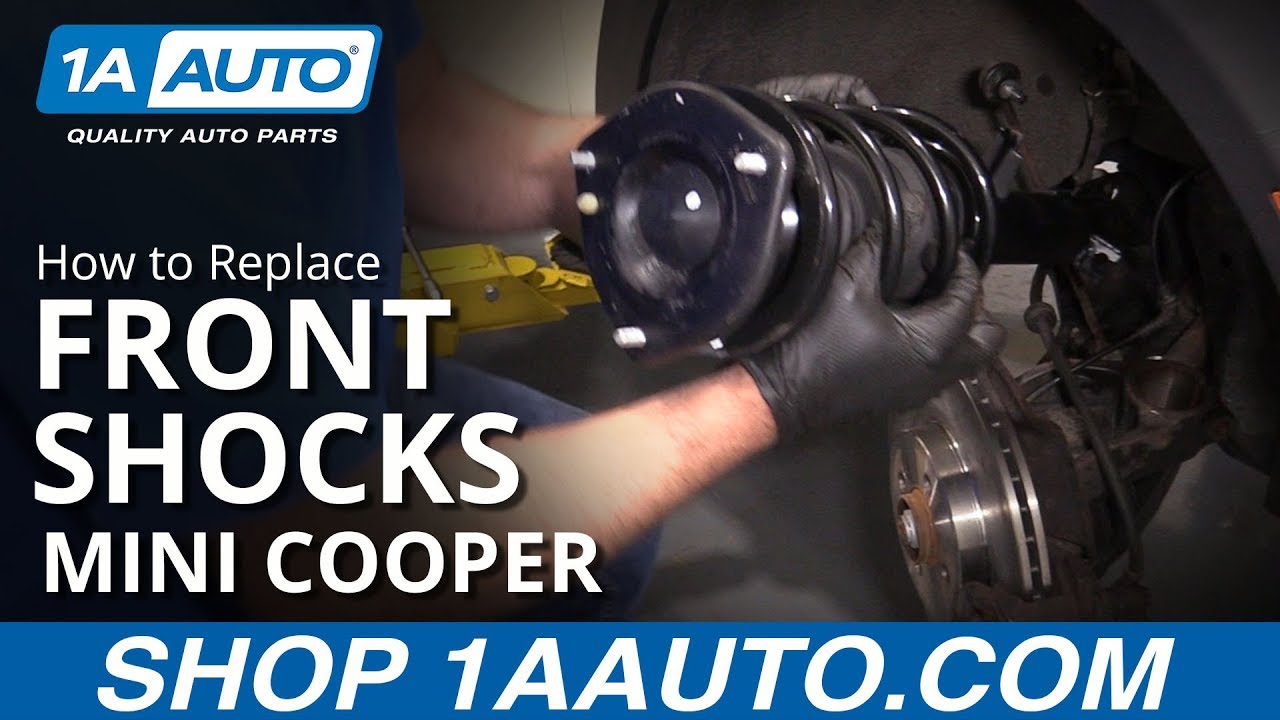
What's up, guys. I'm Andy from 1A Auto. Today I'm gonna be installing these front struts in this 2007 Mini Cooper. If you need these parts or other parts for your vehicle, click the link in the description and head over to 1aauto.com.
Any time you do any kind of of front end repair, you're gonna wanna go to a local shop and have your vehicle aligned, because you don't wanna end up with premature tire wear.
We're gonna remove this center cap. I'm gonna take a straight-blade screwdriver and I'm gonna find where the slot is. There's a little slot in this, and then just pry it out. Just like that. There's a little slot right there on that one. These other ones don't have the slot.
I'm gonna take a 17-millimeter socket and a breaker bar. We're gonna crack these lug studs free. Just loosen them up a little bit. Then we're gonna raise and support the vehicle.
Take my socket. Remove these lug studs. Then when I come to the last one, I'm gonna put pressure on the wheel so it doesn't fall. Remove the last lug stud. Or lug bolt. Whatever you wanna call it. Take that out, and then I can grab the wheel. Pull it off.
I'm gonna just turn this wheel to the side a little bit and I'm gonna take this nut off. I'm gonna use a 16-millimeter wrench, and we'll use an Allen key, a 5-millimeter Allen. The Allen is gonna hold the stud while we remove the nut. You can use a little rust penetrant on here if you have to. Just like this. I'm gonna put the ratchet on tighten so that it holds the stud. Then loosen it up with the wrench. Once it gets kind of loose, then I can use the ratchet to help me out.
Now it's loose enough, I can just do it by hand. Take the nut off. Then I can slide this. Slide that link right out like that.
Next I'm gonna slide this sensor off this clip. It's on the strut. And then this brake line, brake hose. Just slide this rubber grommet off that retainer right there. I'm gonna take a 18-millimeter wrench, 18-millimeter socket and a ratchet. The wrench I'm gonna use on the back side over here. Right there. That's just gonna hold the bolt from spinning. Then on the front side I use the socket and ratchet to loosen up this nut. It's loose, just take it off by hand. I can slide this bolt out. If the bolt struggles to come out, you can tap it with a hammer.
I'm gonna take a hammer. I'm gonna tap down on the knuckle right here. Be careful when you're doing this. You might have to move this steering to the side a little bit while you're doing this. So that seems to work best if you turn it towards the outside. We'll slide this out of the way. So the strut's just gonna hang like that, and the suspension will just stay there. The hose, there's no tension on the hose, so that's fine.
I need to take these nuts off right here. I'm gonna use this 13-millimeter wrench for this back one. 'Cause it's hard to get a socket on this back one. Just loosen it up. Take this one out completely. And I'll take a 13-millimeter socket and ratchet. We'll loosen these up. This one, then this one. Take this one off. And with the last one on there, gonna have to support the strut from underneath. Just grab it with my hand while I loosen this with my other hand.
Once those are loose, I can slide this down. I'm just gonna slide this down here. Once I can clear this, slide it out just like that.
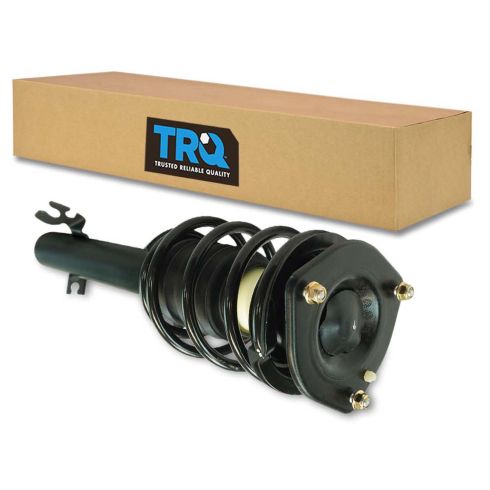
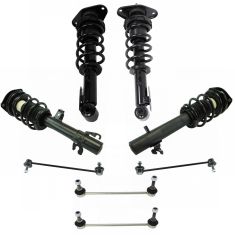
Here's our old strut assembly. Here's our new strut assembly from 1aauto.com. Comes with a new spring. You've got this boot in the middle. The strut is the same shape. The brackets on the bottom are the same. Comes with a strut mount wrench nuts. Get yours at 1aauto.com and you'll be ready to rock and roll.
We're gonna install this underneath first. Just slide this in. This top part you're gonna wanna keep in mind. That little nub there, that's gonna line up with the hole up top. Slide this up top. Whoops. Just like that. See, it's gonna go right there. We'll take the nuts. Get these started.
Once those are started, then I can start tightening these down with a 13-millimeter socket. And I can't really get on this one too well, so I'm just gonna use my 13-millimeter wrench. If you have a ratchet-wrench, this'll be a good place to use it. Just knock that up.
Now we're gonna use a torque wrench and our 13-millimeter socket. We're gonna torque these down to 25 foot-pounds. This one's a little tricky to get on to. I'll just use an extension on this one. That worked.
So we're gonna slide this lower part of the strut out and try to pull the knuckle out. Get that to line up. Like that. You're gonna have to turn the strut, turn the knuckle. There is this bracket right here that goes in a slot on the back side of the knuckle. So you want that lined up. The back there.
I'm gonna put a floor jack, or a jack stand underneath this lower control arm. You could also use a floor jack and actually physically pump it up. But with how we're using it with a two-post lift. This is a easy way to do it.
I'm gonna lower the vehicle down a little bit. Gonna have to constantly come back, just line this up a little bit. Make sure these are not in the way. Be careful while you're doing this. You don't wanna get your fingers pinched back there. You could just wiggle it back and forth.
I'm just gonna take a hammer. I'm gonna tap the strut a little bit. Tap the knuckle up. Now what you're trying to do is to make sure that bracket, when you go to put the bolt in the hole, you wanna make sure that that lines up, which it does. So I will slide it in the back side, go in the correct way. I can install the nut. You can put a little anti-seize on here. It'll help if you ever have to replace it in the future.
So while I'm gonna hold that bolt from the back side with a 18-millimeter wrench, I'm gonna torque this wrench my 18-millimeter socket and torque wrench. I'm gonna torque this to 73 foot-pounds. That's good.
Now we can reinstall this wire into this bracket. Just line that up. And from this back side over here, take that brake hose and take that grommet and just push it on. Just like that. Now we'll slide this link into the top part of the strut. I'll take this nut, slide this on. Just take a socket and a ratchet, get this tightened down. If it starts spinning, then I can use the wrench and then use an Allen, like how we took it off.
I'm gonna take a torque wrench and my socket, from the top, I'm gonna use an extension. I'm gonna torque this to 41 foot-pounds.
Now we're gonna install the tire. But before I do that, I'm gonna use these tools that we actually sell at 1A Auto, and they actually will line the wheel up for us. It'll actually help and assist while we're installing the tire, because this doesn't have lug studs. We'll just slide this in place. That way it makes it easier to install the tire. You can grab the lug studs and get these started, or lug bolts. I'll get these two installed. Once those are installed, then I can take these two tools out, and I can install the other ones.
Now I'm gonna take a 17-millimeter socket. I'll just snug these down before I lower the vehicle.
Now we're gonna lower the vehicle. Now I'm gonna take a 17-millimeter socket and a torque wrench and I'm gonna tighten these lug studs to 88 foot-pounds. I'm gonna do this in a cross pattern so that it torques the wheel down evenly. I'll just go over it again real quick. Make sure. Good and tight.
Now I'll take the center cap. I'm gonna line this groove up wrench this right here and lock it in place.
Thanks for watching. Visit us at 1aauto.com for quality auto parts, fast and free shipping, and the best customer service in the industry.