Brought to you by 1AAuto.com, your source for quality replacement parts and the best service on the Internet.
Hi, I'm Mike from 1A Auto. I hope this how-to video helps you out, and next time you need parts for your vehicle, think of 1AAuto.com. Thanks.
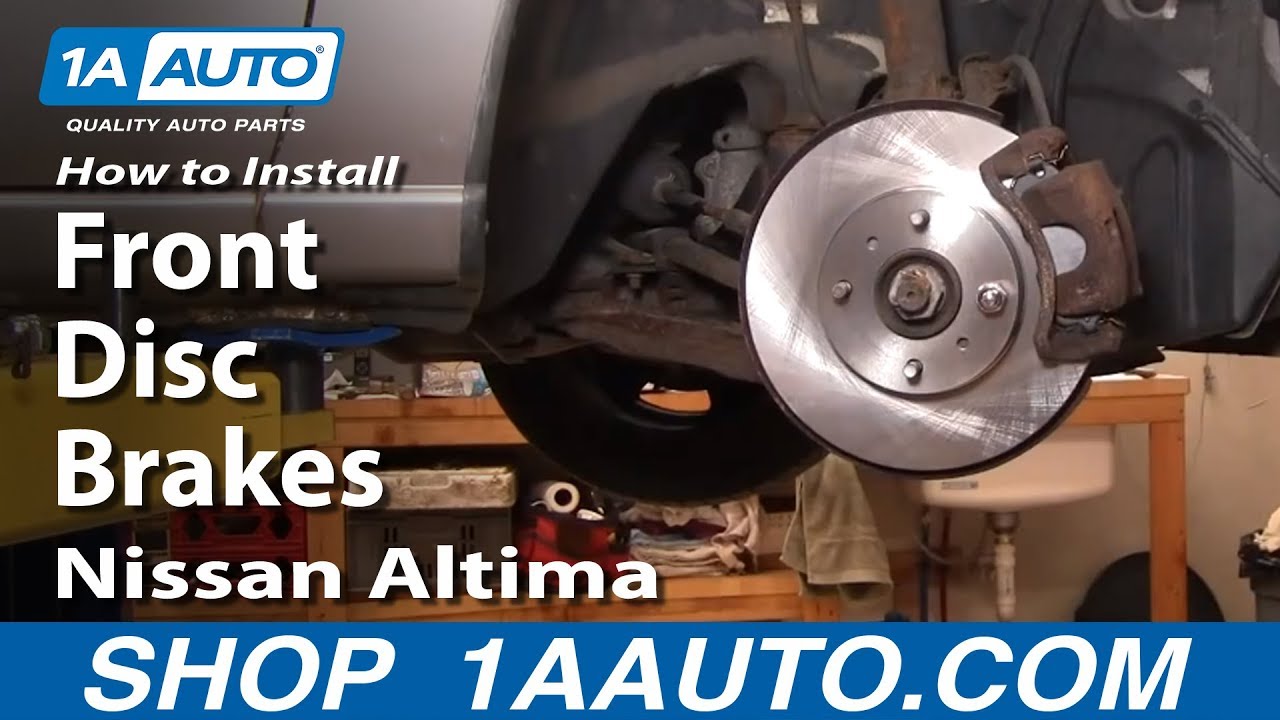
In this video I'm going to show you how to replace or service the front brakes on this 2000 Nissan Altima. It's pretty much the same as any 1998 to 2001 Altima. The tools you'll need are 14- to 21-mm sockets with a ratchet, you'll also need a breaker bar or a pipe for some extra leverage, large flat-blade screwdriver, large C-clamp, torque wrench. Then, additionally, if you check your slides and the caliper brackets and they are stuck you'll need some penetrating oil, some large pliers or vice-grip pliers and a hammer. We show you the driver's side in this video. You'll always want to redo or replace or service your brakes in pairs.
If you don't have the benefit of air tools, start loosening your lug nuts while the car is on the ground. Then lift and support and remove the lug nuts from the wheel and tire. A quick inspection of the brakes here shows the pads are actually in pretty good shape. We're going to replace them anyway just to show you how to do it. You can tell because there's a little hole there and a hole there. Those are the wear indicators. Once it's down and that slot is worn away it means it's time to replace the pads. It looks like this car has been sitting for a while. For the rotors, run the back of your finger up and down. You want to make sure that you feel it nice and smooth, no large grooves. Even though it looks like there are grooves on the rotor, there's actually none. But again we'll replace it just to show you.
What you want to do is remove the caliper. You want to remove this bolt here and this one down here. The bolts are 14 mm. We'll speed up. These bolts should come off pretty easily. They are not supposed to be tightened too tight. Now use a large screwdriver. You pull up on the caliper. Get the screwdriver in behind and then pry the caliper up and off. The pads just pull right out like that.
Once you have that off, you want to check your slides here and they should slide back and forth quite easily. This one down here is actually frozen in place so we'll try to free that up. First, use some penetrating oil, pull the rubber boot back, and spray as much in there as you can. Now I take a large pair of water pump pliers and put them onto the slide itself and got it to move in a twisting motion first. Then I actually put the bolt back into the slide, grabbed onto the bolt with the pliers, and hit it with the hammer for just a few minutes until it started loosening up. Here I grab on the slide with a large pair of vice grips and I twist and pull out. Here, you can see, once I get the rubber boot off, that slide is quite dry, dirty, and rusty. Now to remove the disk, you need to remove this caliper bracket which is two larger bolts here and here. Use the 19mm socket and we use a ratchet and a piece of pipe. The pipe gives me some extra leverage. Just pull nice and easy until the bolts come loose. Let's fast forward here for a moment as I remove those two bolts. That comes off and then your rotor comes right off.
Put the new rotor right on. It fits right in place and put the lug nuts on to hold everything in place. Put the caliper bracket back in. It's a matter of putting it back in place and then starting the two bolts from the backside. With a torque wrench, torque these bolts to 100 foot pounds. Here's the slide that I pull out. You can see that I've cleaned it up nicely with a wire brush. I'm going to take penetrating oil and spray it a few times and work it in and out of there a couple of times to make sure it's nice and free. Clean it off and put a light coat of bearing grease on there, slip the hoop back on, and slip it back into place. Both of them slide quite nicely. Bring your caliper down. As your brakes wear, this piston works its way out of the caliper so with new pads you have to reset that. I'm going to put a large C-clamp on here. As I straighten up the clamp, the piston goes back in.
Now, take your pads and put them right in. You want the wear tab on this side. Put the inner pad right in. Then you push in your slide a little bit. What you find you may have to do is push those slides in as well as turn them so that the caliper goes right down and on. Then start in both bolts. You want to tighten these up to about 20 foot pounds.
Now, you pull the wheels back straight, take off that lug nut. Then put your wheel and tire back on. Start all the lug nuts by hand. Now, I'm going to use my air gun to preliminarily tighten the lug nuts before I put the vehicle back down on the ground. Now, you want to tighten your lug nuts to 100 to 110 foot pounds. It's very important to always make sure that you pump your brakes before you road test your vehicle. Make sure you get a nice, hard pedal and then do a stop from 5 or 10 miles per hour just to make sure your brakes are working before you put it on the road.
We hope this video helps you out. Brought to you by www.1AAuto.com, your source for quality replacement parts and the best service on the Internet. Please feel free to call us toll-free, 888-844-3393. We're the company that's here for you on the Internet and in person.