Hi, I'm Mike from 1AAuto. We've been selling auto parts for over 30 years! We're dedicated to delivering quality auto parts, expert customer service, and fast and free shipping, all backed by our 100% satisfaction guarantee. So visit us at 1AAuto.com, your trusted source for quality auto parts.
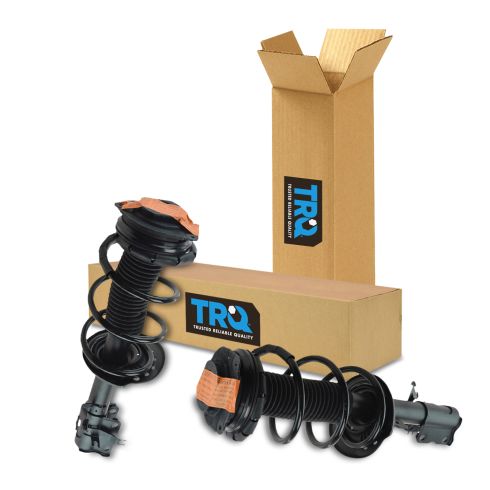
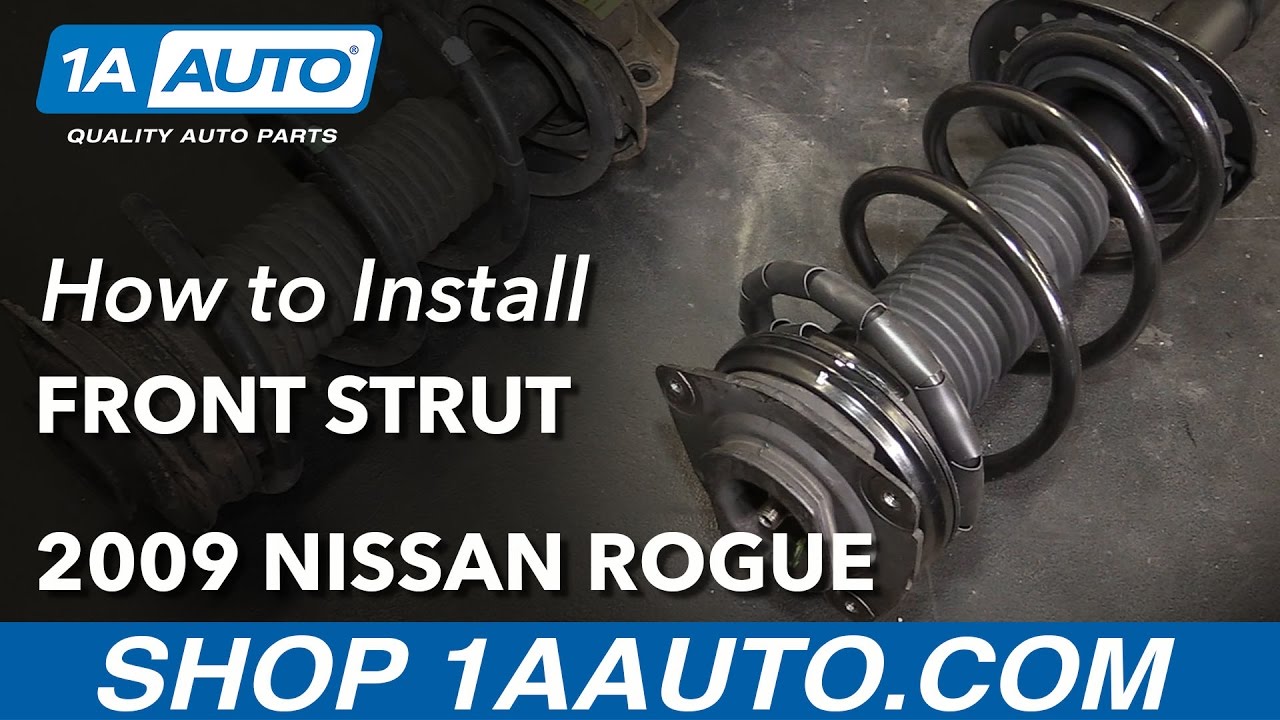
In this video we're going to be working with our 2009 Nissan Rogue. We're going to show you how to remove and replace your vehicle's front strut. We're using a loaded or quick strut assembly, which means we'll be installing a whole new piece without replacing springs and bellows and all those things. If you like this video, please click subscribe. We have a ton more information on this and many other vehicles, and if you need these parts for your car, you can follow the link down in the description over to 1AAuto.com.
Here are the items you'll need for this repair: 13-21mm sockets, ratchet, socket extensions, breaker bar, flat blade screwdriver, hammer, locking pliers, torque wrench, jack and jack stands
Crack all of your lug nuts loose with a 21mm socket and a breaker bar. Raise and support your vehicle. We're using a lift to make this easier to show you what's going on, but this can easily be done at home with a jack and jack stand. Remove the rest of your lug nuts, either by hand or with the help of a 21 mm socket. These are kind of deep into the wheel so it helps to use a socket. Remove your wheel and tire from the vehicle.
Remove the clips securing the flexible brake hose on the back of the strut. You'll want to use a screwdriver, chisel, or punch and just kind of tap that lip. Wiggle the flex hose down, and remove it. You'll want to remove the rubber retainers for the ABS sensor as well. Place a pair of locking jaw pliers on the back side of the joint for the sway bar link and remove the nut with an 18 mm socket and ratchet. Remove the sway bar link from the strut and I'm just going to leave those locking jaw pliers on there since we'll be needing them to reinstall anyway.
Remove the strut bolts with the 21 mm socket, ratchet, and wrench. Now you may have to grab the strut with a hub and kind of wiggle it to help you get that second bolt out and make sure you move the spindle over to the side. There are three bolts on the top of the strut. Two here and one under this little rubber cover that you'll need to pop out with a flat blade screwdriver. Now it's pretty tough to see that one, but rather than remove the whole cowl, what you can do is reach down there with a long socket and extension. We'll remove these two first and then as you unbolt this one it will stay in the hole as the strut hangs down. That way we can leave it in place and help start the bolt into the new strut to prevent us actually needing to remove the whole cowl.
We'll start with the inside bolt, use a 13 mm short socket and ratchet. Once you've got the other two bolts out, feel around for the third one. You'll see that the strut starts coming down as you do that. You'll feel when you start getting to the end of the threads and when you do, you'll want to reach down underneath and support the strut.
Now the trick is to support the strut without pushing up on it, because if you push up, you could have that bolt sitting outside of the hole and drop it out which will require you to remove the entire rain tray, which adds a lot of time that can be avoided if you take an extra minute here. Once that bolt's out, you can remove the strut from the vehicle.
Here we have our old strut that we removed from our vehicle and our new part from 1AAuto.com. Now this is a loaded or a quick strut, which means it has a new spring, new bellow, new bump stop and a new strut mount on it, which saves us a lot of time and hassle disassembling the old strut and potentially still having issues with our older parts. Replacing these as a pair like we will on this vehicle, will get our vehicle brand new in the suspension department up front and restore our original ride quality.
If your old struts have broken springs, bad mounts, or are leaking and not absorbing shock as they're designed to, these new parts from 1A Auto will go in direct fit, just like your original equipment and fix you up right.
Now this part is a little tricky and unfortunately it is going to be a little difficult to show, but your goal is you have the bolt that's inside of the rain tray hanging down there. I have my socket and extension on it, so I can easily manipulate it by hand, and we're going to move the strut up and in and set that thread into the nut on our new strut and try to start it in that way, so our bolt stays in place and we don't need to remove that rain tray to get everything going.
We'll now start the other two 13mm bolts, just to keep everything lined up and in place. You will have your old marks that you'll see in the paint from where the bolts were, and because of the design of this strut, that will affect your alignment angle slightly, so your best bet is to get those as close as you can, then tighten down the three 13 mm bolts. Don't be too worried if you don't hit those old marks exactly because you will want to go and get an alignment after this anyway. I'm just giving everything one more check just because of the nature of struts, tightening down one bolt may seem tight, and then when you get the other two in, it will level out. You may have a little slack on those threads, so you just want to give them one more check after they're all tight. Don't forgot to pop that plug back in over the third bolt.
Reinstall the steering knuckle into the bottom of the strut. You can then tighten the bolts back down with a 21 mm socket, ratchet and wrench. Reinstall the sway bar link. Reinstall and tighten the 18 mm nut with a socket and ratchet. Reconnect the rubber hangers for the ABS harness. Slide the brake hose back into place, it is keyed on there. It will only fit in one way so get that in and pressed up. Reinstall the spring clip. You may want to tap that in with a small hammer.
Reinstall your wheel and tire as well as all five of your lug nuts. Now I'm just going to use a 21 mm socket and bring the lug nuts down as tight as I can by hand, using that. With the vehicle lowered partially, so just a little bit of weight is on the tires to keep them from turning, we'll torque our lug nuts to 80 foot pounds in a cross pattern.
Thanks for watching. Visit us at 1AAuto.com for quality auto parts, fast and free shipping, and the best customer service in the industry.