Hi, I'm Mike from 1AAuto. We've been selling auto parts for over 30 years! We're dedicated to delivering quality auto parts, expert customer service, and fast and free shipping, all backed by our 100% satisfaction guarantee. So visit us at 1AAuto.com, your trusted source for quality auto parts.
In this video, we're going to be working with our 2009 Nissan Rogue. We're going to show you how to remove and replace your vehicle's outer tail lights. If you like this video, please click subscribe. We have a ton more information on this and many other vehicles. If you need this part for your car, you can follow the link down in the description over the 1AAuto.com.
Here are the items you'll need for this repair.
Open your hatch, and locate the 10 millimeter screw on the inside edge of your tail light housing. We'll remove that with a 10 millimeter socket and ratchet. Using your plastic trim tool, pry out the panel behind the tail light you're going to be replacing. It's just a series of plastic snap clips. To save time, you can simply reach in behind this panel, and feel for the connector. It's the only connector down behind the tail light. Simply push down on the tab, and disconnect that.
Using a plastic trim tool, pop out the front edge of the light, and then use that same tool on the back. There's two clips there that you'll need to pry out, as well. To replace your tail light assembly, wiggle this grommet out of the body, and remove your tail light from the vehicle.
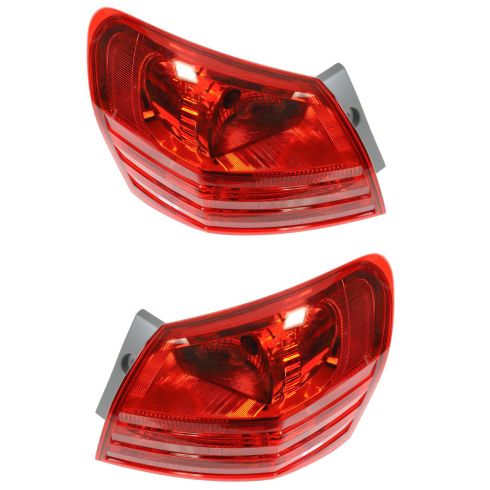
Here we have our old tail light assembly that we removed from our vehicle and our new part from 1AAuto.com. As you can see, these parts are exactly the same. They have the same lens, same mounting bolt. We're actually replacing our old one, because of this crack here where it's been glued back together before. On the back side, we have the same three mounting tabs, one at the bottom below the 10 millimeter bolt, and two closer to me here that mount into the side of the body, as well as the same two bulb locations. They actually have color-coded sockets on the new one, which is nice.
These are different, so you can't put them into the wrong sockets, but having that color coding makes it that much easier. It even uses the same OE wire harness colors, the same connector, and even comes with a new grommet and some wire loom to make sure that it's protected just like the original piece. If your old tail light housing has taken on moisture, is cracked or damaged, or the wiring harness has taken some damage, causing it to malfunction, this new part from 1A Auto is going to go and direct fit just like your original equipment and fix you up right.
Send your wire harness through the body, and reinstall the rubber grommet, just pops in. Install the tail light assembly onto the body of the car. Make sure you line up all of your pins so they snap back into place. Install the 10 millimeter bolt back into the top hole with the 10 millimeter socket and ratchet. Reach in, and reconnect the electrical connector, and snap in the plastic tabs on your trim panel. Make sure you roll your weather-stripping back up onto the top edge. Close your hatch, and you're good to go.
Thanks for watching. Visit us at 1AAuto.com for quality auto parts, fast and free shipping, and the best customer service in the industry.
