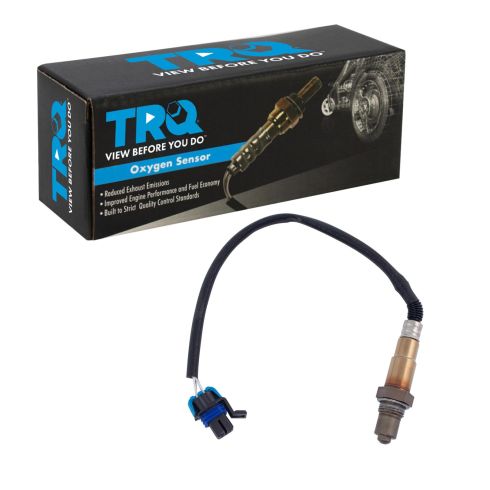
TRQ oxygen sensors are manufactured to precise specifications using premium raw materials to optimize your vehicle’s emission system. Each sensor is isostatically-pressed for improved strength and durability, and plasma-sprayed to improve sensitivity and prolong the service life of the sensors. Oxygen sensors wear out over time and should be replaced every 60,000 miles to prevent poor engine performance. TRQ recommends replacing the oxygen sensors in sets to optimize fuel economy and reduce overall emissions. All products are fit and road-tested in our Massachusetts R&D facility to ensure we deliver on our promise of Trusted Reliable Quality.
Product Features
Application Specific Design: No modifications and pre-calibrated
Isotatic-pressed and plasma-sprayed for extended service life
Double-Layered 310S Stainless Steel: Additional protection from moisture and debris
Restored Engine Performance: Improved fuel economy and lower emissions
What is Upstream vs. Downstream?
Upstream location is between the catalytic converter and the engine
Downstream location is between the catalytic converter and the tailpipe
Install Tip: You may be required to reset the vehicle computer after installation of this part.
Item Condition:New
Attention California Customers:
WARNING: This product can expose you to chemicals including Lead and Lead Compounds, which are known to the State of California to cause cancer, and birth defects or other reproductive harm. For more information, go to www.P65Warnings.ca.gov.
Lifetime Warranty
This item is backed by our limited lifetime warranty. In the event that this item should fail due to manufacturing defects during intended use, we will replace the part free of charge. This warranty covers the cost of the part only.
Returns: Parts with electrical components cannot be returned once installed.
FREE Shipping is standard on Orders shipped to the lower 48 States (Contiguous United States). Standard shipping charges apply to Hawaii, Alaska and US Territories. Shipping is not available to Canada.
Expedited is available on checkout to the United States, excluding Alaska, Hawaii and US Territories as well as P.O. Boxes and APO/FPO/DPO addresses. Final shipping costs are available at checkout.
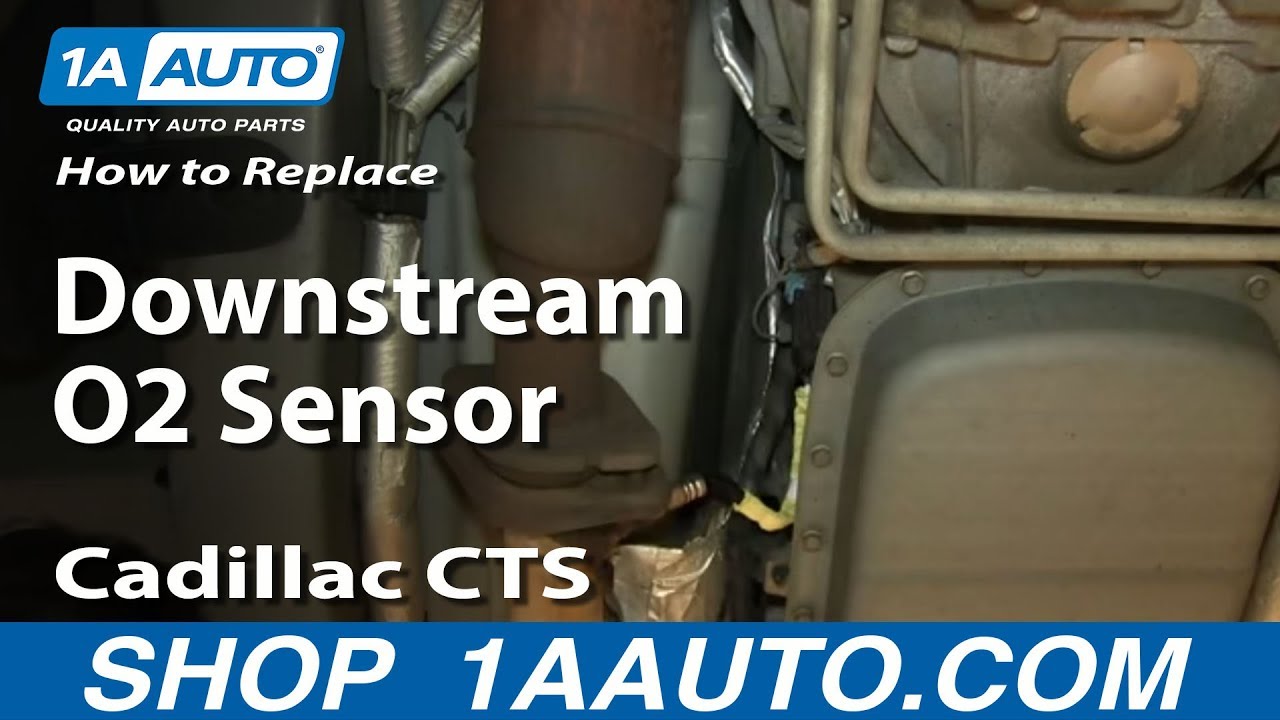
How To Replace Rear Downstream Oxygen O2 Sensor 2003-07 Cadillac CTS
How to Replace Downstream O2 Sensors 2003-07 Cadillac CTS
Created on:
Tools used
Jack Stands
Anti-Seize Grease
Floor Jack
7/8 Inch Wrench
1. Removing the Oxygen (O2) Sensor
Raise and secure the vehicle
Disconnect the oxygen sensor wiring harness
Remove the O2 sensor with a 7/8" wrench
2. Installing the New O2 Sensor
Apply anti-seize grease to the O2 sensor threads
Twist the new O2 sensor into place
Tighten the O2 sensor with a 7/8" wrench
Connect the O2 sensor wiring harness
Lower the vehicle to the ground
Brought to you by 1AAuto.com, your source for quality replacement parts and the best service on the Internet.
Hi, I'm Mike from 1A Auto. I hope this how-to video helps you out, and next time you need parts for your vehicle, think of 1AAuto.com. Thanks.
In this video, we're going to show you how to replace the downstream, or number 2 oxygen sensors on this Cadillac CTS, with a 2.8 liter. You'll need new oxygen sensors from 1AAuto.com, a 7/8"? wrench, and a jack and jack stands.
You'll want to lift your vehicle up, and there are arrows right on the side. That's where you'll want to place your jack, and then the jack stand to support it.
The right side is bank 2. The rear sensor, you can see here behind the catalytic converter. That would be bank 2, sensor 2, and then the front catalytic, or upstream catalytic would be bank 2, sensor one. Then, there is bank one, sensor two, and bank one, sensor one is the upstream.
If you want to replace one of the O2 sensors, you'll need to unplug it. They usually have a safety latch which you pull out, and then there's a tab that you push up and disconnect.
The downstream, or 2nd sensors on each side are pretty easy to reach with a 7/8 wrench, and you can see it just takes a good couple pulls, and then the sensor breaks loose. Twist it right out.
The new sensor will usually come with some anti-seize that you want to place on the threads,. Then twist it right in until it's seated. Then, use your 7/8"? wrench and tighten it up nice and firm. Then, just reconnect the harness, line it up, and make sure you push it in place until you hear the tab click on, and then set the safety pin as well.
Thanks for tuning in. We hope this video helped you out. Next time you need parts for your car, please visit 1AAuto.com. Also, check out our other helpful how-to, as well as, diagnosis videos.
Tools used
Torque Wrench
O2 Sensor Socket
Jack Stands
22mm Wrench
Floor Jack
1. Removing the O2 Sensors
Locate the O2 sensor connector on the transmission
Remove the safety on the connector
Disconnect the O2 sensor connector
2. Installing the O2 Sensors
Thread the O2 sensors into place
Torque the O2 sensors to 40 foot-pounds with a torque wrench and O2 sensor socket
Reconnect the O2 sensor connector
Snap the safety into place
Brought to you by 1AAuto.com, your source for quality replacement parts and the best service on the Internet.
Hi, I'm Mike from 1A Auto. I hope this how-to video helps you out, and next time you need parts for your vehicle, think of 1AAuto.com. Thanks.
In this video we're going to be working on our 2006 Cadillac CTS 2.8-liter V6. We're going to be showing you how to remove, replace, or reinstall your rear O2 or downstream O2 sensors. If you find this video helpful, please click subscribe. We have a bunch more information on this vehicle, as well as any other makes and models. Also, if you'd like to put these parts on your vehicle, the link can be found on our description.
Here are the items you'll need for this repair: O2 sensor socket, 22mm wrench, torque wrench, jack and jack stands
We're going to use a lift to make this easier to show you guys at home, but you should be able to do this in the driveway with a jack and jack stands. Locate the O2 sensor connector on the transmission. This is going to be on the left side of the tranny, for the driver side O2 sensor, and the right side, for the passenger. This process is the same for either.
Remove the safety on the connector. Lift up and release the electrical connector for the O2 sensor. Using a 22mm wrench remove the O2 sensor from the exhaust. Disconnect the O2 sensor on the passenger side, and remove it the same way as the other.
Reinstall the O2 sensors into the bungs. Use an oxygen sensor socket. Torque the O2 sensors to 40 foot-pounds. Reconnect the connector at the side of the transmission. Snap the safety back into place. Repeat this step on the opposite side.
Thanks for tuning in. We hope this video helped you out. Next time you need parts for your car, please visit 1AAuto.com. Also check out our other helpful how-to and diagnosis videos.
OSA61747
In Stock
Product Reviews
Loading reviews
5.00/ 5.07
7 reviews
5 Stars
4 Stars
3 Stars
2 Stars
1 Star
7
0
0
0
0
Fast and reliable
G
March 9, 2020
Received the part quickly and worked without any issues.
09 Cadillac SRX
Steven
June 15, 2020
This 02 sensor worked great. Fix the rough running and I cleared the check engine light without any problem. The engine is running smooth again.
Bobby
August 6, 2020
Just what i needed
DIY
jason
November 10, 2020
Got the RIGHT parts. Got it RIGHT on time . And did the job RIGHT the 1st time. Thanks 1aauto.
O2 sensor
Robert
February 21, 2021
Parts and shipping are always top notch from A1 ..... haven't been disappointed yet!
William
March 28, 2022
I always buy from 1a, perfect products, extremely fast shipping.
I also bought suspension items from them and they were also top quality fast delivery. Wouldn't go anywhere else
Brenda
December 14, 2023
Great fit Cadillac is running great thanks for the great service and How to videos!
Customer Q&A
Is this the upstream or downstream o2 sensor?June 12, 2020
Adrian A
10
Thank you for your inquiry. The fit of this item will differ depending on your application. In order to confirm if this is the upstream or downstream sensor on your vehicle, we will just need the year, make, model, and engine size. Thank you!
June 12, 2020
Jessica D
I have a 2012 Chevy traverse awd lt and was wondering if this came with both sensors the upstream and the downstream?October 12, 2020
Christopher M
10
Hello,
This will fit the upstream or downstream. This listing is for one sensor. Thanks!
October 13, 2020
Adam G
Will this fit the bank 1 sensor 2?October 31, 2020
Fredrick J
10
This sensor will fit the upstream or downstream depending on the vehicle fit info on the listing.
November 1, 2020
Adam G
Customer service
877-844-3393
Monday - Friday 8:00am - 9:30pm ET Saturday - Sunday 8:00am - 4:30pm ET
Buick is a registered trademark of General Motors Company. 1A Auto is not affiliated with or sponsored by Buick or General Motors Company.See all trademarks.
Enter Vehicle Year Make Model
Specify your vehicle's year, make and model to guarantee fit.
Year
Make
Model
Options
Drivetrain
This part doesn’t fit a . Select from parts that fit.