Hi, I'm Mike from 1A Auto. We've been selling auto parts for over 30 years. We're dedicated to delivering quality auto parts, expert customer service, fast and free shipping, all backed by our 100% satisfaction guarantee. Visit us at 1AAuto.com, your trusted source for quality auto parts.
In this video, we're going to be working with our 2006 Ford Explorer 4.6 liter V8. We're going to show you how to remove and replace your vehicle's serpentine belt tensioner pulley. If you like this video please click subscribe. We have a ton more information on this and many other vehicles. If you need this part for your car you can follow the link down in the description over to 1AAuto.com. Here are the items you'll need for this repair.
Loosen the clamp on the air box side of the intake duct with a flat blade screwdriver. You'll then want to disconnect the breather lines. There's a little green tab here that you just pull back and pop them off. You'll then need to undo the clamp on the throttle body. You'll then want to remove the intake duct.
For some jobs like your alternator or idler pulleys, it may not be necessary to remove the belt fully. However, if the pulley has been dragging from a bad bearing or a weak alternator, it's probably damaged your belt a bit too and it's not a bad idea to replace it while you're in here.
Using a 1/2" drive ratchet, place it into the square drive of the serpentine belt tensioner and rotate the tensioner clockwise to release pressure and remove the belt from one of the pulleys. It's usually easiest to do this from a smooth pulley. Then carefully release tension and remove your ratchet. Remove the serpentine belt from under the A/C compressor and then pull the loop up and through over your tensioner. You'll then want to get it out from under the crack where it loops over the water pump. You've already unhooked it from the idler pulley on this side so loop it out from the grooved idler pulley and the power steering pump and remove your belt.
Remove the three ten millimeter bolts along the top of the serpentine belt tensioner with the ten millimeter socket and ratchet. You can then remove your tensioner from the vehicle.
Using a 13 millimeter socket and ratchet, remove the 13 millimeter bolt securing the pulley to the tensioner. You can then remove the pulley from the tensioner.
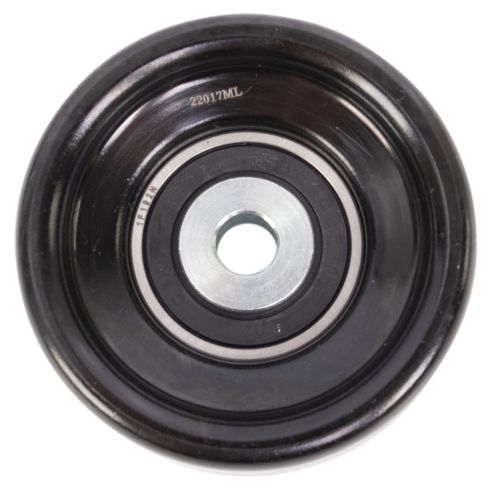
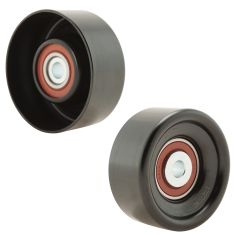
Here we have our old tensioner pulley that we removed from our vehicle and our new part from 1AAuto.com. This is a great option to have because sometimes your tensioner pulley goes bad and the tensioner itself is okay, so you can save money and reuse your old tensioner by installing a new pulley. You can see the pulleys are the exact same size and shape, with a brand new bearing on the new one. If the pulley seizes or gets too much slack it can grind and groan as well as creating issues with your serpentine belt's tension, as well as potentially wearing it down, overheating it, or breaking it. Fortunately this new part from 1A Auto will go on direct fit just like our original equipment and fix you up right.
The new pulley comes with a small spacer. This is to make the part universal so it fits a wide variety of applications. We don't need that so you can just drop it right onto the tensioner, install your 13 millimeter bolt, and tighten it back down with a 13 millimeter socket and ratchet.
Reinstall the serpentine belt tensioner along with its three ten millimeter bolts. Once you've got the bolts started, go ahead and tighten them down with your ten millimeter socket and ratchet.
Now reinstalling the serpentine belt on this is going to be pretty difficult to show. You want to start with a loop and send it down and around the crank pulley. Now you're going to take the passenger side of the belt and bring it down between the tensioner and the A/C compressor at the bottom of the motor. With the right side of the belt, you're going to go up and over the water pump pulley all the way to the button of the motor on the driver side, where you'll go under the grooved idler pulley, as well as under the power steering pump pulley. Install your 1/2" drive into the tensioner and rotate it clockwise to release the belt tension. It's usually easiest to get over the alternator, then move your hand to the other side of the engine and go under the smooth idler pulley on the driver side, and then just use a light or your hand to check the belt path and make sure that everything went over and under all the pulleys currently and that it isn't hung up anywhere.
Reinstall the intake duct and pop on the two breather connections, then tighten it down with a flat blade screwdriver.
Thanks for watching. Visit us at 1AAuto.com for quality auto parts, fast and free shipping, and the best customer service in the industry.