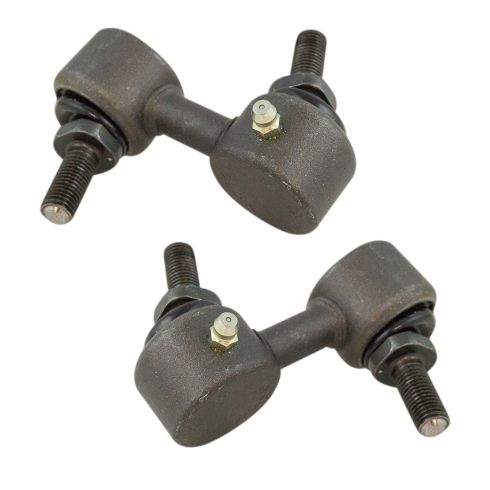
Kit Includes: (1) Front Passenger Side Sway Bar Link (1) Front Driver Side Sway Bar Link
Quantity: 2 Piece
Specification
Side Location
Driver & Passenger Side
Location
Front
Item Condition:New
Lifetime Warranty
This item is backed by our limited lifetime warranty. In the event this item should fail due to manufacturing defects during intended use, we will replace the part free of charge. This warranty covers the cost of the part only.
FREE Shipping is standard on Orders shipped to the lower 48 States (Contiguous United States). Standard shipping charges apply to Hawaii, Alaska and US Territories. Shipping is not available to Canada.
Expedited is available on checkout to the United States, excluding Alaska, Hawaii and US Territories as well as P.O. Boxes and APO/FPO/DPO addresses. Final shipping costs are available at checkout.
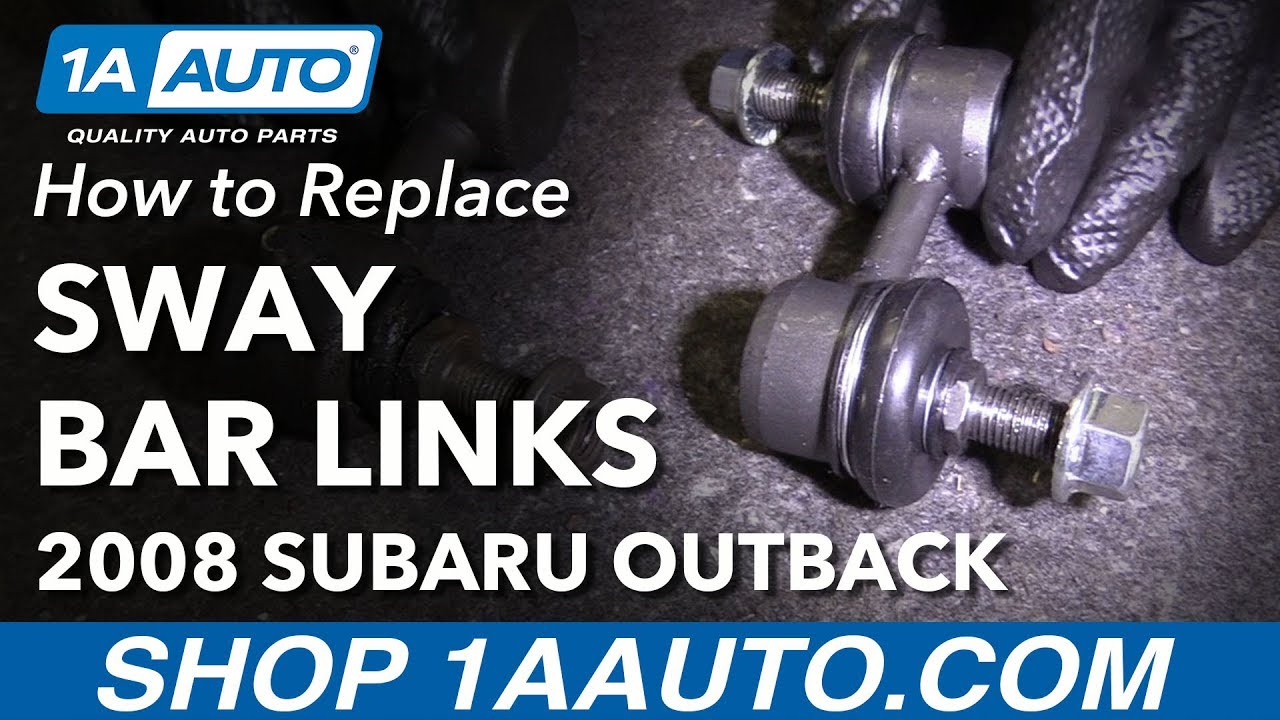
How to Replace Front Sway Bar Links 2005-09 Subaru Outback
Created on:
Tools used
14mm Wrench
15mm Socket
18mm Wrench
Jack Stands
19mm Socket
Ratchet
Floor Jack
1. Removing the Wheel
Loosen the 19mm lug nuts with the vehicle on the ground
Raise the vehicle with a floor jack
Secure the vehicle on jack stands
Remove the lug nuts
Pull off the wheel
2. Removing the Sway Bar Link
Use an 18mm wrench to hold the stud in place
Use a 15mm socket with a ratchet to untighten the nut
Repeat the process for the other end of the link
Pull out one end of the link
Twist it around, then pull of the other end
3. Reinstalling the Sway Bar Link
Insert one end of the link
Insert the other end
Hand tighten the nuts on both ends
Use a 14mm wrench to hold the stud
Use a 15mm socket and ratchet to tighten the nuts
Torque the nuts to 23 ft-lbs
4. Reinstalling the Wheel
Slide the wheel into place
Start the lug nuts by hand
Tighten the lug nuts preliminarily
Lower the vehicle to the ground
Tighten the lug nuts to between 90 foot-pounds in a crossing or star pattern
Hi, I’m Mike from 1A Auto. We’ve been selling auto parts for over 30 years!
In this video we are going to be removing and replacing front sway bar links in a 2008 Subaru Outback. If you need this part for your vehicle or other parts, click the link in the description and head over to 1aauto.com.
I'm gonna pull this left front tire off. I'm gonna use a 19 millimeter socket and a breaker bar. Just crack them free while it's still on the ground. You're gonna wanna raise and support front of the vehicle. We're using a lift, but you can do this with jack and jack stands in your driveway. I'm gonna loosen up the rest of the lugs. Once I get all the lugs off, pull the tire off.
We're gonna take this link out, we're gonna use an 18 millimeter wrench to hold the stud and then a 15 millimeter socket with a ratchet to break it free. And then take the nut off. Pull the nut off. Now we're gonna do the same with the top part. Break it free and take the nut off while you're holding the stud with the wrench. Take the nut off. Now you're gonna pull this out, twist it down, pull this one out.
This is our old sway bar link, this is our new front sway bar link from 1aauto.com. As you can see the configuration of the ball and socket joints are the same. They do come with new nuts, they're the same, the stud and this is what you would grab on to when removing and installing with a wrench. This is a different size than this one, but still the same. Get yours at 1aauto.com and you'll be ready to rock and roll.
All right, we're gonna install this the same way we took it out. Start with the bottom, put the top one in, you have to maneuver it a little bit. There we go. Pull down on the sway bar a little bit, that helps. And it helps if you have the other side out. You could leave it loose and do both at the same time, install the other nut. All right, it's a 15 millimeter socket and a ratchet and if we need to hold the stud, we're gonna use a 14 millimeter wrench, but we're gonna see how far we can go before it starts spinning. If it doesn't spin then we won't use it. It's starting to spin, stick our 14 millimeter wrench in there. All right, I'm gonna stick my 14 millimeter wrench on there before it gets sucked down all the way.
Now that we got these snug down, I'm gonna use a torque wrench and torque these to 23 foot pounds with a 15 millimeter socket. Those are tight. And that one's tight also.
All right, now I'm installing the lug nuts. You're gonna snug them right down, then we'll torque it when we put it down on the ground. We're gonna torque the lug nuts in a star pattern. We're torqueing them to 90 foot pounds. The reason why you wanna do a star pattern, it is gonna get the wheel flush against the rotor properly and it won't be warped. It'll prevent vibration.
Thanks for watching. Visit us at 1AAuto.com for quality auto parts, fast and free shipping, and the best customer service in the industry.
Product Reviews
Loading reviews
There are no reviews for this item.
Customer Q&A
are both sides greasable- or just one side?April 25, 2019
Shell S
10
Yes both sides are greasable
April 25, 2019
Kyle K
10
Our steering and suspension components are pre-greased and sealed for long life and do not require the extra maintenance typically required by greasable versions.
April 25, 2019
Christa R
10
Both sides
April 25, 2019
Andre B
Do I also need to purchase bushings with this link kit?March 5, 2022
Frank B
10
If you are just looking to replace the sway bar links then this is all you need to purchase.
March 7, 2022
T I
Customer service
877-844-3393
Monday - Friday 8:00am - 9:30pm ET Saturday - Sunday 8:00am - 4:30pm ET
Subaru is a registered trademark of Fuji Heavy Industries Co., Ltd. 1A Auto is not affiliated with or sponsored by Subaru or Fuji Heavy Industries Co., Ltd.See all trademarks.
Enter Vehicle Year Make Model
Specify your vehicle's year, make and model to guarantee fit.
Year
Make
Model
Options
Drivetrain
This part doesn’t fit a . Select from parts that fit.