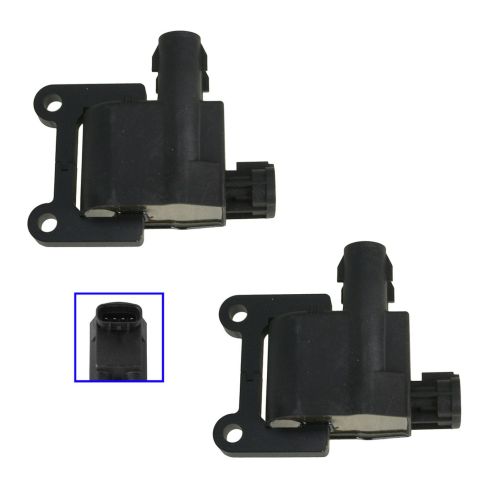
1AERK00239-Toyota 2 Piece Ignition Coil Set TRQ ICA61609

Replaces
2001 Toyota Solara L4 2.2L 2 Piece Ignition Coil Set TRQ ICA61609

Product Reviews
Loading reviews
4.69/ 5.0
13
13 reviews
Ignition coil for the 99 camry
June 17, 2017
Really dine the trick, just what the old girl needed and at a great price. Thank you
Plug Fitment
June 25, 2017
I purchased both coils for my vehicle. As far as mounting and plug wire connections everything fit well. The electrical plug on the other hand, didn't fit on one coil. I had to use the better of the two older coils. Now I'm left with 1 extra coil. The vehicle runs alright though. If I ever have a misfire, Ill know where it's coming from.
Put out that Check Engine Light
July 31, 2017
The ignition coil fit perfectly. It was pretty easy to install with just
a 10 mm wrench. It took maybe 15 minutes.
Coils work perfect.
May 19, 2018
So far no problems with the coils. Good product for the price.
Works great
October 11, 2018
Put these on a 1999 Toyota RAV4 a couple weeks ago and its running great. Went from a 2 cylinder misfire to nothing very easily. Thanks! Would recommend.
Always a satisfied customer
December 15, 2018
I buy all my auto parts from 1aauto, the prices are reasonable and the delivery is accurate. 1aauto will always have Karyn A. As a customer.
Part ordered for 1998 Toyota Camry
December 24, 2018
Satisfied with the part. The agent was excellent, I will order more parts as from, 1A as needed. The only drawback is the shipping time which I understand because of my location.
ignition coils for 2000 Toyota Solara
June 8, 2019
Perfect replacement parts, arrived 4 days after order by USPS.
I order all my parts from 1A auto
Don't go to parts stores
April 8, 2021
Ordered two ignition coils for half the price and they are working perfectly
Power is back
April 21, 2021
So far car is running great with the new coils on it . Running smooth and not surging anymore.
Good Product
July 30, 2021
Great fitment and performance! Fast shipping!
Good product, works like it should !
March 3, 2023
I was glad to receive the parts in a timely manner and they were exactly what I needed.
Increased performance and good price
December 17, 2024
Car had 250k+ miles and the acceleration seemed sluggish (assumed the original coils were never replaced). Installed these and the car has noticeably better pickup. Much cheaper than OEM ones too, just a bit difficult to install with the position of the bolts.
Customer Q&A
I need all 4 coil Distributorless for 1998 Toyota rav4 how much please?
November 14, 2020
10
Yes, according to the information you provided, this part will fit your vehicle.
November 14, 2020
Curtis L
Toyota is a registered trademark of Toyota Motor Corporation. 1A Auto is not affiliated with or sponsored by Toyota or Toyota Motor Corporation.
See all trademarks.


