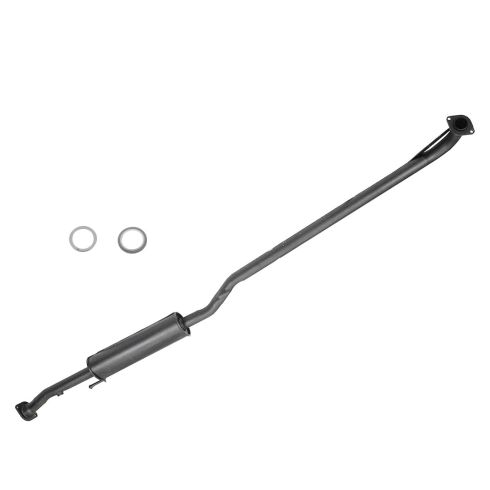
1AEMK00180-Toyota Camry Solara Intermediate Exhaust Pipe with Gaskets DIY Solutions EXH00646

Replaces
1999 Toyota Solara L4 2.2L Intermediate Exhaust Pipe with Gaskets DIY Solutions EXH00646

Product Reviews
Loading reviews
4.67/ 5.0
6
6 reviews
1999 Toyota Exhaust
August 30, 2017
The exhaust and the price were great. My only complaint were the studs welded on the muffler. I tried numerous sae. fine and course thread sae nuts, numerous metric size and pitch threads and only one was close but would strip when tightning. (I think that was M10 .25 pitch). I ended up grinding off the studs and using new metric bolts and nuts.
April 1, 2019
Fit perfectly
Perfect fit and form.
November 10, 2019
This was a perfect fit for my 1999 Toyota Solara. A quality part with good value.
everything works all of the time
August 13, 2020
i have been a regular client of 1a for several
l years and not once have i been disappointed. high quality parts at very reasonable pricing. but best of all is that if you have a problem or question you can always call and speak with a professional who actually wants to help! try that with some of the other auto parts sites. A COMPANY THAT CARES WOW!!!! WHAT A CONCEPT!!!!!
Looks to be of good quality
June 30, 2021
Overall, it looks like a good product. When I ordered the Muffler from 1aauto to attach I had to make some adjustments with the heat shield. If it holds up over the winter I will get five stars!! Thank you for the fast shipping and what looks to be good stamped steel.
GREAT BUY!!!!!
August 9, 2021
TWO YEARS LATER AND SILL GOOD
Customer Q&A
Is this part NYS legal?
June 21, 2016
10
Yes, Its mainly the catalytic converters that you need to be careful with when ordering.
June 22, 2016
Brian F
How do I know if this will fit my 1999 Camry? Intermediate pipes on the market seem to vary in size by several inches.
June 5, 2018
10
This part fits a 1999 Toyota Camry with L4 2.2L engine size. If your vehicle has a different engine size, this part will not fit.
June 5, 2018
Elesban A
10
If you select the correct engine type it should be correct
June 6, 2018
Ricardo S
I do not know what part is front down p[pe and gaskets for toyota camry on 4 cyclender?
January 2, 2022
10
This part is the intermediate exhaust pipe. We would be happy to check if we have the front down pipe and gaskets. What is the year of your Toyota Camry?
January 3, 2022
Andra M
The gasket that goes between the mid-pipe and the catalytic converter has two different sides of different colors and materials. Which side faces front and which side faces rear? I assume it matters otherwise both sides would look the same.
March 10, 2022
10
Its just part of the manufacturing process. It can be installed in either direction.
March 10, 2022
Jason R
Toyota is a registered trademark of Toyota Motor Corporation. 1A Auto is not affiliated with or sponsored by Toyota or Toyota Motor Corporation.
See all trademarks.


