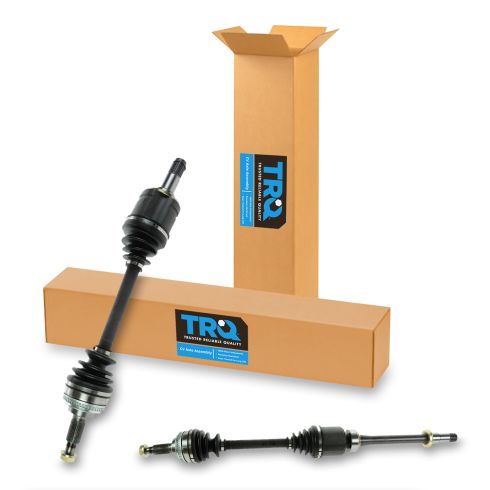
Kit Includes: (1) Front Driver Side CV Axle Assembly (1) Front Passenger Side CV Axle Assembly
Quantity: 2 Piece
Specification
Side Location
Driver & Passenger Side
Transmission Type
Automatic Transmission
Engine Displacement (Metric)
V6 3.0L
Location
Front
TRQ CV (constant velocity) drive axles are manufactured using premium raw materials designed to restore original performance. TRQ CV drive axles are new, so there is no core charge with your TRQ purchase. TRQ-designed drive axles utilize neoprene boots, moly grease, stainless steel clamps, and heat-treated ball tracks to ensure extended service life. Each TRQ axle is application-specific so each spline and thread will mate properly for a seamless fit. All products are fit and road-tested in our Massachusetts R&D facility to ensure we deliver on our promise of Trusted Reliable Quality.
Product Features
100% New: Manufactured to tighter tolerances for extended service life
Neoprene Boots: Improved durability compared to stock material
Moly Greased: Specifically-designed grease shield to reduce premature wear
Application Specific Design: No modification
CV axles are designed to transmit the power from your vehicle's drivetrain to the wheels while being able to flex and pivot to the demands of the steering and suspension systems. If your vehicle is making clicking noises at lower speeds or when making turns, it may be time to replace your CV axles with our 100% brand new assemblies.
Item Condition:New
Attention California Customers:
WARNING: This product can expose you to chemicals including Lead and Lead Compounds, which are known to the State of California to cause cancer, and birth defects or other reproductive harm. For more information, go to www.P65Warnings.ca.gov.
Lifetime Warranty
This item is backed by our limited lifetime warranty. In the event that this item should fail due to manufacturing defects during intended use, we will replace the part free of charge. This warranty covers the cost of the part only.
FREE Shipping is standard on orders shipped to the lower 48 States (Contiguous United States). Standard shipping charges apply to Hawaii and Alaska.
Shipping is not available to a P.O. Box, APO/FPO/DPO addresses, US Territories, or Canada for this item.
Expedited is available on checkout to the United States, excluding Alaska, Hawaii.
Final shipping costs are available at checkout.
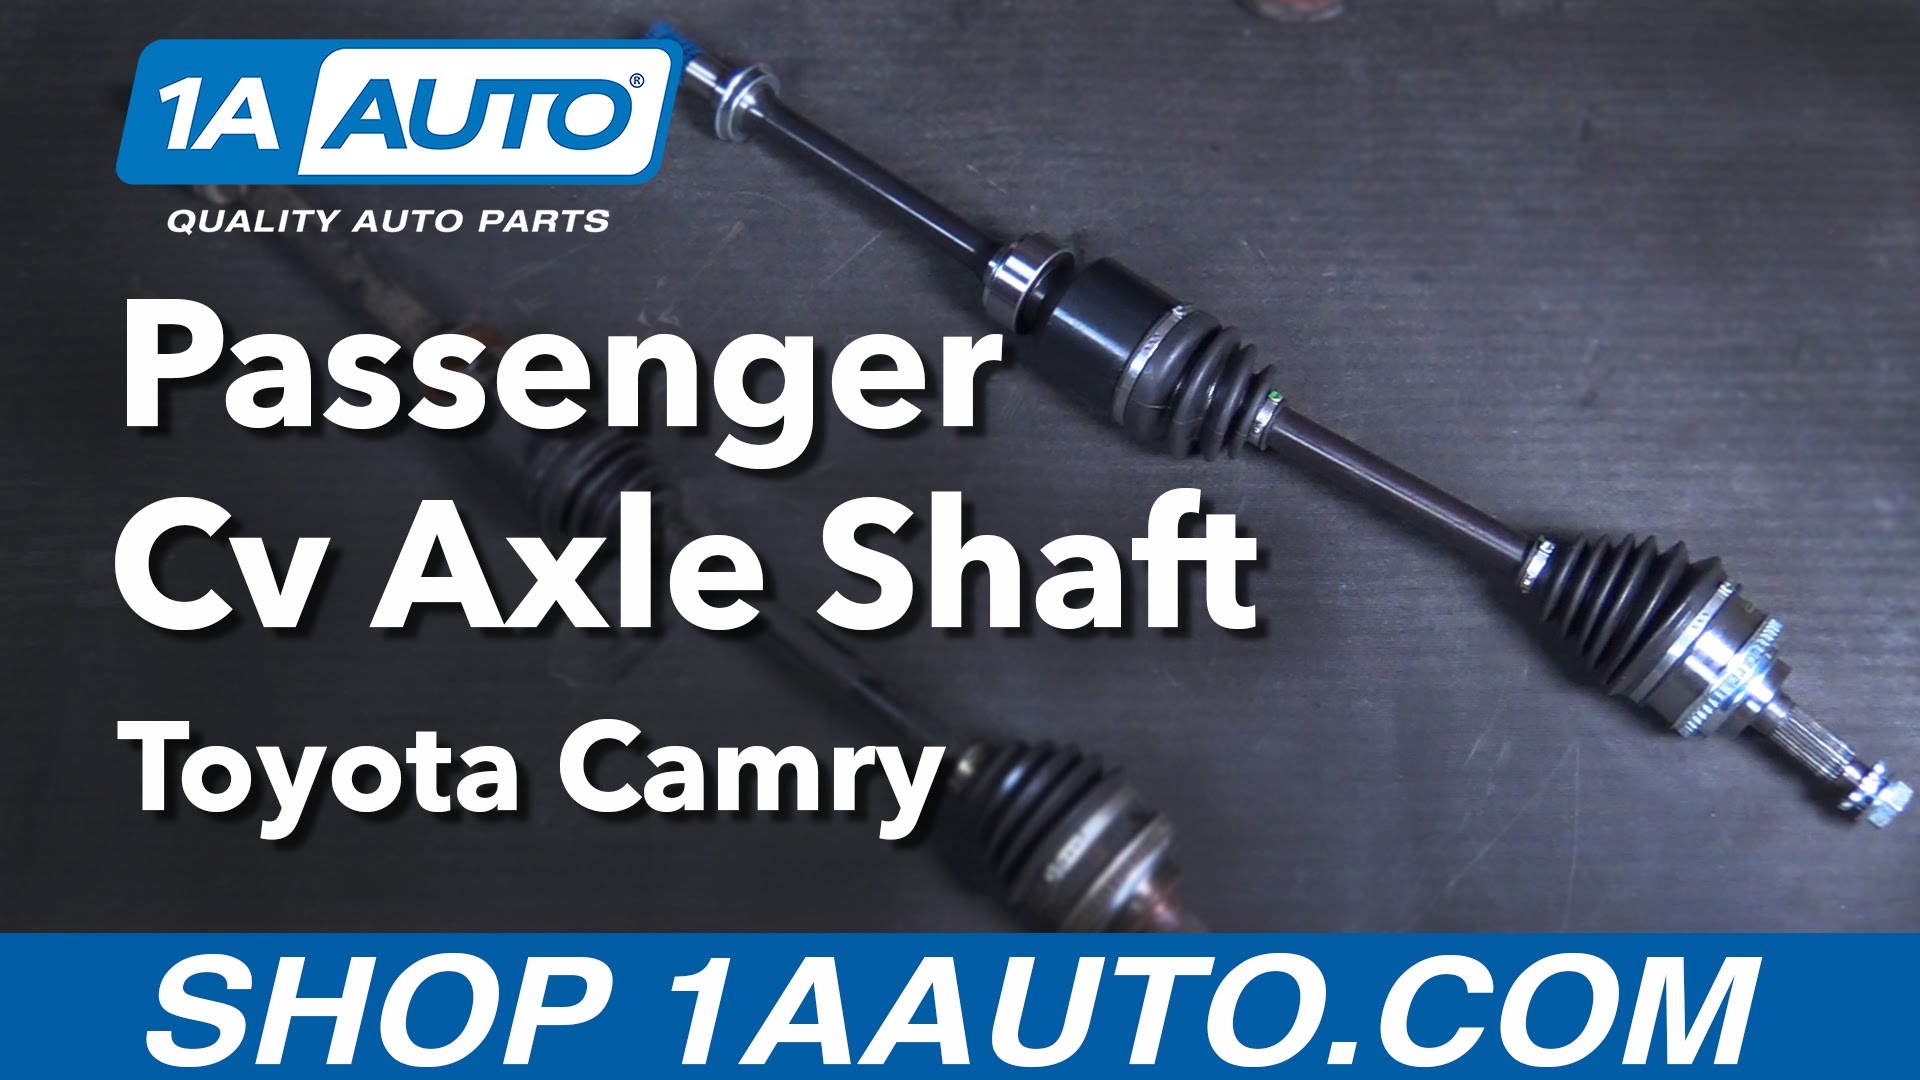
How to Replace CV Axle Passenger Side 1992-2001 Toyota Camry
CV Axle Part 1AACV00131 Review Buy Quality Auto Parts from 1A Auto
Created on:
Tools used
12mm Socket
Torque Wrench
Hammer
Pry Bar
Jack Stands
21mm Socket
32mm Socket
Center Punch
Drain Pan
Ratchet
Floor Jack
Needle nose pliers
22mm Socket
1. Removing the Wheel
Loosen the 21mm lug nuts with the vehicle on the ground
Raise the vehicle with a floor jack near the pinch weld
Secure the vehicle on jack stands at the unibody frame rail, and place it just ahead of the lower control arm on the rear
Repeat the process for the other side so the vehicle is level
Remove the hub cap
Remove the lug nuts
Pull off the wheel
2. Removing the Axle Nut
Bend the cotter pin straight out with needle nose pliers
Pull the cotter pin up and out
Remove the lock cover on the nut
Hold the hub still with a pry bar
Break the axle nut socket loose with a 30mm socket and breaker bar
Leave the nut at the end of the axle
Hammer the axle out
Remove the axle nut
3. Removing the CV Axle from the Spindle
Remove the ABS retainer from the spindle
Break the 22mm strut nuts loose and remove them
Tap the bolts out of the spindle with a punch and hammer
Pull the spindle down and out of the strut
Pull the axle out of the spindle
4. Removing the CV Axle from the Differential
Have a drain pan ready
Remove the 14mm bolt from the bearing on the end of the axle shaft
Push together to two tabs from the snap ring
Insert two pry bars to 3 and 9 o'clock on the axle, applying even pressure
Carefully work the snap ring out of its holder inside the differential
Remove the axle from the differential
5. Installing the CV Axle to the Differential
Align the axle splines with the splines in the differential
Work the axle into the differential
Insert the snap ring around the CV axle, aligning the ears up
Tighten the 14mm bearing bolt
Torque the bolt to 24 foot-pounds
6. Inserting the CV Axle to the Spindle
Line up the splines into the hub
Start the axle nut on the end of the axle
Reinstall the 22mm strut bolts to the spindle
Tighten the nuts to 156 foot-pounds
Connect the ABS retainer
7. Installing the Axle Nut
Tighten down the axle nut with a 32mm socket and ratchet
8. Reinstalling the Wheel
Slide the wheel into place
Start the lug nuts by hand
Tighten the lug nuts preliminarily
Lower the vehicle to partial weight on the ground
Tighten the lug nuts to 76 foot-pounds in a crossing or star pattern
Lower the jack
Torque the axle to 217 foot-pounds
Reinstall the lock cap and new cotter pint to the axle nut
Reinstall your hubcap
Brought to you by 1AAuto.com, your source for quality replacement parts and the best service on the Internet.
Hi, I'm Mike from 1A Auto. I hope this how-to video helps you out, and next time you need parts for your vehicle, think of 1AAuto.com. Thanks!
In this video, we're going to be working with our Toyota Camry 2.2-liter inline-4. We're going to show you how to remove and replace your old CV axle on the passenger side.
If you like this video, please click subscribe. We have a ton more information on this car, as well as many other makes and models. If you need this part for your vehicle, follow the link in the description over to 1AAuto.com.
Here are the items you'll need for this repair: 12-32mm sockets, ratchet, socket extension, torque wrench, needle nose lock pliers, flat punch, hammer, breaker bar, drain bucket, jack and jack stands.
Break all of your lug nuts loose while the vehicle is still on the ground. You're going to need a 21mm socket and a breaker bar. Install your jack under the vehicle. Line it up with the pinch weld. Jack the vehicle up high enough that you can get a stand underneath, making sure you have enough clearance to remove your tire or do whatever you have to do under the vehicle.
Stall your jack stand onto this unibody frame rail under the vehicle. With the vehicle raised and supported, remove your lug nuts the rest of the way. If you need a little more room to work, you can pull the hub cap off, remove your wheel from the hub. We've put our vehicle on a lift to make it easier to film for you, but this job can be easily done with a jack and jack stands.
Remove the cotter pin from the end of the CV axle. You have to straighten it out. Grab the end and work it out of the axle. Remove the lock cap. Insert a pry bar between the wheel studs. I'm bracing mine against the lift, but you can brace yours against the ground on the jack and jack stands when you use the 30 millimeter axle socket and a cheater pipe on a breaker bar to break the axle not loose. Once the axle nut is cracked loose, you can remove it almost fully.
We'll leave our prime bar there for when it gets a little tight on the threads to make sure that it doesn't spin. Place a punch in the center hole of the axle and tap it to release it from the splines. Remove the two strut bolts with the 22 millimeter socket. We're going to use a breaker bar to start and then switch to a ratchet and use a wrench to hold the bolts in place.
You can press in on the hub, squiggle it a little to get the bolts out, and then remove the spindle from the strut. This plastic clip will come off with it, just move that away for now. You can now remove the end of the axle from the hub. Remove this 14 millimeter bolt at the bottom of the barring at the end of your axle shaft, and you use a socket and ratchet. Using a pair of pliers, push together these two tabs on the snap ring and remove it from the bearing. Once it's off the bearing and onto the CV axle, use a pry bar on each side to make sure you put even pressure out on the axle.
You may need to use a large punch and hammer to hit the back of the CV axle until the bearing is free of the bracket. Be sure you have a drain bucket underneath the transmission for any fluid that might come out. Move the axle assembly from the vehicle.
Here we have our old CV axle that we removed from our vehicle and our new part from 1AAuto.com. As you can see, these parts are identical with the same splines and threads. We have the same joints, ABS tone ring, and the same axle shaft length. It comes with the new center bearing here, the same threads and dust boot going into the transmission itself. We also get a new nut and a new lock app for the end. Those should be replaced with any CV axle replacement.
CV axles tend to go bed from torn boots, letting all the grease out and drying up the joint inside or the joint inside going bad for another reason. It can bind or pop. You can also hear a clicking noise when you turn the wheel. These bearings also have the potential to go bad as it's another failure point on the vehicle. Due to the length of this shaft, they had to support it in the middle somewhere. If your CV axle is making noise binding or popping out, this new part from 1A Auto is going to go in direct fit just like your original equipment and fix you up right.
Reinstall the CV axle through the bearing bracket and into the transmission being careful not to score the bearings or splines off of anything on the way in. You may have to rotate it a little to line up and push it into place. Reinstall the snap ring around the CV axle. Make sure you line the ears up on the side. Set the snap ring in and compress it with your pliers. Push it back into the channel.
Reinstall the 14 millimeter bearing bolt for the socket and ratchet and torque the 24 foot-pounds. Reinstall the end of the axle into the spindle. Be sure not to pop the joint out on the inboard side while doing this. Line up the spindle into the strut and start your two 22 millimeter bolts.
Start your two 22 millimeter nuts for the strut bolts. Reinstall the plastic retainer for the ABS sensor line and tighten up the two 22 millimeter bolts for the strut with a socket ratchet and lunch. Torque to 256 foot-pounds. Within the axle nut on by hand, make sure it's fully seated. We'll reinstall our wheel and tire.
Reinstall the wheel and tire. Tighten down the nuts. Put the vehicle onto the ground so you can then torque the axle nut. Check that they're all seated. If you've removed the tire, only lower the vehicle until the wheel touches the ground. With partial weight of the vehicle on the ground, torque your lug nuts to 76 foot-pounds in a cross pattern. Then you can remove your jack the rest of the way. Torque the axle nuts to 217 foot-pounds. Install the walk cap over the axle nut and the new cotter pin. Then the cotter pin around the end of the axle. Reinstall your hub cap and you're good to go.
Thanks for tuning in. We hope this video helped you out. Next time you need parts for your car, please visit 1AAuto.com. Also check out our other helpful how-to and diagnosis videos.
Tools used
No Tools Needed
Here we have our old CV axle that we removed from our vehicle, and our new part from 1AAuto.com. As you can see, these parts are identical with the same splines and threads. We have the same joints, ABS tone ring, and the same axle shaft lengths. It comes with a new center bearing here and the same threads and dust boot going into the transmission itself. We also get a new nut and a new lock cap for the end. Those should be replaced with any CV axle replacement.
CV axles tend to go bad from torn boots letting all the grease out and drying out the joint inside, or the joint inside going bad for another reason. It can bind or pop. You can also hear a clicking noise when you turn the wheel. These bearings also have the potential to go bad, as it's another failure point on the vehicle. Due to the length of this shaft, they had to support it in the middle somewhere. If your CV axle is making noise, binding or popping out, this new part from 1A Auto is going to go in direct fit just like your original equipment and fix you up right.
CSA82461
In Stock
Product Reviews
Loading reviews
4.83/ 5.029
29 reviews
5 Stars
4 Stars
3 Stars
2 Stars
1 Star
25
3
1
0
0
Great Company!
P
June 29, 2017
Great product and shipping was on time. I would definitely order here again!!
Best customer support around!!!
Karl
February 13, 2018
I had one shaft damaged by UPS. I immediately called 1A Auto and they sent me a replacement part right away. I could not express to you how helpful they were in getting the problem solved. The parts are high quality and fit perfectly. I am very pleased with my purchase.
Excellent service
Christopher
August 25, 2018
Purchased replacement axles for my 1998 Toyota Avalon. I noticed while loadimg them to take tothe mechanic the driver side box was empty. Contacted customer service and the corrected the issue. I will continue to use this site.
1 A is A1
V
September 24, 2018
The service was excellent and I received my parts before the delivery date when I installed my replacement parts they were a spot on match thank you 1A I'll be ordering more parts very soon
1998 Camry CV axle replacement
F
October 1, 2018
Ordered both driver and passenger cv axles effortlessly from the website. Both axles arrived promptly. I had one axle that was damaged in shipping but after a quick call to customer service they had a replacement axle sent to me. Although it was a bit of an inconvenience the very helpful support I received more than made up for the delay. Would order again from this company without hesitation. Highly recommend.
CV Axles
Diana
December 9, 2018
Parts arrived just when said. The parts were put on my car and I have been rolling great. Thank you for the best price ever. No other auto parts store compare with your prices.
Thank you so much.
2000 Camry Front End Rebuild
D
January 12, 2019
Bought ball joints, control arms, inner/outer tie rods, CV axles, hubs and bearings from 1AAuto. Very happy. All parts fit, sight unseen. Nothing more frustrating than being elbow deep in grease, hours into a project, only to find parts don't fit. 1A knows their stuff. Their prices are competitive, if not better than other competitors--they beat all the local guys like O'Reilly's and AutoZone. I even checked Rock Auto. Planned this project over a month. Better yet, their online videos are simply outstanding. They also have accompanying transcripts and tool lists based on the job right there with the video-and they even include torque settings. Great business model for the little guy that likes to do his own work and save a buck. 1A, I'll be back.
perfect fit
L
April 18, 2019
I was surprised by the quality and low price.
Cv axels
R
April 25, 2019
I am installing them tomorrow but they are a perfect match and even look beefier
1997 Toyota Avalon Struts
James
July 9, 2019
The shipment was really fast and installation easy. Given the price of this at a dealer or independent shop, my savings was at a fraction of the cost.
K
July 27, 2019
Axle shaft fits my car
Great product
R
October 22, 2019
The cv axles I purchased are great quality and have worked out pretty well. And they were a good price!
Envio completo y seguro
Mario
April 13, 2020
Llega bien enpacado y completo.
Magnifica calidad y no tienes ningun problema.
Work great on my old 99 Camry
steve
April 22, 2020
no problem so far about 25,000 miles in Good luck product once again
CV axle
Eddie
June 23, 2020
Worked perfectly, perfect fit
Great support Great prices
Don
May 18, 2021
I learned of 1A Auto because of their excellent youtube support videos and then was directed to the exact parts for my repairs. I am a youtube certified do-it-yourself person. I am glad I found 1A Auto.
I would not hesitate to order again from 1A Auto should I need to buy other parts for my vehicles.
Justino
July 19, 2021
Excellent replacement parts. Prompt delivery, professional staff.
Alberto
August 13, 2021
very good quality
Works good, but a bit/ little disappointed.
terry
October 13, 2021
Just drove 3k miles after installing with no problems, and were a perfect fit.
Actually I was a bit disappointed, because the at least 1 of the new drive shafts didn't have a machined drilling down the middle of it like the original (didn't check the other new one). I assume the drilling is/ was for lubrication of the trani. to driveshaft seal, having ports on the top of the drive shaft itself near the seal, receiving fluid down from inside the trani. via the drilling in the middle of the driveshaft (not in new driveshaft).
Love the product, nice tutoring video....Highly recommended 1A Auto.
James
October 18, 2021
I was able to replace the driver side, strut axle and hub bearing; but passenger side no luck of loosen up from the race. seems to have the rear engine support replace also and that will need to go to mechanic shop sometimes in near future when the boots start breaking down.
I did replace the hub bearing and strut though.
Thank you for the video, it helps me a lot.
Emilio
November 12, 2021
Perfect as always. Everything I get arrives sooner than expected
Cynthia
January 17, 2022
Great service exact fit. Thank you
Damien
January 20, 2022
Arrived a little late but probably cause of the weather. Other than that, great.
RANDALL
April 1, 2022
Too easy to be honest, videos made the install. I would add using a good wire tie on the snap ring before installing, then cutting it in place to complete. Thanks for the great videos.
Michael
April 21, 2022
Great purchase just in case I have issues is why I bought this
Factory fit!!
Roy
November 24, 2022
Awesome!
Awesome
Tony
February 12, 2023
Awesome
Fit My 2000 Toyota Avalon XLS
Zachary
January 23, 2024
Part was exactly as described. Fit my 2000 Toyota Avalon XLS perfect. Car is back up and running. No issues so far.
Liiiiit
Alexander
July 1, 2024
Always fast, and the quality is all there 98% of the time. Helpful service. Friendly people. Can't beat it really.
Customer Q&A
who is the manufacture of these products?March 29, 2016
Mark W
10
We have a few different aftermarket companies build these parts specifically for us, as our 1A Auto house brand. They are manufactured to the same OEM specifications as the original part that came with your vehicle and are covered by a lifetime warranty. If you have any further questions, please don't hesitate to ask.
March 30, 2016
Brian F
does this fits my 1997 toyota camry LE 2.2 automatic?May 2, 2017
Milfred C
10
No, these are specific for 3.0L engines only.
May 2, 2017
Tim K
What other parts do i need to do a cv joint replacement on a 2000 Toyota avalon?July 25, 2017
Lesheal D
10
In most cases, the CV axles are all that are needed, but in some cases based upon wear and other factors hub and bearings could be changed or other steering and suspension components.
July 25, 2017
Alex P
10
i cant think of any other PARTS if you buy the complete shaft assembly etc. maybe a cpl of kotter pins incase they break off etc.
July 25, 2017
Steve W
10
No you do not it pretty much comes with everything except your tools.
July 26, 2017
P L
Does it come with the boots for the c.v axle?November 3, 2017
Kaleb K
10
I want to say yes it came with the boots. I had a friend put them on, so I can't say 100%, but he did not mention the lack of boots. When I had it first checked out the shop mentioned the boots needed replacing so I assume they were in the box.
November 3, 2017
Robert N. B
10
yes... complete... ready to install
November 3, 2017
Steve W
10
Yes, these will arrive ready to install with the boots preinstalled.
November 3, 2017
Alex P
10
yes, all you do is take the old ones out but the new ones in everything's there excellent product!
November 4, 2017
James N
10
yes
November 4, 2017
Danny T
10
Yep
November 4, 2017
Winston S
Will this work on 2001 Lexus ES300 3.0L ??September 28, 2020
Kelvin W
10
I believe so. I purchased the driver and passenger cv axle shaft set for a 2003 Toyota Avalon, which shares a lot of the same parts as the es300.
September 28, 2020
E D
10
Thank you for your inquiry. Yes, according to the information you provided, this part will fit your vehicle. Please let us know if you have any other questions!
September 28, 2020
Jessica D
Can I pick up today from the store, front axles for 1997 toyota camry 3,0 6cyl?September 28, 2021
John D
10
I bought the pair of toyota axles 2000 a year and a half ago and I have not any problems, 100% recommended and cheap.
September 28, 2021
Mario E
Will these work on a 2000 Camry 3.0 manual transmission?January 28, 2023
Stephannie B
10
Currently, we do not carry this part for your vehicle. We're always updating our inventory so please check back soon!
January 29, 2023
T I
Customer service
877-844-3393
Monday - Friday 8:00am - 9:30pm ET Saturday - Sunday 8:00am - 4:30pm ET
Toyota is a registered trademark of Toyota Motor Corporation. 1A Auto is not affiliated with or sponsored by Toyota or Toyota Motor Corporation.See all trademarks.
Enter Vehicle Year Make Model
Specify your vehicle's year, make and model to guarantee fit.
Year
Make
Model
Options
Drivetrain
This part doesn’t fit a . Select from parts that fit.