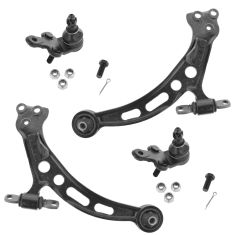
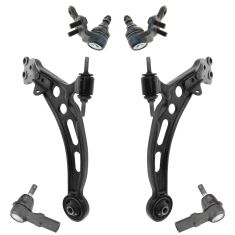
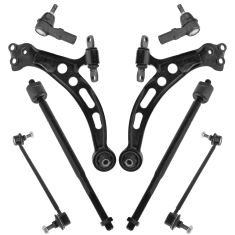
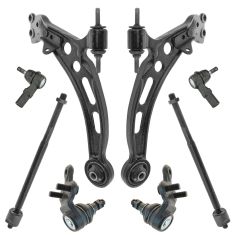
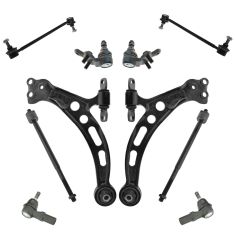
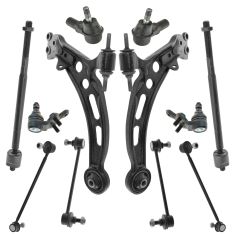
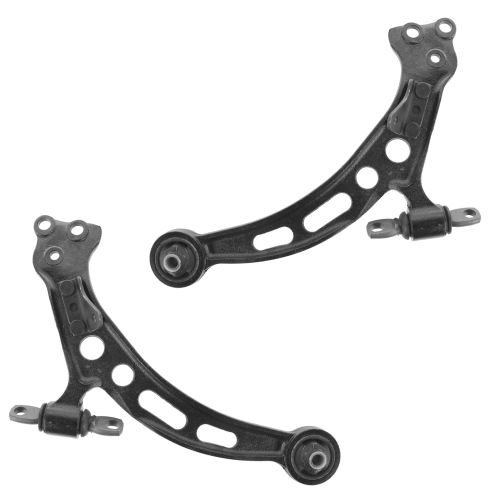
1ASFK00064-Toyota Lexus Front Driver & Passenger Side Lower 2 Piece Control Arm Set TRQ PSA62736
Replaces
2001 Toyota Camry Front Driver & Passenger Side Lower 2 Piece Control Arm Set TRQ PSA62736

Product Reviews
Loading reviews
5.00/ 5.0
16
16 reviews
toyota control arms
March 21, 2017
Quick delivery, right part the first time, great "How to" videos, perfect perfect perfect
Thanks 1A Auto for making my job easier & cheaper.
December 15, 2017
I am 100% satisfied with my purchase and I will be buying more in the future. I highly recommend anyone looking for auto parts at an amazing price, to shop here first.
April 26, 2018
Came faster than expected. Parts fit perfectly. Would buy from 1aauto again.
Same as original part.
May 27, 2018
As with all 1A parts so far, they have been perfect replacements for original parts. Rebuilding a car with 250k miles with these parts has been trouble free, and so far, 5k miles later, the car drives like new again.
August 28, 2018
Since learning about 1a Auto They are the 1st company I think of when I need auto parts. I like the fact that I can look it up online myself or call and and speak with an agent. I've always got a agent who was helpful and courteous I never felt rushed off the phone. So I will continue to use 1A auto when They have the parts I need
control arms
May 11, 2020
Im very pleased for the new control arms that i have received. They are very good quality for the price. I will order more from 1A Auto in the future
Clear Website and Parts Descriptions
September 22, 2020
The parts came in packages that were highly protected with bubble wrap and bags. The parts were clearly identifiable and were not missing any hardware. I ordered parts from multiple outlets including Amazon, Advanced Auto Parts, RockAuto, and Orielly. However, 1A Auto took the cake because shipping was just as fast as Amazon, the parts were priced very competitively, and the quality of the parts were overall the best of all the places I ordered from. 5 stars for sure for 1A Auto.
October 29, 2021
Happy
awesome
November 17, 2021
well I want to thank the crew for sending me another set since the 1st one got lost in the mail and asked me if I wanted my money back or to re-send another one and so I decided for them to set me the set and so i have received it and I haven't yet put it on but was examining it and all looks good, so i will put it on this weekend and thank you so much for doing this.....
So help full
December 13, 2021
Watching the video helped my replace it
January 21, 2022
Great product
Fast service, quality parts
June 20, 2022
Great parts! I appreciate the speedy service and the parts match dead-on. I had my work cut out for me with my current vehicle accumulating some rust buildup from the previous owner. The front end needed some work before an alignment was doable. This was a great project to put into the Win column because I know it's a love-hate relationship with cars sometimes. The part looked great, and I appreciate the video walkthroughs.
October 12, 2022
Perfect fit
I recommend.
July 11, 2023
Perfect fit
Great Product.
February 18, 2024
Great quality product at an affordable price!
March 18, 2024
Excellent part , great quality , fit was perfect , Your vidios were great in seeing best way to install . what more can I say Thanks.
Customer Q&A
Does this replace the stock sway bar that goes from left front tire to the right front tire? Or am I looking at wrong product.? ?
February 6, 2016
10
Yes it does replace factory part
February 9, 2016
Jamie P
10
No. This is not a sway bar. These are the lower part of your left and right suspension.
June 28, 2017
Duffy C
If i need this by separate just the right side.can u send it?or it comes by pairs.
April 10, 2017
10
If you would like to purchase just the passenger side, please view our part number 1ASLF00080 for 49.95.
April 11, 2017
Alex P
Can I use for the driver and passenger side?
August 30, 2017
10
These are sold as a pair. Left and right are not interchangable.
August 30, 2017
Duffy C
10
There is a left and a right. They are similar but not interchangeable.
August 30, 2017
Jane L
10
No. Each one is specifically made for either the drivers side or passenger side. A1Auto's parts are like OEM. I'll never buy from ebay again to save a buck! ha
August 30, 2017
E C
10
Each side is unique because of the way the curve is on the control arm and the sway bar attachment will need to be pointed up in order to be reattached. So you'll have to make sure you have the correct control arm for both the driver and passenger sides.
August 30, 2017
Matthew J
10
Yes it was a pair
August 31, 2017
Terrence R
Toyota is a registered trademark of Toyota Motor Corporation. 1A Auto is not affiliated with or sponsored by Toyota or Toyota Motor Corporation.
See all trademarks.


