Replaces
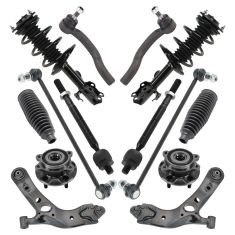
Replaces Toyota Rav4 Front 14 Piece Steering, Suspension, & Drivetrain Kit TRQ PSA35331
$549.95
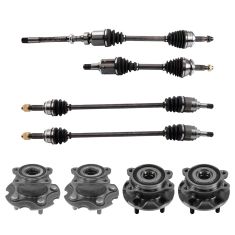
Replaces Toyota Rav4 Front & Rear 8 Piece Drivetrain Kit TRQ PSA07095
$486.95
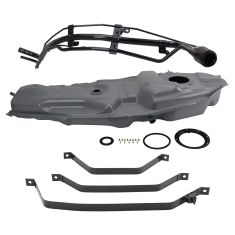
Replaces Toyota Rav4 Fuel Tank Kit TRQ FTA17735
$483.95

Replaces Toyota Rav4 Front & Rear 8 Piece Drivetrain Kit TRQ PSA07094
$475.98
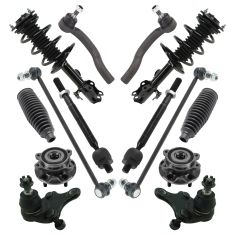
Replaces Toyota Rav4 Front 14 Piece Steering, Suspension, & Drivetrain Kit TRQ PSA35332
$454.95
About TRQ:
TRQ is a trusted brand dedicated to making every repair a success story by combining premium parts with easy installation. Each TRQ part is engineered by a team of automotive experts to meet or exceed OEM standards, delivering enhanced performance and maximum longevity. With rigorous in-house testing, the brand ensures superior fit and function across every product line. TRQ also provides customers with best-in-class, step-by-step installation videos—so you can complete repairs with confidence, whether you're a first-time DIYer or an industry professional.
Attention California Customers:
 WARNING: This product can expose you to chemicals including Lead and Lead Compounds, which are known to the State of California to cause cancer, and birth defects or other reproductive harm. For more information, go to www.P65Warnings.ca.gov.
Lifetime Warranty
This item is backed by our limited lifetime warranty. In the event that this item should fail due to manufacturing defects during intended use, we will replace the part free of charge. This warranty covers the cost of the part only.
FREE Shipping is standard on Orders shipped to the lower 48 States (Contiguous United States). Standard shipping charges apply to Hawaii, Alaska and US Territories. Shipping is not available to Canada.
Expedited is available on checkout to the United States, excluding Alaska, Hawaii and US Territories as well as P.O. Boxes and APO/FPO/DPO addresses. Final shipping costs are available at checkout.


Created on:
Tools used
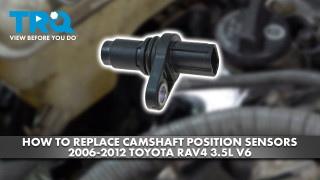
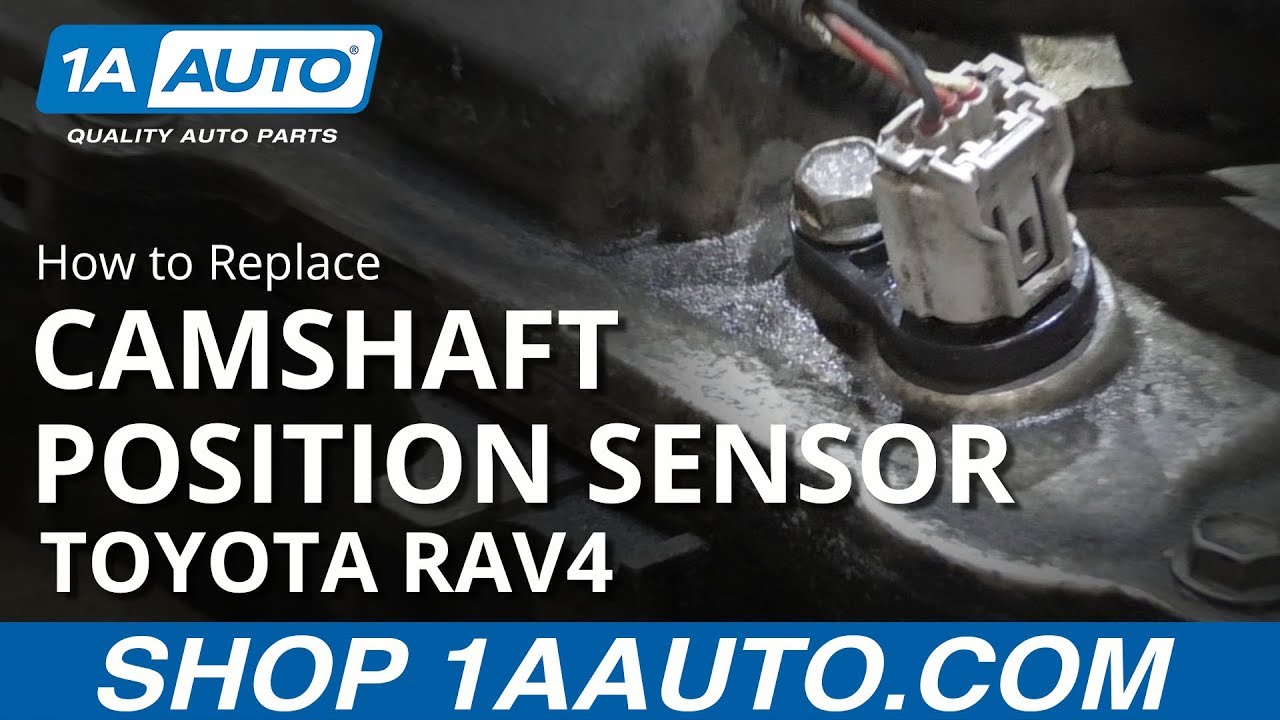
What's up guys? I'm Andy from 1A Auto. In this video, I'm going to show you how to replace the exhaust camshaft position sensor on this 2010 Toyota Rav4. If you need this part or other parts for your vehicle, click the link in the description and head over to 1AAuto.com.
I just want to pull this cover off. Just grab underneath the cover, slide up, and that up there. These retainers that hold it in, just push on little grommets right on those locations. The exhaust camshaft position sensor is located right here. We're just going to disconnect the connector. Push down right here on the lock. Disconnect the connector. Now if there's any dirt or anything you want to wipe it away or take a blowgun, blow off any dust. You don't want any of the dirt getting into the engine.
And going to take a 10 millimeter socket and electric ratchet or you can use a regular ratchet, take this bolt out and just grab the sensor. Just wiggle it back and forth a little bit. There is an O-Ring that seals it. Sometimes it'll stick a little bit, so the O-Ring's pretty stuck in there. What I'm going to do is just take a little water displacement oil or some kind of a lubricant, just spray that in there. Just let it sit for a second. Lubricate that and then I should be able to pull it out. All right, let's grab the sensor, wiggle it a little bit, twist it Just going to put a little bit of tension right here, just with a pic. There we go. And it came up. This is the O-Ring that was sticking. Here's the old sensor.
Just before we install the new sensor, just take a rag and wipe out some of that area. There's probably a little bit of corrosion on there. You take a little bit of emery cloth or some light sandpaper and just sand it it if you had to. I don't plan on doing that with this one. That's good, especially because you don't want any of that stuff to get down in there, so. Here's the old part. Here's the new cam sensor from 1AAuto.com. You can use this cam sensor both in the exhaust cam or the intake cam. The sensor itself is the same as the same O-Ring. The connector's the same, and the mounting position is the same. Get yours at 1AAuto.com and you'll be ready to rock and roll.
All right, take the new sensor. You can take a little bit of oil or transmission fluid or even some other kind of grease and put that on there. It'll help the O-Ring go in a little easier without rolling. And slide the sensor in position. Just wiggle it a little bit, back and forth. Make sure it's flush. That looks good. Take the bolt, get the bolt started. And I'll take my 10 millimeter socket and electric ratchet, snug this down. That's good. Take the connector, line it up, lock it in place. Take this cover and we want to align these little tabs up with these little pins right there. There's three of them. Just push it down and then you're good to go.
Thanks for watching. Visit 1AAuto.com for quality auto parts shipped to your door, the place for DIY auto repair. And if you enjoyed this video, please click the subscribe button.
Tools used
What's up guys? I'm Andy from 1A Auto. In this video I'm going to show you how to replace the intake camshaft position sensor on this 2010 Toyota RAV4. If you need this part or other parts for your vehicle, click the link in the description and head over to 1aauto.com.
Just want to pull this cover off. Just grab underneath the cover, slide up. And up there and there is these retainers that hold it in and just push on little grommets right on those locations. This is where the intake camshaft position sensor is located in the back here. Disconnect the connector, just push down on the tab, slide the connector off, push down on the tab that releases the lock. Then we want to take this bolt out. I'm just going to use a 10 millimeter socket. I'm going to use an electric ratchet. You can use a regular ratchet. If you don't have an electric one. Take that bolt out and if there's any dust in this area, you want to wipe it away or use a little compressed air. You don't want that getting into the engine and then generally these are pretty difficult to get out because of the O-ring. Sometimes they pull right down. Let's see if we can just get this out.
All right, I'm struggling a little bit. So what I'm going to do is just take a little water displacement oil with some kind of a lubricant. Let it sit for a second. Then it will be easier to pull the O-ring up. All right, now that that's set for a little bit. Just try to grab this, pull it out and then I'll just try to take a pick, try to get underneath here. Just be careful. Just rock it back and forth a little bit. You don't want to pry too hard because then you'll just crack it. It is plastic. But there we go. Cut it out. And what happens is you get a little dirt or corrosion on the top of that O-ring and that causes it to come out kind of a little bit difficult.
Here's the old part. Here's the new cam sensor from 1aauto.com. You can use this cam sensor both in the exhaust cam or the intake cam. The sensor itself is the same, has the same O-ring, the connector's the same, and the mounting position is the same. Get yours at 1aauto.com and you'll be ready to rock and roll.
Just take a rag, clean out this a little bit. Try not to get any debris falling down into the engine. Take the new sensor. I'm just going to take a little bit a ATF or you can take some engine oil or some other type of grease. It's just going to help the seal. Prevent the seal from rolling when you're installing this. Make sure that goes down and that's flush. Take the screw or the bolt, get the bolt started and take a 10 millimeter socket and ratchet and just snug this up. That's good. Take the connector, line it up, lock it in place. Take this cover and we want to line these little tabs up with these little pins right there. There's three of them. Just push it down and then you're good to go.
Thanks for watching. Visit 1aauto.com for quality auto parts shipped to your door, the place for DIY auto repair. And if you enjoyed this video, please click the subscribe button.