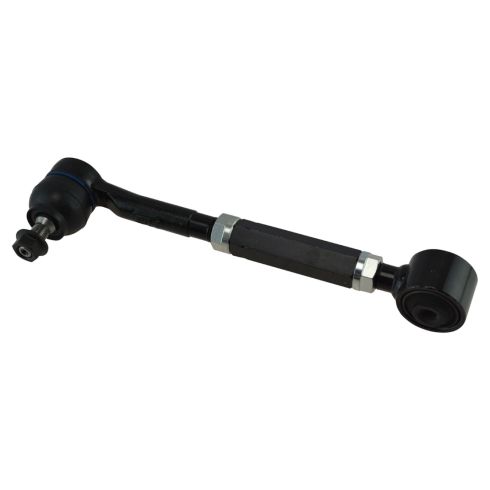
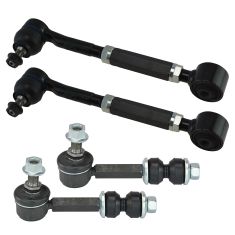
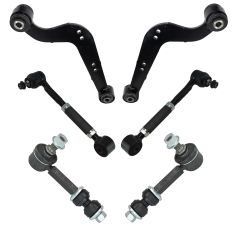
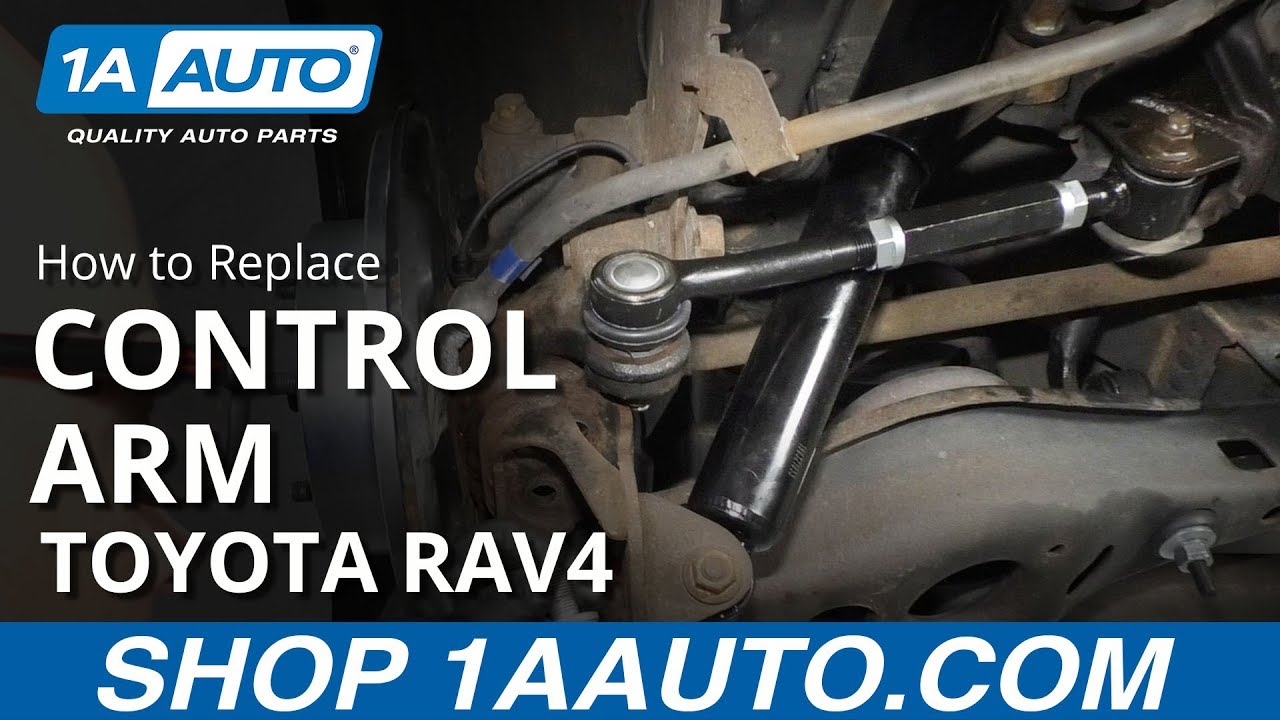
What's up, guys? I'm Andy from 1A Auto. In this video, I'm going to show you how to replace this rear control arm on this 2010 Toyota RAV4. If you need this part or other parts for your vehicle, click the link in the description and head over to 1aauto.com. Whenever you do a job like the one we did today, you're going to want to go to a local shop and have your alignment adjusted because you don't want to end up with premature tire wear. Whenever you change components or even remove them and reinstall them, things change and you want to make sure everything is lined up so you're good to go.
I'm going to remove the wheel. I'm using a 21-millimeter socket and an air gun. If you don't have an air gun, you can remove it on the ground with a breaker bar before you raise the vehicle up. That wheel wasn't too difficult to get off. If you do have trouble getting it off, you can just put a lug nut on there and hit the back of the tire with a hammer. Generally, that gets them off. We're going to use a screw jack and just put it underneath the lower control arm. I want to support this before I loosen this shock mount. That way, the spring does not force the lower control arm down too quickly.
Now, I'm going to take these two bolts out right here. I'm going to use a 17-millimeter socket and extension and a air gun. If you don't have an air gun, you can use a breaker bar or a ratchet. Just going to move this bracket out of the way. Just like that. Now I can access this nut right here. Give a little squirt of some rust penetrant right there. I'll go right here, too. It's a little bit rusty.
I'm just going to lower this down. That should be good. Just make sure the brake hose doesn't have too much tension on it, which it doesn't. It's good, so this shouldn't cause any trouble. Just take a 17-millimeter socket and a breaker bar. Loosen this nut up. I'll just use a hand ratchet. All right. It's good right there. Get that nut off. Right. Now I'm going to take a 17-millimeter wrench, put it on the bolt, and then use a 17-millimeter socket and an air gun and take the nut off. Let's move that cable out of your way.
I did use some rust penetrant to loosen it up a little bit. Oh. Make sure I go in reverse. There we go. There's the nut. All right, so we're going to spray this down with some rust penetrant, hopefully loosen it up. Hopefully, it doesn't get stuck in that bushing. Right, so sprayed some rust penetrant on there and just got a 17-millimeter socket and a breaker bar. Just working it back and forth a little bit. It's good. It seems like we're not stuck in that bushing, which is a good thing. If you're stuck in the bushing, then it's going to be a big mess. You potentially would have to cut the bolt off in there and there and it's just a pain. Luckily, that's moving.
All right. I'm just going to use a punch and a hammer and punch out the bolt. Try to get something smaller than the threads so you don't ruin the threads. If you have an air chisel, you can use an air chisel. It's a little bit easier. Spray a little more rust penetrant in there. Don't want to get it on me. Before I take this bolt out completely, I'm actually going to separate the tie rod end side of it from the knuckle. Just going to use a pickle fork to get this off. You can use other type of ball joint or tie rod remover tools. The disadvantage of a pickle fork is generally the boot will rip after you're done, so you can't reuse the part. If you were just taking it out to replace the knuckle or something, then you're going to ruin the boot. But we're going to replace this part, so it doesn't matter.
Let's get it in there and hit it with a hammer. It separated. Just pull that off. All right. Now, this moved a little bit, which is okay. Take a hammer, have it back. Take this bolt out the rest of the way. You could have taken it out all the way, but I was worried that it was going to be harder if this was just loose, popping that out. Take a punch, tap it out. There we go. Get the bolt.
All right. Now I can remove the punch and then pull the arm up. Here's the old part. Here's the new part from 1aauto.com. As you can see, the shape is the same. This one has an adjustable sleeve, so you're going to have to have an alignment done after you perform this job. It's got the ball and socket on this side. This little cover on here, take that off. It comes with a new nut. Get yours at 1aauto.com and you'll be ready to rock and roll.
All right, take the arm. We're just going to slide the ball and socket in first and then try to get this lined up. I have to use a hammer, give it a little tap. It's lined up with the bolt. Might have to use a screwdriver to get this to line up. All right. I got that started. I have to just pry this out a little bit. Give it a little tap. Get that nut started right there, and then I'll take this nut, get that nut started as well. Just take a 17-millimeter wrench, hold the bolt while I tighten the nut down with a 17-millimeter socket and a ratchet.
I'm going to move the wrench to the nut side and then use the 17-millimeter socket on a torque wrench. I'm going to torque this bolt to 66-foot pounds. That's good. I'm going to tighten up the nut on the tie rod side. We use a 17-millimeter socket and a torque wrench. Torque this to 74-foot pounds. There we go. And if the stud starts spinning inside when you're trying to tighten this down, what you can do is use some big pliers and just try to squeeze this together to prevent the stud from spinning. You should be able to tighten it down.
Now we'll just move the shock mount back in position. If you lowered down the control arm, you're going to want to raise it back up. You probably could have left it raised up. Probably doesn't matter. Put that back in position. I'll take these two bolts, use a 17-millimeter socket and extension, get them lined up. Get these started. Let me just take a ratchet, tighten them up. 17-millimeter socket, extension, and a torque wrench. I'm going to torque these to 59-foot pounds.
All right. At this point, I can lower the suspension. Take that out of the way. Now I'm going to reinstall the tire. Take the lug nuts, install the lug nuts. Now I'm going to use a 21-millimeter socket and a torque wrench. I'm torquing these lug nuts to 76-foot pounds and I'm going to do it in a star pattern. That way, that the wheel gets tightened down evenly. I'll just go around again. Just make sure. Good to go.
Thanks for watching. Visit 1aauto.com for quality auto parts shipped to your door, the place for DIY auto repair. And if you enjoyed this video, please click the subscribe button.