Brought to you by 1AAuto.com, your source for quality replacement parts and the best service on the Internet.
Hi, I'm Mike from 1A Auto. I hope this how-to video helps you out, and next time you need parts for your vehicle, think of 1AAuto.com. Thanks.
In this video, we're going to show you how to replace a fog light, both if you just need to replace a bulb, as well as, if one of your fog lights gets broken. You can purchase a new one from 1AAuto.com and replace it. The tools you'll need are a 10 millimeter wrench or socket and ratchet. You'll need a regular flat blade screwdriver, and you'll need a pair of pliers.
We're looking up from the bottom side in front of the front tire. There are three bolts in this little plastic shroud we're going to remove. They're 10 millimeter. We'll fast forward here as we remove those three bolts. Once you remove those bolts, then that can pull out of your way. Right here at the back of the fog light, if you're just in here to change the bulb, you turn this counterclockwise, pull it out. There's your bulb. Then your bulb just disconnects. Press a tab here. Pull the bulb out. Keep that out for now. I'm just going to put the bulb back in for safe keeping.
If you need to replace your whole assembly, because it's been broken, it's held in right up here you can see there's a tab sticking through the bumper cover. There's one on this side and there's one on this side. Then there's also your adjustor holding it here. What you want to do is, and you can see when I put this in here, you'll pry the side out, which allows this to release. First, you want to do that for the other side, which I really can't film, but I'll pry out and push on my light. Until that releases, and then I'll pry out on this side, push and it's released. Now, take just a regular pair of pliers and you'll want to grab on. There's basically little teeth that lock this clip in place. Grab onto those, push them through. Now, your whole light comes right out.
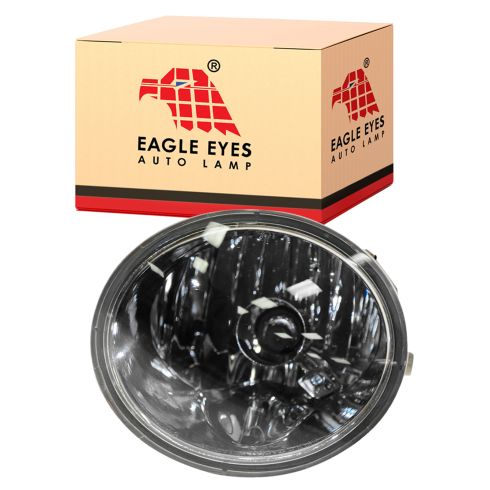
Here's your new light from 1A Auto. You can see it's really nice and clear compared to the old one. Obviously, if your old one's broken you're going to need a new one. One thing you'll want to do, before you put it in, is set the adjustor. Just look at your old one. Let's have it the right way here. Basically, just set the distance between here and here the same on your new one, as your old one. It's just a matter of turning the adjustor in by hand. Go a little more. That gives you a good preliminary aim. Then, the new one is just as easy. This is on the bottom. Slide it right in. Make sure everything comes through and is lined up properly. Then, just push it into place. It's locked in. Connect our harness. If you did want to aim it better, you can get a little screwdriver in here and turning it one way aims it down, the other way aims it up. Usually if you set it preliminarily, it's going to be pretty good. You want to make sure that you pull this over and it goes back up correctly there. Start your bolts in. Fast forward as I start those bolts in. First, I start them by hand, and then tighten them up nice and firm with a 10 millimeter socket and ratchet.
We hope this video helps you out. Brought to you by www.1AAuto.com, your source for quality replacement parts and the best service on the Internet. Please feel free to call us toll-free, 888-844-3393. We're the company that's here for you on the Internet and in person.