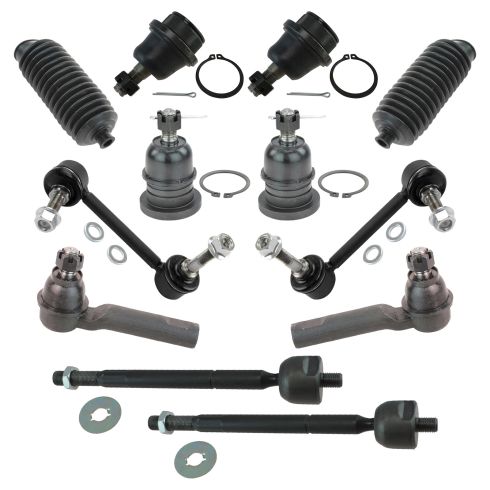
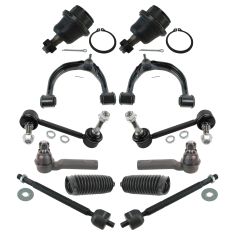
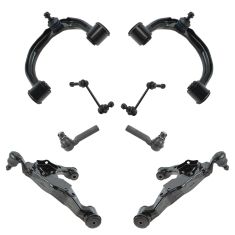
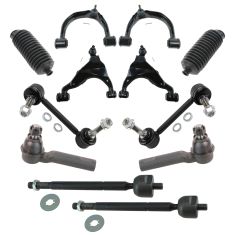
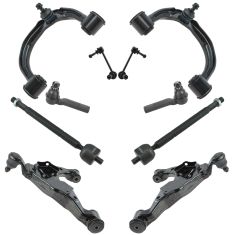
Once your vehicle is raised and supported safely, you're going to remove all six lug nuts. So, next, it's going to be time to remove our front skid plate. To do that, you're gonna use a 12-millimeter and remove all the mounting bolts. The next thing we're going to do is remove this nut right here using a 19-millimeter. Go ahead and hold the bolt so it can't spin. Go ahead and spray down this area of the lower ball joint. Now, we're gonna remove that cotter pin. If yours is rusted and rotted like mine, I'm just gonna cut it off. Now, let's remove this lower ball joint nut. Let's remove this with the 24. Just start that back on there just a couple threads. Now, we're going to remove these 2 bolts using a 19-millimeter. The next thing we need to do is get this plate off of here. So, if you go ahead and push it like this, you're going to notice that it starts to separate. Don't go too far because your axle, of course, is still attached to the front differential and we don't necessarily need to remove it to do this. Go ahead and grab your pickle fork and your hammer and separate this. The next thing we're going to do is remove this right here using a 19-millimeter, and then we're going to do the same to the rearward bolt. It's a great idea to spray everything down with some penetrant before you start.
Now, for this rearward one, you're actually going to turn the rearward nut. Remove the adjuster. So, now, what we're going to do is spray the inside area as much as we can with some penetrant and let it sit. I'm just gonna put this nut on so it's flush with the end of the bolt, and then I'm going to give it a couple loving bonks and just try to drive it out. At this point, it's clear to see that this bolt's definitely not wanting to come out and more than likely it's going to be damaged in the removal process. So, you need to make sure that you have another set of these cam bolts with, of course, the adjuster. Once you're sure you definitely have a replacement, you would continue by bonking as you will. So, the next thing we're going to do is actually heat up the bolt end of this cam bolt. And the reason for that is because I want this to get a little bit warm and then I'm going to spray some penetrant on this side and hopefully, the heat will draw it through and loosen this bolt up. Once I've let that heat up and soak through like that, I'm going to retry again. You can use something as simple as one of these little torches or, of course, if you got access to a larger set of torches, it might be a little easier. Let's give it a little spray. We're going to let that soak right through the whole center of this area. Make sure you're in a well-ventilated area or have a fan on.
Okay. So, as you can tell, this bolt definitely is not coming out. We've tried everything that we needed to try. We tried heating up the other side. We tried giving a little bit of a spin. It's not coming out of the bushing that's on the inside center of this control arm right here. What we're going to need to do next is, of course, wear extra safety gear. Some ear protection, of course, our hand protection, and eye protection, and we're going to use something that looks a little bit more like this. I'm going to come right in between here, and I'm going to go ahead and cut that bolt right out of there. And then, of course, we'll do the same to the other one.
Now, we're going to do the same thing to this forward one. The next thing we're going to do is remove this bolt right here. Just keep in mind that when you remove this bolt, there isn't really going to be very much holding this control arm in. It's going to take a little bit of work to get it out of there, we're probably going to use some pry bars, but first thing we're gonna do is remove this. So, just be very careful in case it swings down. Now, we're just going to try to get this adjustment point off of the shank that comes through the center.
Okay. So, now, we can move this around fairly freely, and that's great. The only problem is this piece right here that goes through the center is stuck inside of that bushing. So, we're going to have to continue on by cutting this. Just like we cut the rearward bolt out, we're going to do the same thing. And I like to do the rearward side because the side on the front is a little bit shorter. And so, maybe we can just do one and then just kinda weasel this out There it is, friends.
Let's go ahead and get this control arm up in here. Just pay attention, the rearward bushing has a smaller hole than the forward bushing. So, line it up the way it needs to be. Go ahead and get it in there. And then we're going to start in the rearward bolt using the smaller of the bolts or a thinner. Now start in that skinnier bolt, that's the rearward one. Let's get the forward one in there. This is the one that's gonna have a bushing. So, you can go ahead and slide that through. If you want to use a little bit of copper never-seize, it's probably a good idea. I usually just kind of spray it on there ahead of time. Start that through. When you have these adjusters, they go facing up. So, don't put it this way.
Let's get this adjuster on here, then, of course, our locking nut. If you're reusing old stuff, you'd probably want to go ahead and either replace the nut or at least at minimum, use some thread locker. Let's go ahead and lift this up. We're going to line this up. You might need to push this. Now, when you grab your bolt, it's going to come through from the rear to the front, and then you're going to use a washer and then, of course, your locking nut. Let's go ahead and get this back on there now. Make sure that your ball joint stud is straight up and down. Also, you want to make sure that the cotter pin hole is going straight from front to back of the vehicle. Slide this up. I'm gonna start in both my bolts before I try to tighten any of them down. All right. Let's bottom these out. Go back and forth. Let's grab the ball joint nut. Can see it's a castle nut. You're going to have your cotter pin that's going to go through. So, it needs to line up with that hole. We're gonna go ahead and bottom this out and then we'll continue on by torquing everything to manufacturer specifications. Let's go ahead and torque this to 103 foot-pounds. Now that it's torqued, check the hole to make sure it's lined up. If you can't get your cotter pin through, you need to continue tightening until you can. Slide that cotter pin through and then make sure that you peen it over so there's no way this nut can come loose. Now, we're going to torque these to 118 foot-pounds. The next thing you want to do is jack up right under here to bring it up to close to a ride height level. And then we're going to go ahead and snug these up.
The next thing you're going to do is grab the forward portion of this bolt and you're going to turn it so this is facing straight up and down. Just like that. At that point, you're going to go to the rearward side and snug up that rearward nut. Just keep watching, make sure you didn't fall out of anywhere. Want it to be as close to centered as possible. That looks fair. And that's going to help get us down to the alignment shop. Do the same to the rear. Let's get that one so it's lined up centered as well. All right. That's bottomed out. Let's snug this up. Now, we're going to torque this lower shock bolt to 61 foot-pounds. Let's torque these to 100 foot-pounds. Torqued. Let's relieve tension here. Now, if you were like us and you had to cut out your cam bolts, you're going to replace them. The ones that we got, of course, have the grease fittings on them, so we're going to make sure that we put those in, and then we're going the add the lubricant that's needed to go into it. Let's just go ahead and pump these up with grease. So, we have everything put back together and torqued down. We have the alignment areas set dead center. At this point, what you would want to do, of course, is to get the wheel back on there, torque it down, and then get it down to a reputable service station where, of course, you'd get the alignment done. The process to do the other side control arm would be the exact same as doing this side.
Let's put our shield up on here. You have your mounting areas on these plates. If you want to hit them with some copper never-seize, it's not a bad idea. Okay. We're cruising. Let's get the wheel back up on here. Let's go ahead and bottom out all the lug nuts. Okay. Now, we're going to do the same to the other side and then we're going to torque them to manufacturer specifications. All right. Let's go ahead and torque the wheel in a criss-cross pattern to 83 foot-pounds. Torqued.


