Hi, I'm Mike from 1A Auto. We've been selling auto parts for over 30 years.
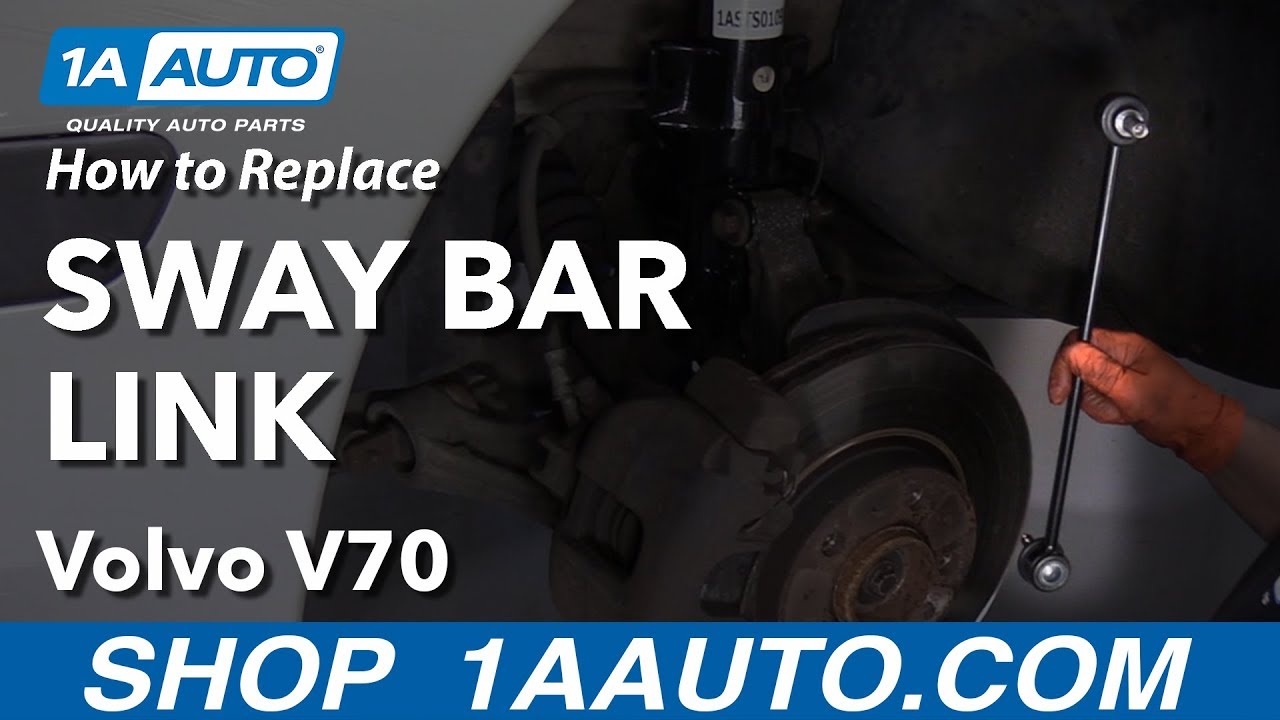
Hey, everyone. Sue here, at 1A Auto. Today, we're going to show you on our '03 Volvo V70 how to do the front sway bar links. If you need this part or any other part for your car, click on the link below and head on over to 1aauto.com.
First thing we're going to do is remove the tire. I have weight on the tire of the vehicle still, so I can break the lug nuts free. This is a 19mm. I'm just going to break them free. Then we raise the vehicle up.
Now that the car is up in the air, I can remove the lug studs. This is what a European car does. There're not lug nuts because there's no studs on the hub, so it's a whole post. When you get to your last one, usually it's better to have both hands ready to grab the tire. I don't—like this one's frozen on there, but normally, the wheel will fall right off. So, just keep one of the lug studs partially threaded in and you break it free.
First thing we want to do is spray everything down. It is an '03—it's New England—so we're just going to hope that this helps with the removal. The sway bar link is an 18mm, and more than likely, it's going to spin in place. So, the Torx piece in the middle, here, is a T40—so we're going to have to hold that. I'm going to be going opposite on both ways. I'm going to pry up on this—on the nut—to break it free, and hopefully hold it still with my ratchet.
I can take that sway bar link nut right off and then push the link right out. Now we're going to raise the vehicle so we can get to the bottom. The nut on the lower part of the sway bar link is a 15mm wrench and the Torx bit is a T30. So, we're going to just pull opposite of each other. There is your front sway bar link.
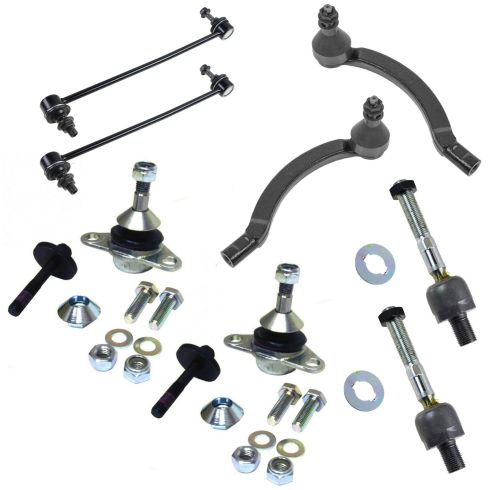
Here we have the new sway bar link for our '03 Volvo through 1A Auto, and here's the one I took out. They're identical in length. They're both a sealed unit—non-greasable. There are two different-sized studs on these. The lower one is a smaller stud. They come with a locking nut, and the upper side is the thicker stud. They both come with new lock nuts with actual—looks like it has actual coating in there for locking—threadlock. So, if you need this part or any other part for your car, click on the link below and head on over to 1aauto.com.
Now we're going to install the new sway bar links. I'm going to fish it up through; make sure I go on the inside of the ABS cable, and there's that bracket in the back that holds the flex hose steel line. Just fish itself through—right through there. It's definitely easier if you put the top on first, so you can guide it all through. Now for the bottom. It doesn't line up. So, I have to use a pry bar. I'm just going to pull down on the sway bar itself so that the link can fall right in—just like that. Now I can put the nut on the bottom.
Now we're going to tighten the lower part of the sway bar link. The nut is a 15mm, but the inside is an Allen head, now—not a Torx bit. And it's an Allen 5—5mm. You put your wrench on and then take your Allen head, and just that—going the wrong way. My god. Here we go.
I did not find any torque specs for this, so I'm just going to snug it and know that that's lock nut, and that's on nice and tight. On the top part of the sway bar link it is an 18mm nut, so 18mm socket, 18mm wrench, but the center is an Allen—still the 5mm. I'm just going to use the wrench until the center bolt stud starts to spin. There is, like I said, no torque specs that I could find. I am truly just going to tighten that like that.
Before I install my wheel on my European car, I'm going to use the wheel stud pin set that 1A Auto supplies. It is, comes with two sets—a 12 by 1.5 or a 14 by 1.25. In this case, our Volvo is a 14 by 1.25.
I'm just going to put two of them in there. I'm not going to use all four. That way, when I pull the tire up, it has something to rest on. Anyone that's ever worked on a European car knows the frustration of trying to hold the wheel up and thread in a lug stud.
The neat thing about this is how it works. I just need to line up two of those studs. Now I can just walk away. It's the great part—getting my lug nuts—studs, I mean. And I can just take my time threading them in by hand, and it's not going to fall off.
Now that I've got three of the lug studs in there, I'm just going to tighten down—hand tighten tool so that the wheel is flat against the hub. Now I can remove my helping guide pins. You can just back those up. I think it's a must for your toolbox. These things are crazy awesome and it stops any frustrations. Now that I have them all hand tight, I can lower the vehicle down; put some slight weight on them and torque them.
Now we're going to torque the wheel. I've got the weight of the vehicle on the tire, and the torque for this Volvo is 103 foot-pounds. Like usual, I'm going to do everything in a star pattern. Okay, let's double check. Now that the repairs are done on the driver side, repeat the process on the passenger side.
Thanks for watching. Visit us at 1aauto.com for quality auto parts, fast and free shipping and the best customer service in the industry.