Brought to you by 1AAuto.com, your source for quality replacement parts and the best service on the Internet.
Hi, I'm Mike from 1A Auto. I hope this how-to video helps you out, and next time you need parts for your vehicle, think of 1AAuto.com. Thanks.
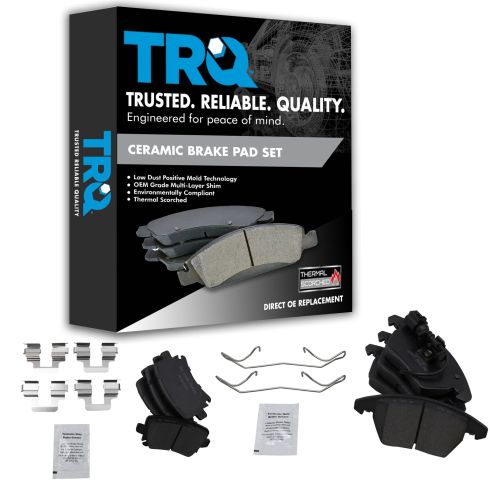
In this video, we're going to show you how to replace the front brakes on this 2005 Volkswagen Jetta. It's the same part and similar process on these Jettas from 2005 to 2006. We show you on the passenger side, but the driver side is the same procedure. The items you'll need for this is a new front brake pad and rotor kit from 1AAuto.com, 17mm and 21mm socket and ratchet, a flat blade screwdriver, a pick, a T30 and T47 Torx bit, a hammer, jack and jack stands, wire brush, large C-clamp, brake grease, and a torque wrench.
Use your pick remove these caps. For one of these lug nuts, you're going to have to use a key. The key can be found in your trunk with the spare tire. It inserts into that special lug nut, and then removes the same as the other lug nut using a 17mm socket. If you have air powered tools, you can raise your vehicle and then remove the lugs nuts. If you don't, loosen the lug nuts while the vehicles on the ground. Then raise and support the vehicle and remove them the rest of the way. Then your wheel will pull free.
Now we can inspect our brakes. You want to see if there are any large grooves or anything in the rotors. These are actually pretty smooth, but on the other hand here's the metal pad, here's actually the friction part. That's very thin, and then there's your rotor. The pads on this actually need to be replaced.
First thing we're going to do is pry out the little plugs here. Then there are Torx bits in there. There's this one here and this one down here as well. We'll fast-forward as Mike removes those two T47 bolts. Using a flat blade screwdriver, pry out this wire clip and pull it free. Just to get things off easier, take a large screwdriver and pry a little bit. Pull your brake caliper off, and this first brake pad will pull right out. This one, pull out on either side of it and it will pull out of the piston. Now remove these two 21mm bolts. You can see Mike uses a piece of pipe for some extra leverage and removes those. Once those are removed, your caliper bracket will pull free.
Now remove this T30 screw at the front of your rotor. Spray some penetrating oil around the edge here where the rotor meets the hub, and then twist in one of these lug bolts half way. Then, using a hammer, hit the back of the rotor until it breaks free. Then remove that lug bolt and your rotor will pull off.
On the right is the old rotor and brake pads; on the left is the new ones from 1A Auto. You can see they're identical, and will fit exactly the same. Take your new rotor and push it into place. Then replace that T30 screw to hold it in place. We'll fast-forward as Mike tightens that up. Using a wire brush, clean the brake caliper bracket in the areas where the pads come in contact.
Take your caliper bracket and put it back into place. Replace those two 21mm bolts and tighten them up. Torque each of those 21mm bolts to 90 foot-pounds. Using a large C-clamp, push the piston on the caliper back in. Then push these brake caliper slides back. Put some brake grease on the backs of the pads, and then in where they're going to hit against the caliper bracket. Using a socket, set that inner bracket in. The other one goes right down in, there we go. Now tighten up those two T47 screws, and torque each of those to 30 foot-pounds. Push the wire clip back into place. Replace these two caps.
Replace your wheel, and you'll realize here that lug nuts are a bit easier than lug bolts. You have to try to hold the wheel in place while you put a lug bolt through. You want to balance it on the hub, and eventually the bolt will line up and push in. Then you want to tighten those preliminarily, and replace and tighten up each of those. Then lower the vehicle and tighten them up the rest of the way. Torque each of these to 100 foot-pounds in a crossing pattern, and replace your lug nut caps.
After doing work on your brakes, you want to pump the brake pedal until it firms up. Then do a stopping test from 5 miles per hour, and then 10 miles per hour.
We hope this video helps you out. Brought to you by www.1AAuto.com, your source for quality replacement parts and the best service on the Internet. Please feel free to call us toll-free, 888-844-3393. We're the company that's here for you on the Internet and in person.