Brought to you by 1AAuto.com, your source for quality replacement parts and the best service on the Internet.
Hi, I'm Mike from 1A Auto. I hope this how-to video helps you out, and next time you need parts for your vehicle, think of 1AAuto.com. Thanks!
In this video, we're just going to show you our lug bolts from 1AAuto.com, they're direct replacements, no real big mystery to how they install, but you'll need a 17mm socket and ratchet with a breaker bar, or your tire iron as well as the new lug bolts from 1AAuto.com, and they are lug bolts even though we might call them lug nuts once or twice in the video.
At 1A Auto, we sell, actually, the special VW tool, and you can see it's nothing more than a heavy bent pin. Put it into the hole that's in the center of the cap, push it in, and turn it so that you can just grab on and pull.
At 1A Auto, we sell replacement lug nuts. A couple reasons you might need some replacement lug bolts for these Audis: one is they can get broken off if somebody over-tightens them, and two, a lot of times these Audis will come with the locking style nuts that have a pattern, and if you don't want to worry about losing the tool, then you can replace the one locking one with a regular one. It's pretty simple.
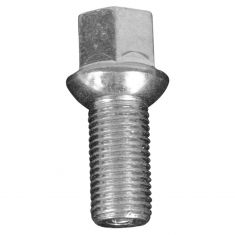
Here's our original lug nut from the car, and the replacement lug nut from 1A Auto, so you can see new bolt from 1A Auto is just a shinier version of the original. Same shape, same thread pattern, everything about, same length, it's going to install just like the original. I'm just going to tighten it preliminarily with my impact wrench, and now I'm going to lower the vehicle.
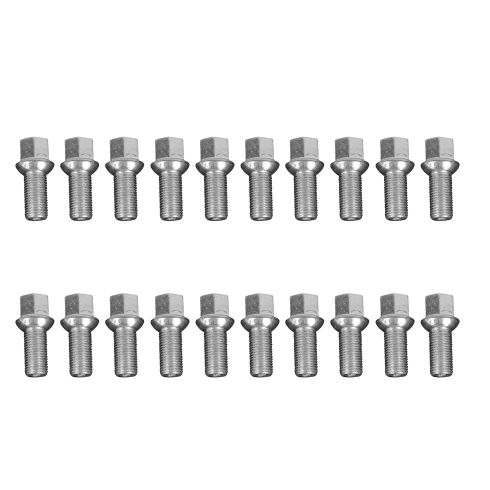
With the wheel back on the ground, you want to torque it to 90 ft-lbs, and you can just check the other ones while you're here. The bolt from 1A Auto's going to replace your original, we also sell them in sets of 5, 10, and 20. This may be, in my opinion, a little bit of over-engineering, but just to make sure that you put the cap on correctly, you can see that there are slots in the wheel, and they're not evenly spaced. There's a larger space here, smaller space here, so obviously on the back of the cap, same thing. There's tabs spaced, so find your larger space and your larger space on here and line them up, so that would be on the bottom. I basically peek in the back and look at this tab and make sure it lines up with that slot, and then give it a little bit of a tap, and put it on.
Thanks for tuning in. We hope this video helped you out. Next time you need parts for your car, please visit 1AAuto.com. Also check out our other helpful how-to and diagnosis videos.