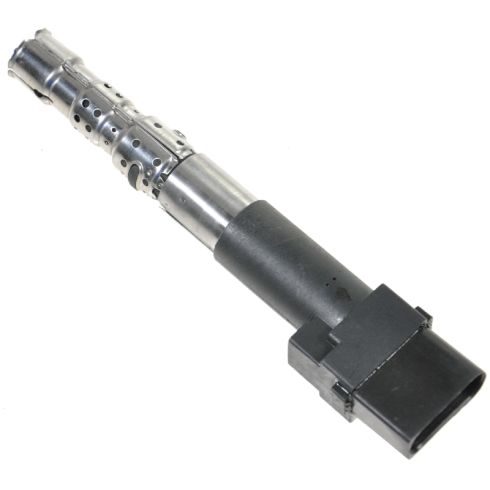
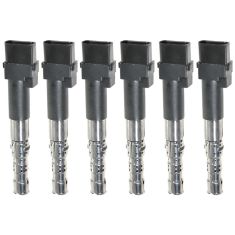
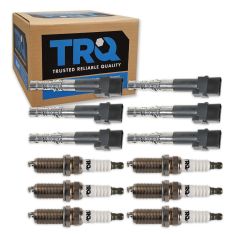
TRQ ignition coils will have your engine running like new. TRQ ignition coils are manufactured to precise specifications using premium raw materials to optimize each vehicle's ignition system. To ensure peak performance, TRQ recommends replacing ignition coils in sets to prevent electrical output imbalances. All products are fit and road-tested in our Massachusetts R&D facility to ensure we deliver on our promise of Trusted Reliable Quality.
Product Features
High dielectric epoxy and reinforced bobbins for extended service life
Rubber, Silicone, or Phenolic Resin Shell: Prevents premature boot wear
Application Specific Design: No modifications required
Item Condition:New
Attention California Customers:
WARNING: This product can expose you to chemicals including Lead and Lead Compounds, which are known to the State of California to cause cancer, and birth defects or other reproductive harm. For more information, go to www.P65Warnings.ca.gov.
Lifetime Warranty
This item is backed by our limited lifetime warranty. In the event that this item should fail due to manufacturing defects during intended use, we will replace the part free of charge. This warranty covers the cost of the part only.
Returns: Parts with electrical components cannot be returned once installed.
FREE Shipping is standard on Orders shipped to the lower 48 States (Contiguous United States). Standard shipping charges apply to Hawaii, Alaska and US Territories. Shipping is not available to Canada.
Expedited is available on checkout to the United States, excluding Alaska, Hawaii and US Territories as well as P.O. Boxes and APO/FPO/DPO addresses. Final shipping costs are available at checkout.
How to Replace Ignition Coil 2001-05 Volkswagen Jetta or Golf
Created on:
Tools used
5mm Hex Wrench
Flat Blade Screwdriver
Phillips Head Screwdriver
10mm Socket
Ratchet
1. Removing the Engine Cover
Loosen the four Phillips clips from the engine cover
Pull the cover up and out
2. Removing the Ignition Coils 1 & 2
Press on the tab on the coils with a flat blade screwdriver
Disconnect the ignition wiring harness
Pry the coil up and out
3. Installing the New Ignition Coils 1 & 2
Press the ignition coil into place
Connect the ignition wiring harness
4. Removing Ignition Coil 3 & 4
Remove the 10mm bolt from the air box on coil 3
Remove the air box
Remove the three 5mm Allen bolts on coil 4
Remove the bracket
Press on the tab on the coils with a flat blade screwdriver
Disconnect the ignition wiring harness
Pry the coil up and out
5. Installing the New Ignition Coils 3 & 4
Press the ignition coil into place
Connect the ignition wiring harness
Replace the bracket
Insert and tighten the three 5mm Allen bolts
Replace the air box
Insert and tighten the 10mm bolt on the air box
6. Installing the Engine Cover
Push the engine cover down into place
Tighten the four Phillips clips
Brought to you by 1AAuto.com, your source for quality replacement parts and the best service on the Internet.
Hi, I'm Don from 1A Auto. I hope this how-to video helps you out, and the next time you need a part for your vehicle, think of 1AAuto.com. Thanks.
In this video, we're going to show you how to replace an ignition coil on this 2004 Volkswagen Jetta with 1.8L engine. The items you'll need for this include a new ignition coil from 1AAuto.com, a Phillips screwdriver, and a flat blade screwdriver. For ignition coils 3 and 4, you'll need a 10mm socket and ratchet. For ignition coil 4, you'll also need a 5mm Allen bit.
First, we have to remove the engine cover by loosening these four Phillips clips. Just loosen it while pulling up on the engine cover, and then the engine cover pulls off and you can set it aside. For ignition coils 1 and 2, all you need is a flat blade screwdriver. Just press on the tab and pull the harness free, and then just pry the ignition coil up and out. Then, you just take your new ignition coil, push it down into place, and reconnect the harness.
To access ignition coil 3, you're going to have to remove the small air box. Just using a 10mm socket and ratchet, remove this 10mm nut and set the air box aside. To get to 4, you're also going to have to remove these three 5mm Allen bolts. We'll just fast-forward as Don removes those. Pull the bracket off and set it aside. Then just like before, push on the tab and pull the harness free. You may need to pry it to separate it, and then just pry the ignition coil up and out.
On the right is an old ignition coil; on the left is the new one from 1A Auto. You can see that they're identical, and they'll fit exactly the same. Take your new ignition coil, push it down into place, and then reconnect your harness. Replace the bracket and the three 5mm Allen bolts that hold it into place. We'll fast-forward as Don tightens those up. Now, replace that small air box, the 10mm nut that holds it into place, and just tighten that up. Line up the four Phillips clips with these four holes. Just push the engine cover down into place and tighten up those four clips. You're all set.
We hope this video helps you out. Brought to you by www.1AAuto.com, your source for quality replacement parts and the best service on the Internet. Please feel free to call us toll-free, 888-844-3393. We're the company that's here for you on the Internet and in person.
ICA61792
In Stock
Product Reviews
Loading reviews
There are no reviews for this item.
Customer Q&A
No questions have been asked about this item.
Customer service
877-844-3393
Monday - Friday 8:00am - 9:30pm ET Saturday - Sunday 8:00am - 4:30pm ET
Volkswagen is a registered trademark of Volkswagen AG. 1A Auto is not affiliated with or sponsored by Volkswagen or Volkswagen AG.See all trademarks.
Enter Vehicle Year Make Model
Specify your vehicle's year, make and model to guarantee fit.
Year
Make
Model
Options
Drivetrain
This part doesn’t fit a . Select from parts that fit.