Replaces
Frequently bought together
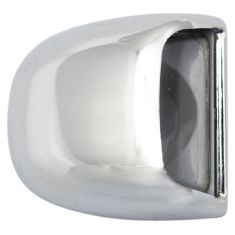
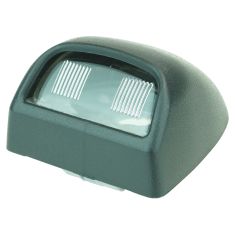
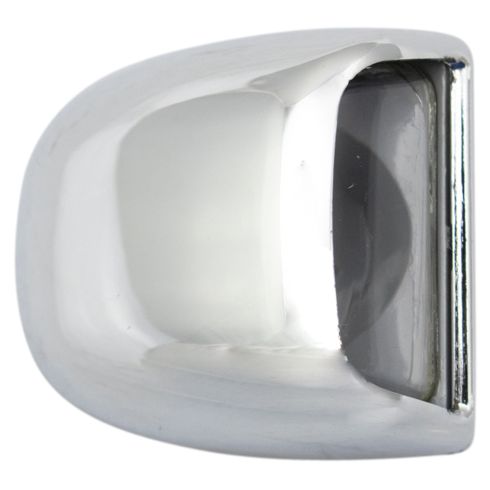
Part Details
Item Condition:
New
Attention California Customers:
 WARNING: This product can expose you to chemicals including Lead and Lead Compounds, which are known to the State of California to cause cancer, and birth defects or other reproductive harm. For more information, go to www.P65Warnings.ca.gov.
Lifetime Warranty
This item is backed by our limited lifetime warranty. In the event that this item should fail due to manufacturing defects during intended use, we will replace the part free of charge. This warranty covers the cost of the part only.
FREE Shipping is standard on Orders shipped to the lower 48 States (Contiguous United States). Standard shipping charges apply to Hawaii, Alaska and US Territories. Shipping is not available to Canada.
Expedited is available on checkout to the United States, excluding Alaska, Hawaii and US Territories as well as P.O. Boxes and APO/FPO/DPO addresses. Final shipping costs are available at checkout.
Created on:
Tools used
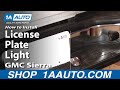
Brought to you by 1AAuto.com, your source for quality replacement parts and the best service on the internet. In this video, we're going to show you how to replace the license plate light, both the bulb and the light itself on the 2002 GMC Sierra, this is the same for pretty much any Sierra, Silverado, Tahoe, Yukon and Suburban of this generation.
To replace the license plate lights, if you're just looking to change your bulb, you reach back in here, you can feel the back of it and you twist the connector counterclockwise, now you can see here's the bulb right here. The bulb pulls out and pushes back into replace it. A lot of times you'll step on here or kind of miss the trailer when you're backing up and wipe out these lights.
You can either use a screwdriver or your hands. You push the light back and pull it out. You can see just a little clip on this end and it comes out. At 1A Auto, we sell the new ones. Ours comes in chrome, so maybe get a pair if you wanted to match. Push it in, then just give it a quick nudge with the heel of your hand. Just turn back up in there, get it to go in. Twist a little clockwise and you are all set.
We hope this helps you out. Brought to you by www.1AAuto.com, your source for quality replacement parts and the best service on the internet. Please feel free to call us toll free 888-844-3393. We're the company that's here for you on the internet and in person.