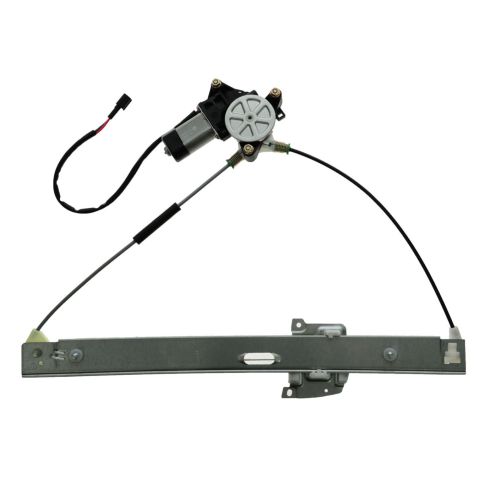
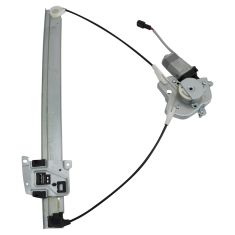
1AWRG00913-Ford Escape Mercury Mariner Front Driver Side Power Power Window Motor & Regulator Assembly TRQ WRA51654

Replaces
2006 Ford Escape Front Driver Side Power Power Window Motor & Regulator Assembly TRQ WRA51654

Product Reviews
Loading reviews
4.83/ 5.0
12
12 reviews
Awesome service and delivery
January 24, 2017
Honestly, I saw the video for a 2007 Ford Escape and have total confidence that when I need to replace the window mechanism, I'll know how. But the thing started working again, so I lubricated the channels and will keep the part in case it stops working. Great company.
2005 Ford Escape Driver Side Window Regulator Assembly
August 28, 2017
Ordering on-line was very easy. Part came in before due date, part could have been packaged better to prevent breaking or bending. The part was pretty easy to install after watching the 1A Auto video. Part installed and tested in about 3 hours. Worst part was removing all the tape residue, tape was used to hold the window up and keep rain water out while waiting for part to be delivered. Highly recommend 1A Auto Parts.
Worked perfectly--easy to install
September 22, 2017
Part arrived within 3 of ordering. You Tube video was very helpful. Installation was a piece of cake. Highly recommended!
Wouldnt go anywhere else
June 26, 2018
When an obscure piece brakes and it might cost hundreds of dollars at a dealership, obviously thats not fun. 1AAuto had the piece I needed at a great price but also had the video expertise I needed to install it myself. I will not spend my money anywhere else if I need any other parts for my car.
Window regulator
June 27, 2019
It was easy to installe and it work good i would recommande it
Easy
April 29, 2021
Got the package super quick. YouTube video was short and concise and Installation was easy.
Power window regulator
May 15, 2021
Product arrived about a week after ordering. Watched the how to video and had it installed in 15 minutes or so. Works great. Will definitely order from you next time I need automotive parts.
Does not get much easier than this!
August 12, 2021
Great product as described! Easy install and works perfectly. One watch of the install video and I was able make the repair with this great plug and play part. Saved hundreds doing it myself!
Window Regulator works good...mostly.
January 3, 2022
It works "mostly" good.
the window goes up normal until the last 3 inches, then is slows down slightly and the motor sounds "forced".
January 12, 2022
Very good
Perfect fit and replacement for my 2003 Ford Escape.
November 8, 2022
Perfect fit and replacement for my 2003 Ford Escape. Installation video on YouTube was excellent, just followed along on my phone and it went completely without issue. Very good price also. Hopefully it will last 20 years like the original..... Thanks!!!
Excellent experience
November 17, 2023
Perfect product. Exactly what we ordered. Fits perfectly
I recommend this company highly
Thank you
Customer Q&A
No questions have been asked about this item.
Ford is a registered trademark of Ford Motor Company. 1A Auto is not affiliated with or sponsored by Ford or Ford Motor Company.
See all trademarks.


