Hi. I'm Mike from 1A Auto. We've been selling auto parts for over 30 years. We're dedicated to delivering quality auto parts, expert customer service, fast and free shipping, all backed by our 100% satisfaction guarantee. We've created thousands of videos to help you install our parts with confidence, and that saves you time and money, so visit us at 1AAuto.com, your trusted source for quality auto parts.
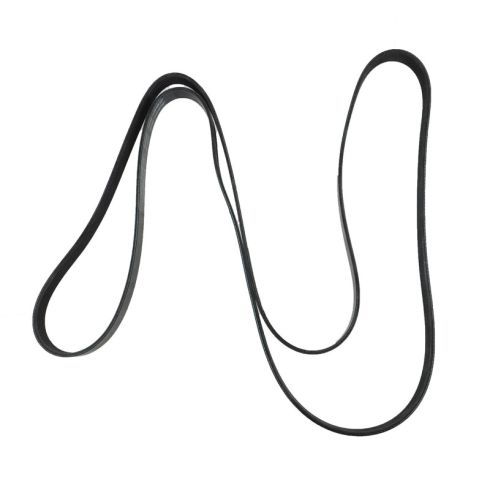
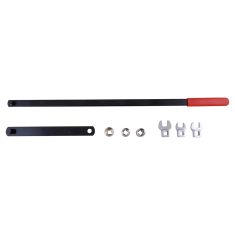
In this video, we're going to be working with our 1996 Jeep Cherokee. We're going to show you how to remove and replace the serpentine belt on a 4.0 liter, six cylinder engine with air conditioning. If you like this video, please click subscribe. We have a ton more information on this truck, as well as many other makes and models. If you need this part for your vehicle, you can follow the link down in the description over to 1AAuto.com. Here are the items you'll need for this repair.
Now, this vehicle is missing the belt path diagram. Normally it would be under the hood or up here on the cowl somewhere, so I'm going to go ahead and draw my own on it. We'll start up top with the AC pulley. The belt then goes down the to bottom, to our alternator. We have our fan pulley right in the middle and to the inside of them. All the way down at the bottom, we have our crank pulley, which we'll make larger than the rest. We then have our water pump pulley, our power steering pump pulley up here at the top right, and down below our power steering pump and close to the water pump, we have our tensioner pulley.
Now, we'll draw the belt, which goes over our A/C, under our alternator, up over the fan pulley here, and down and around the crank pulley. The crank pulley comes up, and goes over the tensioner, under the power steering, around the power steering – I've drawn this a little tight here – under the water pump, and back up over to our A/C pulley. Now, we have a good path of where it goes. We can be confident, removing our belt, that we'll make sure it goes back in the exact same path.
Using a 15-millimeter wrench, we'll loosen the bolt at the center of our tensioner pulley. Do not remove this fully. Just loosen it up enough that when we adjust the tension, the pulley will move freely. It should only take a couple of turns. If your vehicle's been run recently, be careful, because this housing up here is very hot. Using a 15-millimeter socket, ratchet, and extension, we'll loosen this tensioner bolt here until we can remove our belt. You can see as we loosen it, it moves our pulley down, taking pressure off of our serpentine belt. Once the tension's off, it's easiest to remove the belt from a smooth pulley, like our water pump pulley here. We'll slide the belt off of it.
Install your belt starting around the crank pulley at the bottom. The right side goes over the fan pulley. The belt goes over the fan pulley, under the alternator, over the A/C compressor, under the water pump pulley, over the power steering pulley, and over the belt tensioner as well. It may be easier to go over the belt tensioner and around the power steering pump before going under the water pump pulley in the same way that we removed it.
With a new belt, you may have to loosen up the tensioner some more. Tighten the tensioner bolt with your 15-millimeter socket, ratchet, and extension. Feel the belt to make sure that it's on there snug, with a little bit of flex. If you have it on there too tight, it'll break, too loose, and it won't turn the pulleys properly. You may have to make an adjustment after you get the vehicle running again. Before running the engine, after you've tightened down the tensioner, make sure you tighten down that center 15-millimeter bolt on the tensioner pulley.
Thanks for watching. Visit us at 1AAuto.com for quality auto parts, fast and free shipping, and the best customer service in the industry.