Replaces
Frequently bought together
Assemblies may include halogen or incandescent test bulbs that should be replaced before installation.
Features and Benefits
Item Condition:
New
Attention California Customers:
 WARNING: This product can expose you to chemicals including Chromium (Hexavalent Compounds), which is known to the State of California to cause cancer, and birth defects or other reproductive harm. For more information, go to www.P65Warnings.ca.gov
This item is backed by our limited lifetime warranty. In the event this item should fail due to manufacturing defects during intended use, we will replace the part free of charge. This warranty covers the cost of the part only.
The bulbs are for testing and not covered under our warranty. Our warranty applies to the light assembly only.
FREE Shipping is standard on Orders shipped to the lower 48 States (Contiguous United States). Standard shipping charges apply to Hawaii, Alaska and US Territories. Shipping is not available to Canada.
Expedited is available on checkout to the United States, excluding Alaska, Hawaii and US Territories as well as P.O. Boxes and APO/FPO/DPO addresses. Final shipping costs are available at checkout.

Created on:
Tools used
Brought to you by 1AAuto.com, your source for quality replacement parts and the best service on the Internet.
Hi, I'm Mike from 1A Auto. I hope this how-to video helps you out, and next time you need parts for your vehicle, think of 1AAuto.com. Thanks.
In this video, we're going to show you how to replace your front corner light housing or your front turn signal housing on this 1998 Toyota Camry. This information is going to be the same from 1997 to 1999. While we're doing the driver's side here, this process is going to be exactly the same for the passenger's side of the vehicle. The items you'll need include a new corner light housing from 1AAuto.com, as well as a long, thin, flat blade screwdriver.
Open the hood and secure the hood prop. Using a flat blade screwdriver, pop out the plastic connector at the top of the turn signal. Using a thick paper towel or a rag, protect the inside edge of your headlight and insert the flat blade screwdriver between the headlight and turn signal housings. Push in and pry on the tab to release the turn signal housing. When the tab is released, pull out on the turn signal housing so you can access your bulb. Push down on the tab to release the connector.
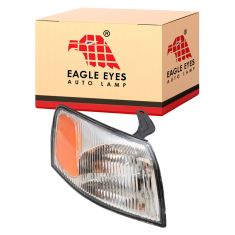
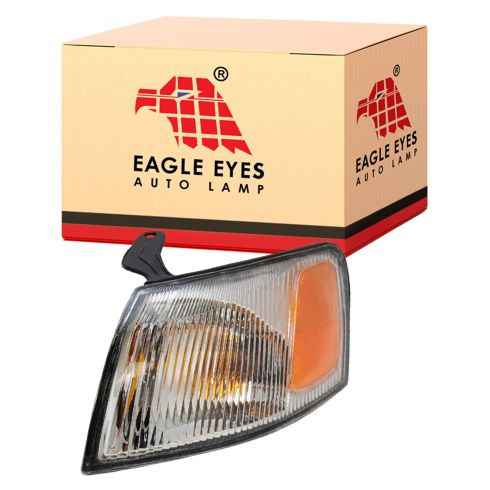
Here, we have our old part that we removed from the vehicle and our new part from 1AAuto.com. As you can see, we have the same size and shape. Our old one's gotten a little foggy. There's some dirt and debris building up in the bottom corner here. While our new one is nice and clear, it's going to reflect light very well, making you more visible. We have the same tab on the top for the retainer pin to hold into. We have the same tab in the rear to lock into the fender. The same tab for the retainer on top. The same clip to lock it into the side of the headlight housing. As well as the same bulb, bulb socket, and the same three-pin connector. If your old front turn signal housing has become cracked, damaged, cloudy, or filled with water, then this new part from 1A Auto is going to go in, direct fit, just like your original equipment, and fix you up right.
Be sure to line up the outside tab with the slot in the fender, and the inner tab with the slot on the back of the headlight. This being the one on the headlight and the notch in the fender. Reconnect your electrical connector. Once all your tabs are lined up, pop the housing into place, pop the outer retainer into the hole, pop the inner portion of the retainer in to lock it into place.
As always, after completing any repair, be sure to check for proper operation of the system you worked on. We'll turn our key on, check for operation of our left directional as well as our parking lamp. Move the hood prop, close your hood, and you're ready to go.
Thanks for tuning in. We hope this video helped you out. Next time you need parts for your car, please visit 1AAuto.com. Also check out our other helpful how-to and diagnosis videos.