Brought to you by 1AAuto.com, your source for quality replacement parts and the best service on the internet. Hi, I'm Mike Green. I'm one of the owners of 1A Auto. I want to help you save time and money repairing and maintaining your vehicle. I'm going to use my 20 plus years experience restoring and repairing cars and trucks like this to show you the correct way to install parts from 1AAuto.com. The right parts installed correctly, that's going to save you time and money. Thank you and enjoy the video.
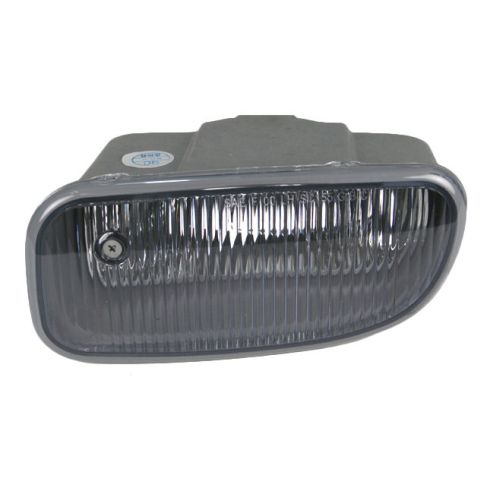
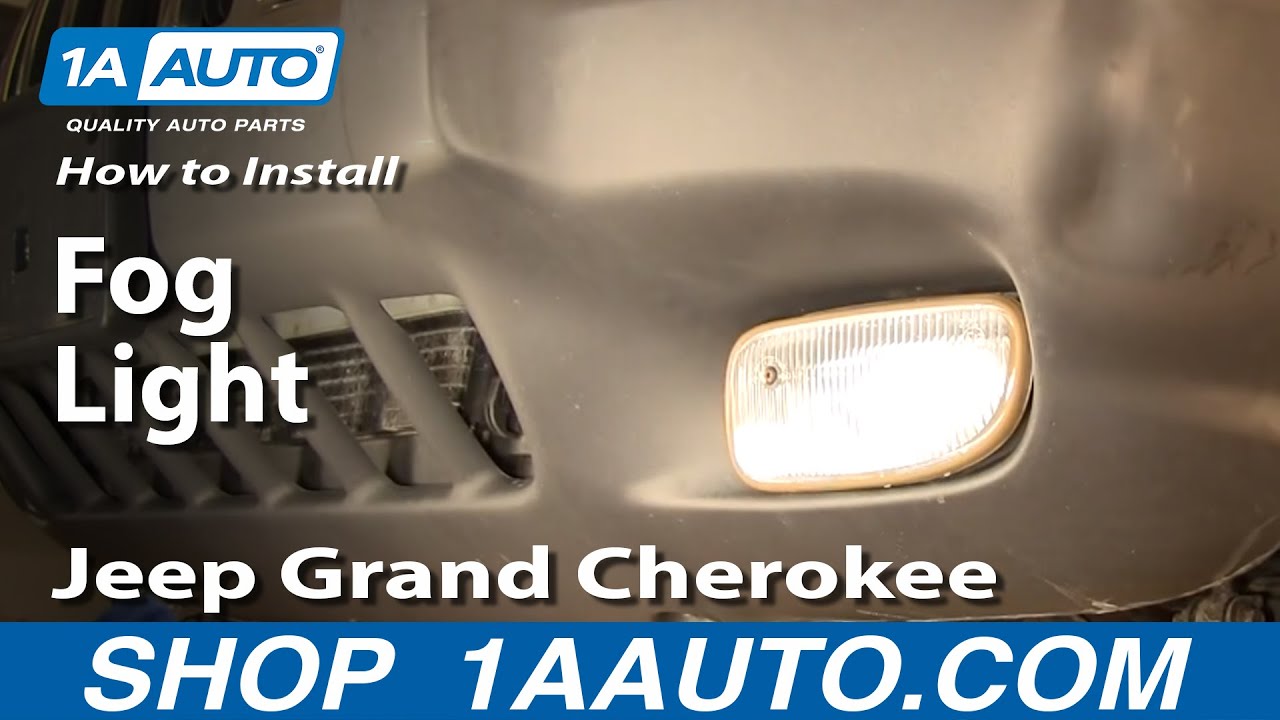
In this video, we'll be replacing the fog lights on this 2000 Jeep Grand Cherokee, basically the same as any '99 to '03 Grand Cherokee. The tools you're going to need are a 10mm wrench or socket and handle, and then if you have some issues, you might need some vise grips if the bolts are rusty, and then if they're really rusty and it won't come apart, you'll probably need a little hack saw or Sawzall. You'll see what I mean. Okay. Maybe you had a little altercation with a rock or a slipping spin and you need to remove or replace a headlight or a fog light because it damaged or maybe you just want to take about 100,000 miles off your vehicle and I'll show you what I mean. Here you can see that new driver side headlight and then both changed out headlights makes a truck look a lot different. Go back to the old, maybe you want to change a look at your truck. There you can see the limited headlights installed, and now you can see both headlights installed. Now, this truck is a 130,000 mile truck and you can tell or you could see just by changing out the lights, it could take about a 100,000 miles off the front end.
Okay. To replace fog lights ... we're actually, obviously underneath the vehicle here and there are two bolts and I'm going to tighten up on one. That's one of them, right there. The 10mm bolts and you can reach up in there with your hand for that one. It's fairly easy. I'll stop here and change angle. The other one, now you could see the tire here, so I'm tightening up here and it's right there. You can pull this back far enough that you can get your hand in there and get a 10mm socket and wrench. We're going to take those two bolts off and then see from the front. Move the bolts in the back and that comes out. Again, like most, it's a fun lock and it comes out and then you have your fog lights free. Now, we got to ask a lot, can you remove the bolt and replace it without removing the light? Yes. As hard as you can, you can reach in here, you see my hand. There's enough room in there to get in there, unplug the bulb and twist it out, and the bulb twists counterclockwise and then pull straight out. So you can get the bulb out and change it without removing this.
I'm going to show you here ... these are actually the studs. The nuts were rusted on the back side so much that rather than the nuts coming off, the studs just unscrewed from the light. If you're changing anyway, you could do one or two things. I'll just actually make grab the new fog light and I'll show you. Here's the new fog light. You can see, it's the got the stud in it. One option is you remove the studs from the new fog light. I'm going to remove it somewhat, but I can already see an issue. It appears that this is much larger than these, so we're going to have to grab hold of these with some pliers, spray the back with some penetrating oil and remove these from the truck so we can put the new ones in correctly. A little penetrating oil down on the back side of these. I've got my wrench on the back side. What you're going to want is a good set of locking pliers. These are called vise grip pliers and you got to want to lock them on there so that stud can't move around. That seems it and just back it off the rest of the way. With penetrating oil, pliers and a wrench, I was able to get this one off. This one, I was not able to get it out the conventional way.
What I did, I'll close up on it a little bit, is I just use a little hack saw. Where's our zoom, zoom, zoom. Basically, I just cut down on the plastic and then I just pop it up and out there. Now, what I'll do is I put it in a vise or use a big set of pliers and get it apart, but that will be okay because I'll be able to put the new light in there and it'll still hold, there's still plenty to hold on there. I didn't end up breaking anything for real. That little crap won't affect anything once everything is tight together and pinched together. You can see on that, we'll use a vise to get this nut off of here, doing everything to save it. Now, you could go down to harbor store, but one for about 10, 15, 20, 25 cents or something. We've got our new fog light ready and going. I'm going to take my penetrating oil and coat these studs real good, so hopefully this will be on the car, for this car for another 20 years and then maybe you have to take it off again, you'll be able to do that. Plug in the light, back up in there. I'll get this one started. We'll tighten those up and the fog light will be all set.
We hope this helps you out. This video is brought to you by www.1AAuto.com, your source for quality replacement parts and the best service on the internet. Call us toll-free, 888-844-3393. We're the company that's here for you on the internet and in person. Thank you very much.