Brought to you by 1AAuto.com. Your source for quality replacement parts and the best service on the internet.
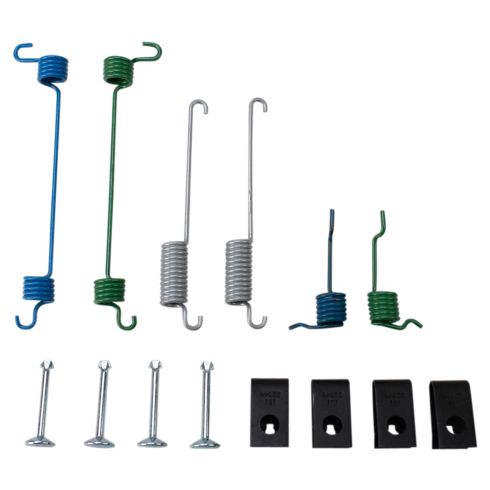
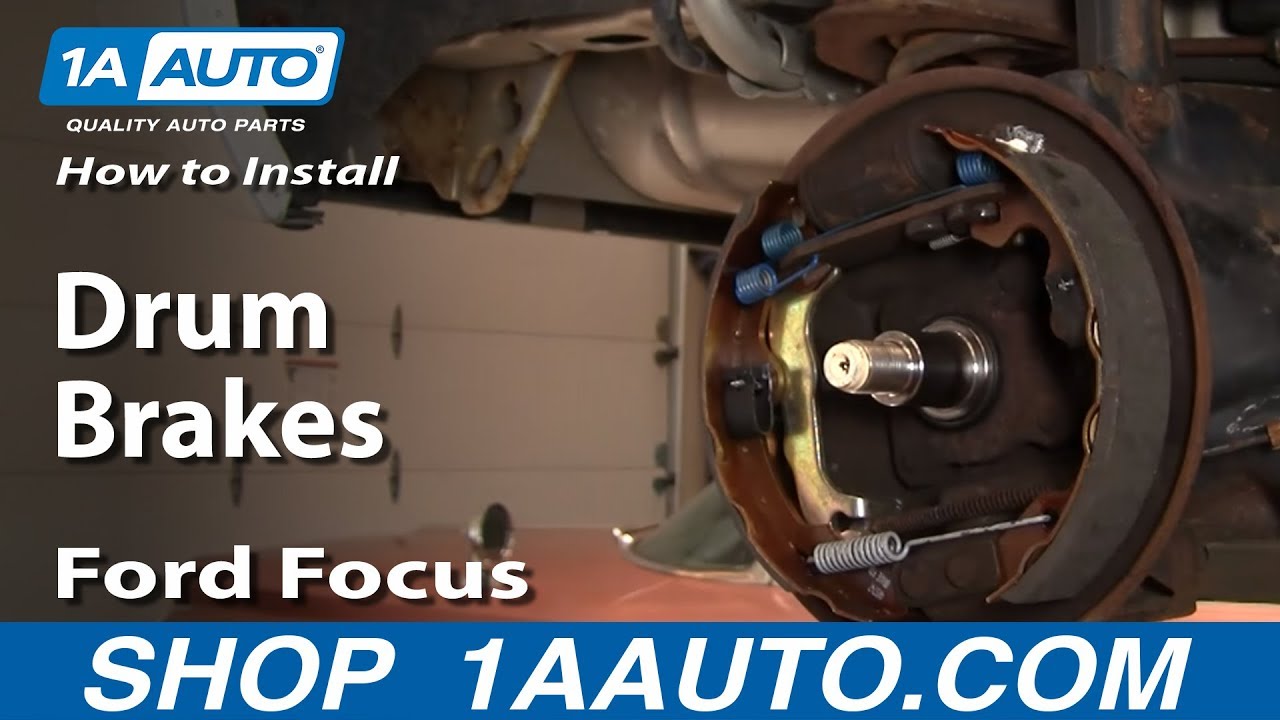
Hi, I'm Mike from 1A Auto. I hope this how-to video helps you out and next time you need parts for your vehicle, think of 1AAuto.com. Thanks. In this video, we're going to do the rear brakes. I'll show you how to do the rear brakes on this 2003 Ford Focus. Pretty much the same as any 2000 right up to 2011. This vehicle does have drum brakes on the rear. Tools you'll need are brake shoes and drums from 1A Auto part number 1ABDS00019, jack and jack stands, a 19mm socket with a breaker bar or your tire iron. You'll need a 30mm socket with also the breaker bar, flat blade screwdriver, a needle nose locking pliers, a hammer, and a cold chisel.
You'll want to use either a socket and a breaker bar or your tire iron that comes with the vehicle. If you only have hand tools, have the wheel on the ground, loosen the lug nuts first, then raise and support the vehicle with jack stands and remove the wheel and tire. A lot of times with these wheels, what you might want to do, put a couple of lug nuts back on and then, give it a good kick, break it loose. Next, use a hammer and cold chisel. A little bit of a difficult thing to get out. Basically, what you have to do is dent the dust cap and just drive right straight down on it and then try and drive it out a little bit then turn it and do the same thing.
You'll have to dent the cap, but you don't want to pierce through it. Eventually, you'll turn the wheel or turn the drum a little bit and like I said, dent into the cap and then try and drive it out and it'll come off. You'll need a 30mm socket and you'll need a breaker bar or you can use a ratchet with a piece of pipe. Take that off, the drum right off. Remove this top spring. Take a pair of locking needle nose pliers. You can probably get it with regular pliers, as well. Lock them onto that spring. Pull that right out. Do this one here. Lock onto it. Push it like that. Get these clips off. For this, you just take a screwdriver and push them in and down. They come off. Same thing with this one. Just turn it a little bit to get it loosened up. The shoe comes right off.
To get this shoe off, you can see it connects to the emergency brake cable down here. Bring it down and twist this way. Trying to basically push this ball through that hole. Use the screwdriver again if you have to. Force that back right through there. That comes off. That spring comes out of there. You just need to take this and pull it apart like that. Then the spring comes down and out of there. New shoe from 1AAuto. Getting ready to put it back together. We're going to put this emergency brake lever on first. This has an automatic adjuster on it. What you want to do is pull out and push this back in. It'll automatically adjust it back out. We'll put this spring into the shoe first. Dip it down. Put it into this cross bar. You have to pull the cross bar as you work it up like that. Now you have it together.
With everything apart, make sure you get your old pins out. Take a wire brush and clean off on each. On the front there are three pads where the brake shoes contact the backing plate. Also, on that backside, clean those off. Also, inspect your cylinder here. Make sure there's no fluid leaking out of it. If you have any fluid leaking, you'll need to replace it. Before I go to install this on, I'm going to take some white grease. I'm going to put them right in these little divots here. Put a little grease right in there. I need to put my emergency brake cable on first so pull that out. Put the cable through.
This is the most fun part. You have to be able to pull the spring on the cable back some. Then, force the cable into the lever and bring it right around. You can rotate that up. Push the pin through. Take this clip and it'll work a little different than what I took off of here. I'm going to use a pair of pliers. Grip it, push it on, and twist it. I'm going to grab my pin. Make sure it locks right in and then again, get the shoe right in place. It should be up against there and up against your cylinder up here. Get the front shoes. They got the grease on the side. Put the shoe in place. Get it on there. If you want, on this side take the clip and just bend it a little bit further. I'll take this and put it up in place. Take this gray spring down in here.
Now what we're going to do is take our shoes, squeeze them together. Spring goes in there. Spiral and push. Spring in, let it go, and push that. It's not going in all the way so I use my screwdriver, the very tip of it. That spring is in. I did make a little bit of mistake. I didn't get this adjuster in far enough. I'm continuing to adjust it back. I'm pushing on the adjuster and then pushing it in that way to make it go in. Once you do that, make sure, again, you push your shoes together. Try and get them centered as best you can. Your drum. Put the nut back on.
Now you want to use a torque wrench and this nut is torqued to 170 foot-pounds. What you want to do is while you're torqueing it, spin the bearings. This just helps the bearings to seed a little bit. Spin them a few times, torque, spin a few times, spin a few times. Take the dust cap. I'm going to speed it up as I put the wheel and tire back on. Thread the lug nuts on by hand at first. Then, tighten them preliminarily with a wrench. Once you get that all set, you can let the vehicle back down on the ground and tighten the lug nuts to a hundred foot-pounds each. Make sure you pump your brakes. Give the pedal nice and firm before you try do a road test. Then, do stops from five and ten miles an hour before you take your car out on the road.
We hope this helps you out. Brought to you by www.1AAuto.com, your source for quality replacement parts and the best service on the internet. Please feel free to call us toll-free 888-844-3393. We're the company that's here for you on the internet and in person.


