Brought to you by 1AAuto.com, your source for quality replacement parts and the best service on the Internet.
Hi, I'm Mike from 1A Auto. I hope this how-to video helps you out, and next time you need parts for your vehicle, think of 1AAuto.com. Thanks!
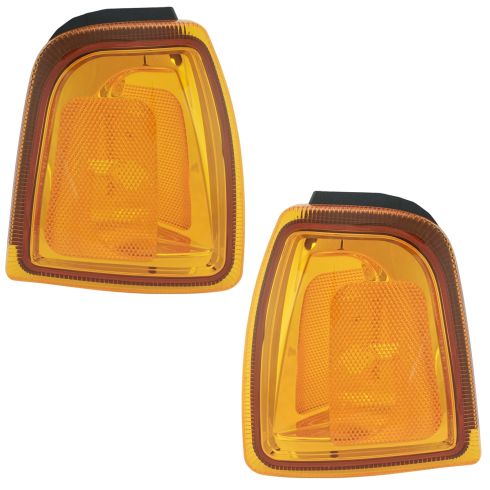
In this video, we're going to be working with our 2001 Ford Ranger. We're going to show you how to remove your corner marker lamp. While we're in there, we're going to show you how to change that bulb out because it's part of the process of removing the lamp.
If you like this video, please click subscribe. We have a ton more information on this truck, as well as many other makes and models. If you want this part for your vehicle it's available from 1Aauto.com. You can follow the link down in the description. We're working on the passenger side but this process is going to be the same for the driver's.
Here are the items you'll need for this repair: 5.5mm, ratchet, and socket extensions.
Remove the three 5 1/2 millimeter bolts on the top cover for the headlight with a socket, ratchet, and extension. Then remove the plastic cover from the top of the headlight. There's a metal tab on the inside here under that cover. We'll lift up there. Don't lock it all the way up. You want to let it sit at that float point there. Get the one on the opposite side here. Same thing: lift up and hit that balance point. You might have to wiggle them a little if the headlight is not coming out smoothly.
Twist the sockets for the turn signal counterclockwise and the collar for the headlight spins off counterclockwise. We'll place our headlight assembly off to the side. We can disconnect these two 5 1/2mm bolts with our socket ratchet and extension. This allows us to remove the corner marker housing.
The socket on the back pops out quarter turn counterclockwise. The bulb simply pops out.
If that's all your changing, pop a new one back in.
The new corner marker, if you're replacing it or just reinstalling, push the socket back in, turn it clockwise until it locks, put this pin into the plastic retainer here, and reinstall your two 5 1/2mm bolts.
Reinstall the headlight assembly into the truck. To give you a better idea of how these headlight retainers work, you'll see the hole here where our plastic retainer is going to slide in on the back of the headlight. This is with that slide in the floating position. If you pull too far up, the metal comes through the opening and will still hold the bottom of the retainer. Let's see: key hole, when you slide down, that thinner portion locks over the top. When we hit this nice middle point here is when our headlight comes out nice and smooth.
Install the sockets into your new headlight. Socket goes in, and a quarter turn clockwise locks it in place. The headlight pops in. The collar goes over the tabs and locks on clockwise.
Now, we'll line up these pins into the openings. Again, you might have to wiggle those slides a little to get them to go in. Once they're over, lock the tab back down into place and ensure your headlight is in straight and secure. Reinstall the plastic cover over the top of the headlight. Tighten it down with a socket, ratchet, and extension with your 5 1/2 millimeter screws.
Thanks for tuning in. We hope this video helped you out. Next time you need parts for your car, please visit 1AAuto.com. Also check out our other helpful how-to and diagnosis videos.