Brought to you by 1AAuto.com, your source for quality replacement parts and the best service on the Internet.
Hi, I'm Don from 1A Auto. I hope this how-to video helps you out, and the next time you need a part for your vehicle, think of 1AAuto.com. Thanks.
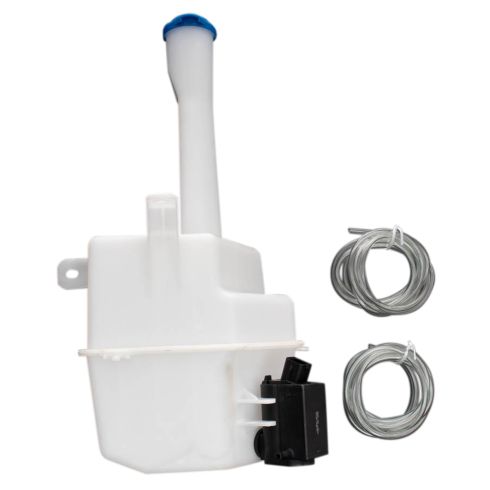
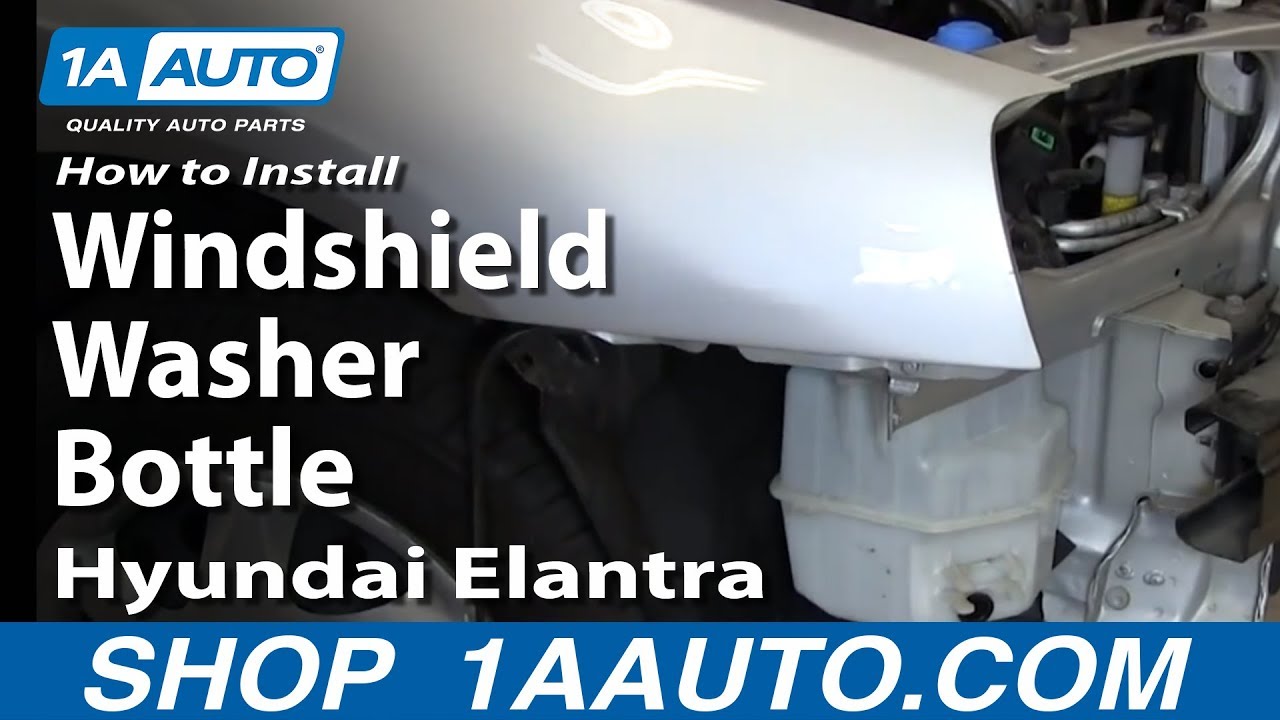
In this video, we're going to show you how to replace the windshield washer bottle or the reservoir in this 2005 Hyundai Elantra. It should be basically the same for a 2001 to 2006 Elantra. You do have to remove the front bumper cover, and once you know how to do it it's easy. The tools you'll need include a Phillips and flat blade screwdriver and a 10mm socket with a ratchet and extension.
Locate your plastic fasteners and the Phillips head along the top of the grill and remove them. We'll speed it up here as we take the rest of those fasteners out. As you can see they're basically all Phillips head, and you, hopefully, once you turn it counterclockwise the screw will come up and out. If not, you'll have to pry underneath with a small screwdriver or your fingernail and pull up on the Phillips head, once the center comes out then you can pull the rest of the clip out. We'll lift the top of the [inaudible 01:42] off.
There are four Phillips head screws on the inside of the grille: two on this side, two over here, and there's one more right in the center on the bottom. We'll just speed it up as we use a short Phillips screwdriver to remove those screws. Underneath, where you just removed the grille, you'll find a few clips that hold the bumper cover to the bumper reinforcement bar. Remove those.
Next, you'll want to remove the headlights by removing a 10mm bolt on the top and then using the extension and removing one further down. Then unplug the harnesses from the backside and pull the whole assembly out. Do this for both sides.
I'm going to push in the front edge, get a little flat blade, push, pull it out, the connector on the back just press in. Find your two Phillips head screws that hold the bumper cover at the corner, and this one you can use actually a 10mm socket. There's also a 10mm on the inside here and a plastic fastener. I'm just going to fast-forward, use a Phillips screwdriver and a 10mm socket with a ratchet and also the Phillips screwdriver to get the clip out. Remove those fasteners from each side.
Okay, and up underneath there are two more pairs of fasteners. Actually, I'm sorry, there are two fasteners on each side. They're the style that you kind of pull the center out of and pull them down. A lot of times they're missing on cars and these can be more difficult usually because there's usually kind of sand gummed up in the works and stuff. Then there are also two more fasteners that you get to from up underneath. Our car did not have a lower splash shield but sometimes you'll find that there's a splash shield that pretty much connects the bottom of that bumper cover to the bottom of the radiator support.
Our car didn't have one, not sure if that's how they come or if you may encounter one that you need to remove some fasteners and take off. Grab the end here of the bumper cover. Just give it a gentle pull and do the same for this side. Find your washer pump and harness and remove your harness by pushing down on the clip. Then we're going to drain the tank. You're just going to pull the pump out of its clip. Have something there to catch it. Taking out the hose, pulling the pump aside and you're going to find a 10mm bolt back there and a 10mm here, and then there's a post that the washer reservoir slides on to, right over behind there. Speed up here as we use a 10mm socket and ratchet and an extension as well to remove those two 10mm fasteners. Push the reservoir back off the post, slide it out through the bottom.
I'm going to put the reservoir back in, feeding it through the bottom. Then I've got the area where it slides on to the post and reinstall my bolts. Again we'll just speed up here as we get those bolts started first. You're just going to have to move the washer bottle around until the bolts go into their holes and get them started. Just be careful not to cross thread the bolts at all. You might have to change angles just a little bit just to get a good view in there.
Put the pPump back in place and reconnect the harness. Put the bumper cover back on. Match up your holes, and I'm going to put a couple of these bolts in just to hold it in place. Here I'm just going to fast-forward through. We use those first two bolts on top just to hold things in place. Then start the two bolts that are kind of in behind the headlight. Now, on each side, put the bolt that goes up through the fender cover into the fender as well as the fastener that fastens the inner fender back to the fender. Do this for both sides. Make sure you can get to the harnesses for the two parking lights and snap them back in place. Push them into the front, reconnect them first, push them into the front, and then slide them back and snap them in.
Reinstall the clips that are on the side holding the lower fender close out panel to the fender and then also reinstall the clips, the middle clips up underneath. Tighten up the bolts that are in behind the headlights as well as the two bolts that hold the upper part of the fender cover to the radiator support. Reinstall the two clips that hold the bumper cover to the bumper bar underneath where the grill mounts. Now reinstall your lights. Remember to feed the outside in first and then feed the inside in. Start the three bolts and then tighten them up. Reconnect your headlight as well as your parking lights and everything. Putting the grille back in, then reinstalling the five screws. Then speed up here as we just reinstall and tighten up those screws.
Then the only thing left is to just refill your washer bottle. You can do that after, or you can do it just after you put in the washer bottle. Run the wipers and the washers and test it before you put everything back together. I'm going to refill the washer reservoir. I'm going to use a funnel with a screen in it so that we don't get any debris in there that would clog the pump. You can also just put a paper towel into your funnel to help you filter out any debris. Once you fill that back up, replace the cap, and you should be good to go.
We hope this video helps you out. Brought to you by www.1AAuto.com, your source for quality replacement parts and the best service on the Internet. Please feel free to call us toll-free, 888-844-3393. We're the company that's here for you on the Internet and in person.