Brought to you by 1AAuto.com, your source for quality replacement parts and the best service on the internet. Hi, I'm Mike from 1A Auto and I hope this how-to video helps you out and next time you need parts for your vehicle, think of 1AAuto.com. Thanks.
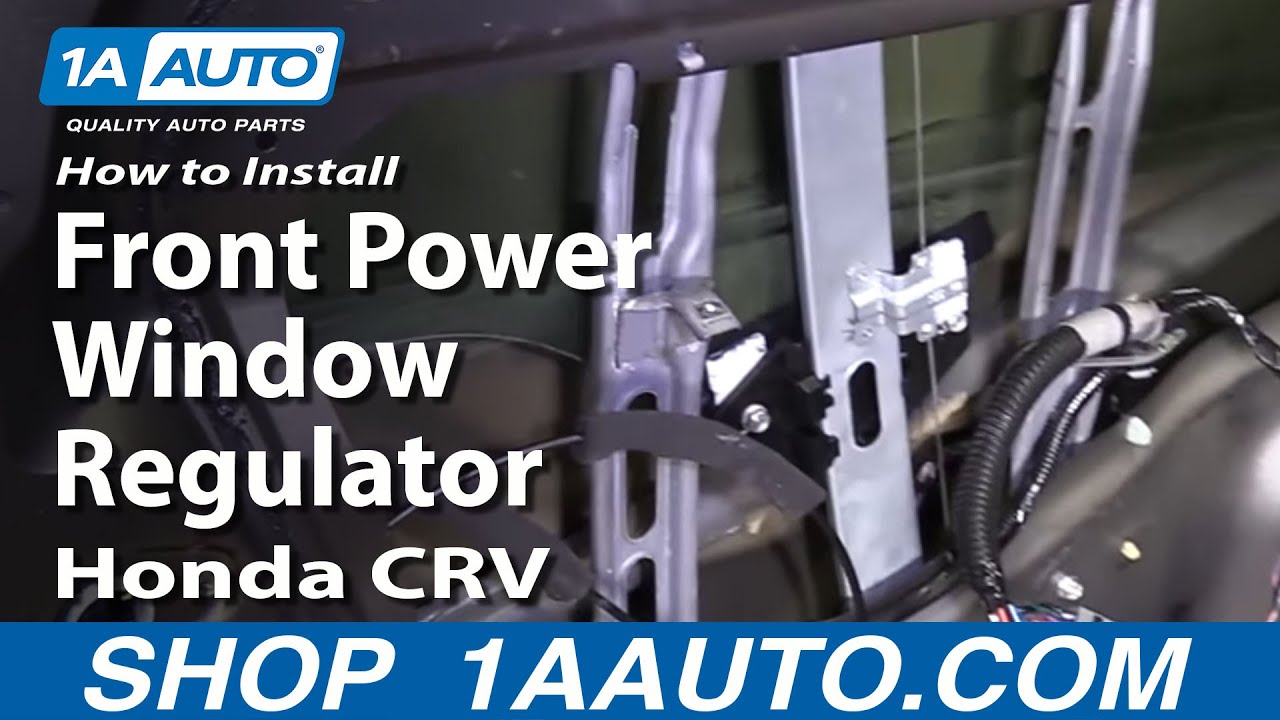
In this video, we're going to show you how to replace a front window regulator on this 2003 Honda CR-V. When a window regulator goes, you usually hear a popping noise followed by somewhat of a grinding noise and if you don't hear that, then usually it's when you can hear your window trying to do something but your window does not go up or down. Also, a good sign that the regulator is broken is if you can move your window up and down by hand. Tools you'll need are flat blade screwdriver, a small flat blade screwdriver as well as a Phillips screwdriver and a 10 mm socket with a ratchet and extension. You're going to want to remove this trim piece. Okay, there's a little click right here. Push in at the center. That allows that to be pulled out. Small screwdriver, the trim panel back in here. You want to kind of put the screwdriver in and pry that out two Phillips screws to remove there. Carefully with a flat blade screwdriver, pry up on your switch panel here and then you will see me remove two Phillips screws right underneath the arm rest. We'll lift this up. In the bottom on the back side of your mirror switch, press the button. We'll disconnect here. Pull it up some. There's a green button on your window switch. You may want to use a little screwdriver. Push that green button in front and work that panel right up out.
Now, let's remove our four screws. I'll fast forward here as I remove the two screws that were in behind that trim panel on the door handle and then the two screws that are hidden up under the armrest or the door pull area. You only need to pull your door handle out here. There's a little button for the connection for your power lock. Press that button and disconnect your power locks then there's a little clip back here. Flip that click off and pull this rod up. You door handle comes out. Okay, it's all set. We're going to start at the top corner. Pull firmly and try work your fingers down into the series of clips that hold the door handle to the door. Once you have it released, lift up. Pull the panel away. This is your trunk or your hatch release. You're just going to push on the brown tab at the side. That disconnects. There are two connectors here. This one already came out. If you insert your screwdriver basically right in here under the tabs are lined up with these so you just come right on here, insert your screwdriver on this side. Pull up. That comes out and your door bolts free. I'm going to fast forward here as actually I am slowly pulling the water shield off and the stuff that holds it on is kind of gooey, sticky, and stringy so I just kind of cut it out with my hand and stick it back on to the water shield. Just pull it down and let the bottom still stick to the door.
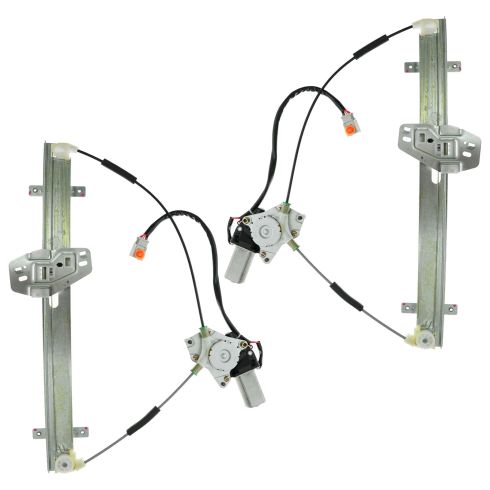
When your window regulator breaks, normally when you press the button, you'll hear the motor running and kind of a grinding noise and usually when the window regulator breaks, you can actually grab on to your window and mover it up and down by hand and you want to move it down until it's basically kind of in that semi-down position and then through these holes, there's two 10 mm bolts. You want to remove those two bolts. I'm going to fast forward as I use a 10 mm socket and a ratchet and extension to remove those two bolts. You just lift your window right up. I just secured it up there with some painter's tape. Here's your connector for the power window and you want to just press the little button right here and pull that up and out. I'm reaching through here or actually just take a little screwdriver and you want to pull this clip out going for the top. Release one of the teeth and then the bottom. It comes out and then we'll check right here around the pin. Just push it. Squeeze it with your fingers. Both removed. Then you're going to want to remove these two bolts and this bold and then loosen this one and these three up here. I'll fast forward again as I use 10 mm socket and ratchet to remove the three bolts and loosen the four others. You'll grab this and pull this reel out and you can reach it here and pull your window motor out. You probably want to pull out of its clip there. Give yourself a little extra room and pull the regulator, motor assembly. There is our regulator, new assembly from 1A Auto. Basically, all the same, has a metal bracket up here for the window to mount to rather than plastic. Not a big difference. The connector is going to connect just like the original. You're going to have to clip on everything and the first, the only thing we're going to want to do is take this bolt out of your regulator and then the three bolts out of the motor. You want to take them out and start them into the new one.
I'll put it in high gear here as like I said, I just basically take the bolts that go into the slots and slide in, take them out of the old regulator and put them into the new regulator so that you can hang the regulator up in there when you get it into the door. Once you have those all in, you want to put the regulator in, motor in. Reach through with your hand, grab them over and bring it there up in place right there first and pull the motor up here. Put it in place and I'll speed up here as I start to tighten up the three bolts to hold the motor in place as well as reconnect the lead for the power window motor. Reel in place here. Start this bolt up here. Get these bolts down here. Okay, fast forward again as I start those bolts in and tighten them up. One note, the bolts that come on the door, you'll notice there's two longer ones and then four or three smaller ones. The smaller ones are what hold the regulator in. The longer ones are what hold the window to the regulator. It falls off the window. Let it slide down slowly into place and then let's put it back in and I'll speed up here as I put those two bolts that hold the window to the regulator track an again, as I said before, these are the longer bolts that you want to use for this step.
Now, you can actually do a quick test. Plug your switch back in. Turn the key on. It looks just fine. Okay, make sure you roll that switch. Get inner latch rod back up in place and clip in place and then put your water shield back up in place and you're ready to put the door panel back on. For the door panel, you'll push the window harness up and through and then click the clips back in and then also my mirror harness put that thing through. Plug in my rear hatch switch down here. I know you can't see that but okay, and then make sure that you lock those through. Push the panel against the window sill and down. Engage the clips around the outside. Here's more. You'll just use the back of your hand. I'm just going to fast forward here as I now put the two Phillips screws to go up under the door pull. It's kind of a matter of just putting up in there and getting them started and going and tightens them up nice and firm. Hold on to the window harness. Put the panel down and connect it. Connect your mirror parts and then work this down in and we'll lock it into place. The door handle connects to your car door lock switch first. Pull this clip back a little bit. Pill your rod out and kind of get into the hole. Push it down in and flip down on. Put that in. A little bit of fast motion here again as I just use Phillips screwdriver and put in those two screws that hold that door handle in place. Take your little trap door. It's got two clips at the bottom, the bottom slide. Push that right in. In this panel, put the kind of bottom down in. Okay, this clip, push the center back through. Put it in and just push the center flush to lock it.
We hope this helps you out, brought to you by www.1AAuto.com, your source for quality replacement parts and the best service on the internet. Please feel free to call us toll-free 888-844-3393. We're the company that serves you online and in person.