Brought to you by 1AAuto.com, your source for quality replacement parts and the best service on the Internet. Hi, I'm Mike Green. I'm one of the owners of 1A Auto. I want to help you save time and money repairing and maintaining your vehicle. I'm going to use my 20-plus years experience restoring and repairing cars and trucks like this to show you the correct way to install parts from 1AAuto.com. The right parts, installed correctly--that's going to save you time and money. Thank you and enjoy the video.
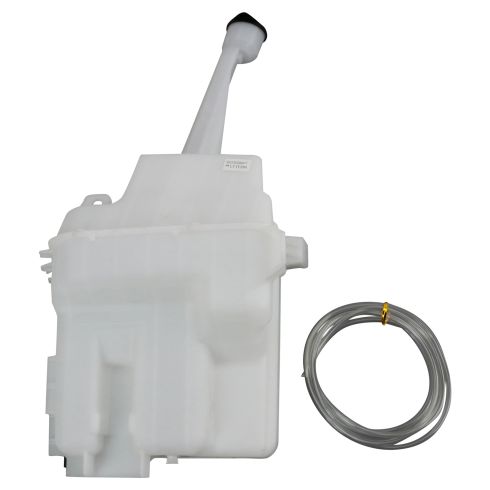
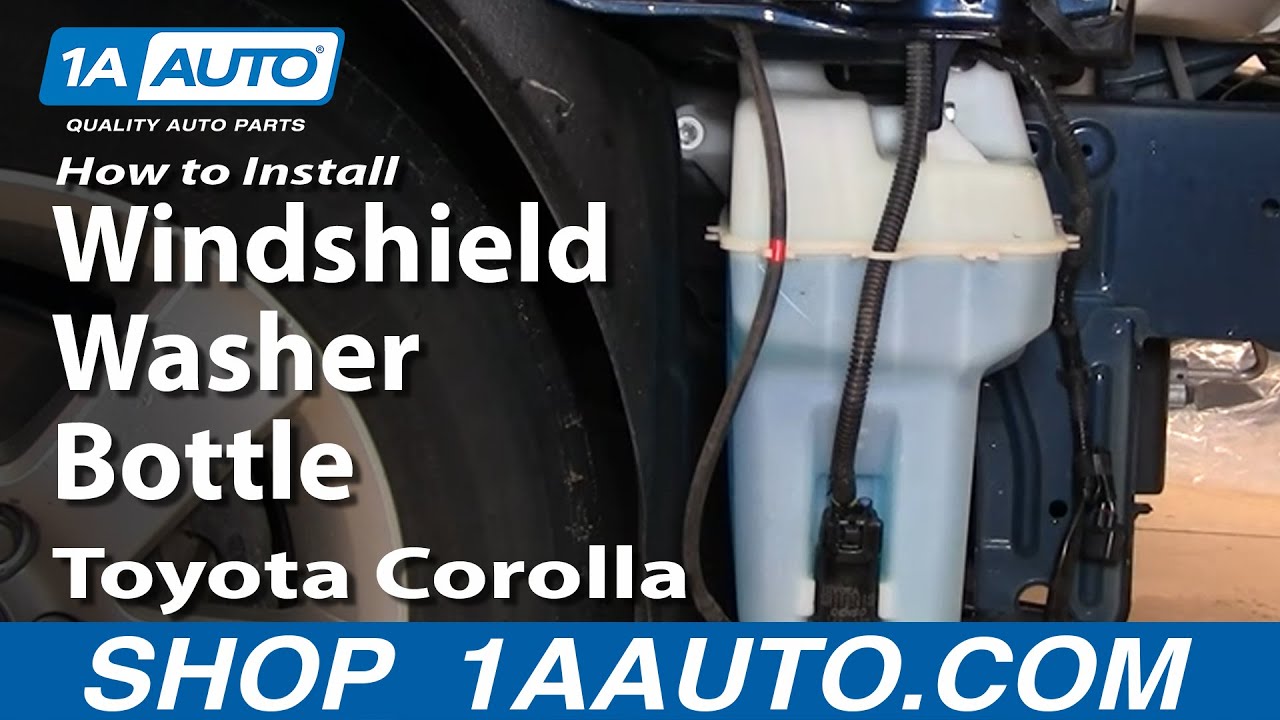
In this video we'll be replacing a windshield washer bottle and showing you the windshield washer pump on this '07 Toyota Corolla. Same as any '03 to '08 Corolla. Washer bottle can get taken out by a rock or damaged in a small accident. You will need to remove the bumper cover. This is not a difficult procedure, as you will see. The only tools you'll need are a Phillips and flat blade screwdriver and a 10-mm socket ratchet and extension. The extension will really help for one of the bolts on the washer bottle. To remove the front fascia, it's actually a series of screws. Here's one and obviously there's one just like that on the other side. Then what you do is you pull your back and you can see right there. That's two. Underneath, look at the front, there's one there and one right there. This is a screw here, this little bumper. This is, it's kind of a screw, you actually just kind of pull the center of this up and then pull the clip out. Obviously another screw. Then there are two connectors. You can use a little screwdriver and pop them down and reach in behind and just pull them out. There are two of them, one there and one there. Once you've got all the fasteners out, you just start on the sides. Pull down then pull out. There's a clip here and then just kind of shake it and pull it out. It's free. Do that on the other side and then it pulls right off.
This is actually your windshield washer pump. Just so you know, this is what it should sound like. If you're ever wondering why your windshield wipers aren't working and you put fluid in, try it and listen right down here. Obviously your bumper cover's going to be on, but listen right down here and see if you hear-- Listen for that whirring noise to see if your windshield washer pump's working. You want to unhook your pump, whether you're replacing the reservoir or the pump. There's just a little button here, press with your thumb and pull. This hose--let's just move this up here if we can--this hose, you want to twist it. Get it twisting and then twist and pull and it will come off. If you're just replacing your pump, it actually just pulls right out and you can put a new one in. But if, like a lot of people, you have a little accident and you need to replace this reservoir, you can see there's three bolts. One here, here, and then one back right there. So those are 10-mm bolts. Just undo the three bolts now. Inside, there are just a couple little tabs here that hold it up.
Now that you've got it down, you can see there's still a little clip, a wire clip to it here. You can reach in. You can see it from up top here. You can just reach in and push the little ears, unclip that wire. Now the reservoir comes out. 1A Auto obviously sells these reservoirs. It's an exact duplicate. It fits in just like the original. Obviously, to install, just put it up through. This wire goes outside in front. We'll clip this wire back in. Pull it up. The clips are holding it on top. The three bolts. Let's do this one here first because it's easy to see. Next, because it's easy. For this last one, I'm going to load it into my extension here, hold it up a little bit, push into place. Make sure I'm going the right way with the wrench. I'm just going to check these by hand. I never trust power tools, I don't know exactly how tight they are. That's pretty tight. It's plastic, so you don't have to be crazy tight, but make sure it's nice and snug. Plug in your hose. This clips in here. This plugs in. This clips in.
Then we'll fill it with fluid. Test it, make sure everything works okay. As long as everything works okay, then we'll put the bumper cover back on and we're ready to go. We're just going to speed through putting the fascia back on, just in the interest of time. If you did want to see this in detail, just look for "front bumper cover replacement on a Corolla" in our other videos and you can see the install real-time. After you've removed the bumper cover and just by watching this fast motion, probably you'll get an understanding. You do need to be careful with the bolts up underneath. Make sure you clip everything together first. The plastic goes up above the fascia. Beyond that, we hope this helped you out. 1aauto.com for all your parts and needs.
Brought to you by www.1AAuto.com, your source for quality replacement parts and the best service on the Internet. Please feel free to call us toll-free, 888-844-3393. We're the company that's here for you on the Internet and in person.