Brought to you by 1AAuto.com, your source for quality replacement parts and the best service on the internet.
Hi! I'm Don from 1A Auto. I hope this how-to video helps you out and the next time you need a part for your vehicle, think of 1AAuto.com. Thanks.
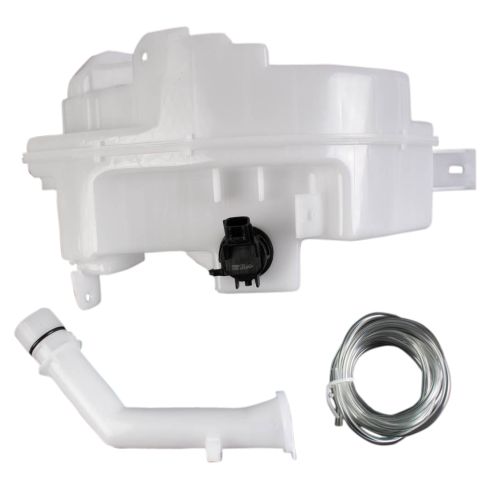
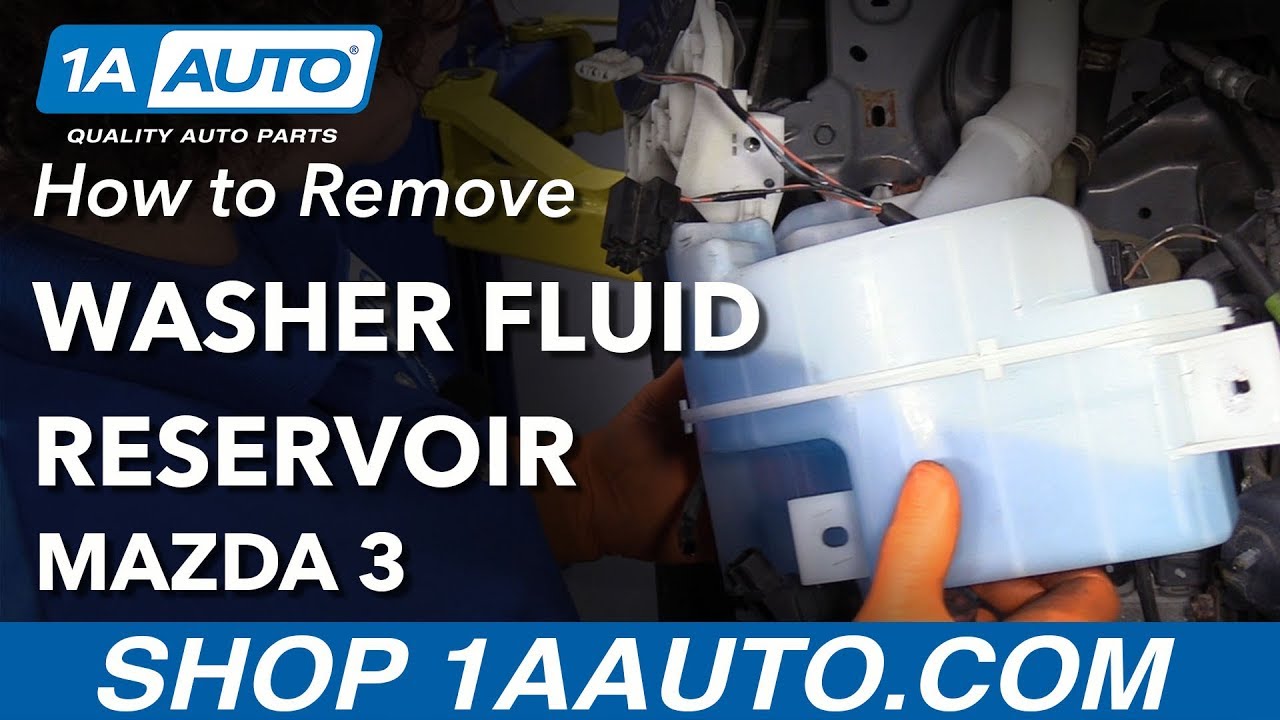
In this video, we are going to show you how to replace the windshield wiper washer reservoir or washer bottle on this 2006 Mazda-3, pretty much the same for any 2004-2009 Mazda-3. You'll need a new reservoir from 1AAuto.com, Philips screwdriver, small flat blade screwdriver, a 10-mm socket with a ratchet and extension, and a pair of pliers.
Start by removing two clips on each side, use a Philips screwdriver, kind of unscrew the middle, which pulls out and then the clip will pull out. If you need to, use a small screwdriver to kind of pry the middle, but you remove them from one side and as well as the other side. There is a series of 8-10, 10-mm bolts that hold the lower splash pan to the bumper, remove those.
I am just going to fast forward here as we use a 10-mm socket with a ratchet to remove all those bolts.
Once you've got that loosened up, pull the inner fender back and then there is another 10-mm bolt up in there. I didn't get the best shot of it, so the arrow is pointing out right there. Use a 10-mm socket with a ratchet and you can see we are also using an extension. Remove the bolt on both sides.
On each side, there are two large headed screws, Philips screws, you use a screwdriver and remove both those and then on each side there are two more of those clips. There the little Philips headed clips that you turn out the center and then pull the clip up and out.
Right in behind the grill there are two clips that clip into the bumper bar. You pull up on those and out, pull up and then out and then go to each side and pull the bumper cover out, then the other side and then the bumper cover should come out and there are a couple of harnesses. Even though our car does not have fog lights, it still is wired for them, so you just need to press a clip and disconnect that dummy wire and then there is a few clips that you just have to use a little force and pull from their holes.
On the ambient temperature sensor, use a pair of pliers, squeeze the clip and pull the center out of its mounting bracket and then continue on over to the other side and disconnect either your fog light or the dummy wire, as well as pull the clips out and then the bumper cover is free.
To remove the headlight, there is 2 10-mm bolts, one there and one there. I am going to fast forward as Don takes those out. You remove those two lower bolts and then there is an additional bolt right up at top. That one is 10-mm as well. What we actually find is that bolt goes into a nut and it was turning on the car, so Don is locking on using a 10mm wrench on the back side to hold that nut in place. With his left hand, he is holding that wrench and with the right hand, he is removing the bolt. The last fastener is a little Philips clip again. Remove the Philips headed center and then pull the clip up and out. Now the headlight comes right out and there is a clip on the inner light. You press a little tab and it comes off, it can be a little bit difficult and you can see Don struggling a little bit here and then the other light disconnects, as well as the side marker light that twists and pulls out.
There is nothing wrong with the washer bottle on our car, we're just removing it and putting it back in to show you, so actually if your washer bottle is bad, you probably won't need to do this step, which is draining the fluid. First we disconnect the connection and then remove the hose. You can see it goes faster once we loosen up the cap. Three bolts hold it in place. Use some penetrating oil on it to make it a little easier.
Now there are three bolts that hold the washer bottle in, one there, nice and easy to get to. There's one towards the rear of the washer bottle and then you will finally have to reach in behind, inside of the inner fender cover and get the last third bolt. There's a small clip that holds the wiring harness in place, use a pair of pliers and pull that out and then the water bottle comes out and down. New water bottle back up in place and it actually has a couple of pins that snap into the body to hold it in place and then you can start in the bolts and we'll fast forward here as we tighten those up.
Install the grommet for the washer pump and then install the pump by pressing in and twisting at the same time, then get it positioned correctly and put the clip for the wiring harness back in and replug in the pump, as well as clip the hose back in and reconnect it.
We are going to reuse the fluid we drained out. We've got a funnel with a screen in it. We cleaned the pan out before we even started the project, so it is fairly clean and it's going through that screen, so we use that washer fluid. You can use fresh washer fluid if you like, then put the light back in place. Be sure to reconnect all three harnesses. There's a pin on the bottom that lines up into a hole in the body of the car, make sure you line those up and put the light in place and have that little clip ready and put it back in place.
I will speed up here as we just put the three bolts back in. Again, we do have to hold the nut on the top bolt from spinning. Put the bumper cover back in place. If you disconnect all this stuff, reconnect it and put all the wire clips back in place, as well as that temperature sensor. Now put the bumper cover back in place, start with the two clips that are underneath the grill, get those to lock in place, then come around to the side, get each side back in place.
Fast forward a little bit as we button this up. The two screws at the top of the grill, put those in and tighten them up, then there's the two clips that are a little further outside, put those in and lock them in place. Then there is on each side, the 10 mm bolt that goes up into the fender, again both sides. Put the two clips on each side that hold the inner fender to the bumper cover and then reinstall and tighten up the 10-mm bolts that hold the lower close out panel to the bumper cover.
We hope this helps you out. Brought to you by www.1AAuto.com, your source for quality replacement parts and the best service on the internet. Please feel free to call us toll-free 888-844-3393. We're the company that serves you on the internet and in person.