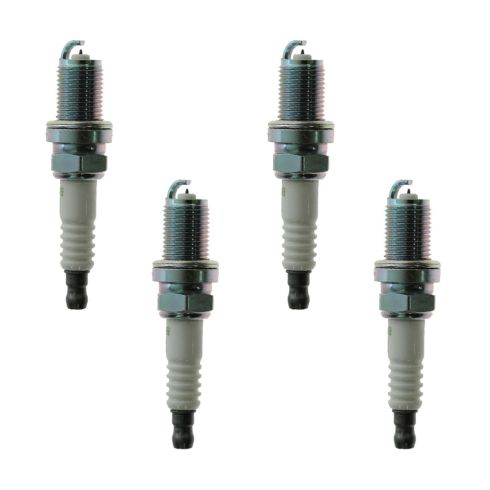
This item is backed by our limited lifetime warranty. In the event this item should fail due to manufacturing defects during intended use, we will replace the part free of charge. This warranty covers the cost of the part only.
Returns: Parts with electrical components cannot be returned once installed.
FREE Shipping is standard on Orders shipped to the lower 48 States (Contiguous United States). Standard shipping charges apply to Hawaii, Alaska and US Territories. Shipping is not available to Canada.
Expedited is available on checkout to the United States, excluding Alaska, Hawaii and US Territories as well as P.O. Boxes and APO/FPO/DPO addresses. Final shipping costs are available at checkout.
How to Replace Spark Plug Wire Set 1995-97 Honda Accord
How to Replace Spark Plugs 2003-12 Toyota Matrix
How to Replace Spark Plugs 1996-2002 Toyota 4Runner
How to Replace Spark Plugs 2004-2006 Scion xB
Created on:
Tools used
Socket Extensions
5/8 Inch Spark Plug Socket
Ratchet
1. Remove the plugs and wires
Do one plug at a time to prevent incorrect reassembly.
Unplug the wire
Use your spark plug socket, ratchet and extension to remove the spark plug.
Use an extendable magnet to help retrieve the plug.
2. Replace the plug and wire
Plug in a new wire
Check the label on the hood for the plug diode gap.
Use a spark plug socket to put your spark plug in.
Plug in the second end of the spark plug wire to your spark plug.
Repeat with the other plugs and wires one at a time.
Brought to you by 1AAuto.com. Your source for quality replacement parts and the best service on the internet.
Hi. I'm Mike Green. I'm one of the owners of 1A Auto. I want to help you save time and money repairing and maintaining your vehicle. I'm going to use my 20 plus years experience restoring and repairing cars and trucks like this to show you the correct way to install parts from 1aauto.com. The right parts installed correctly. That's going to save you time and money. Thank you and enjoy the video.
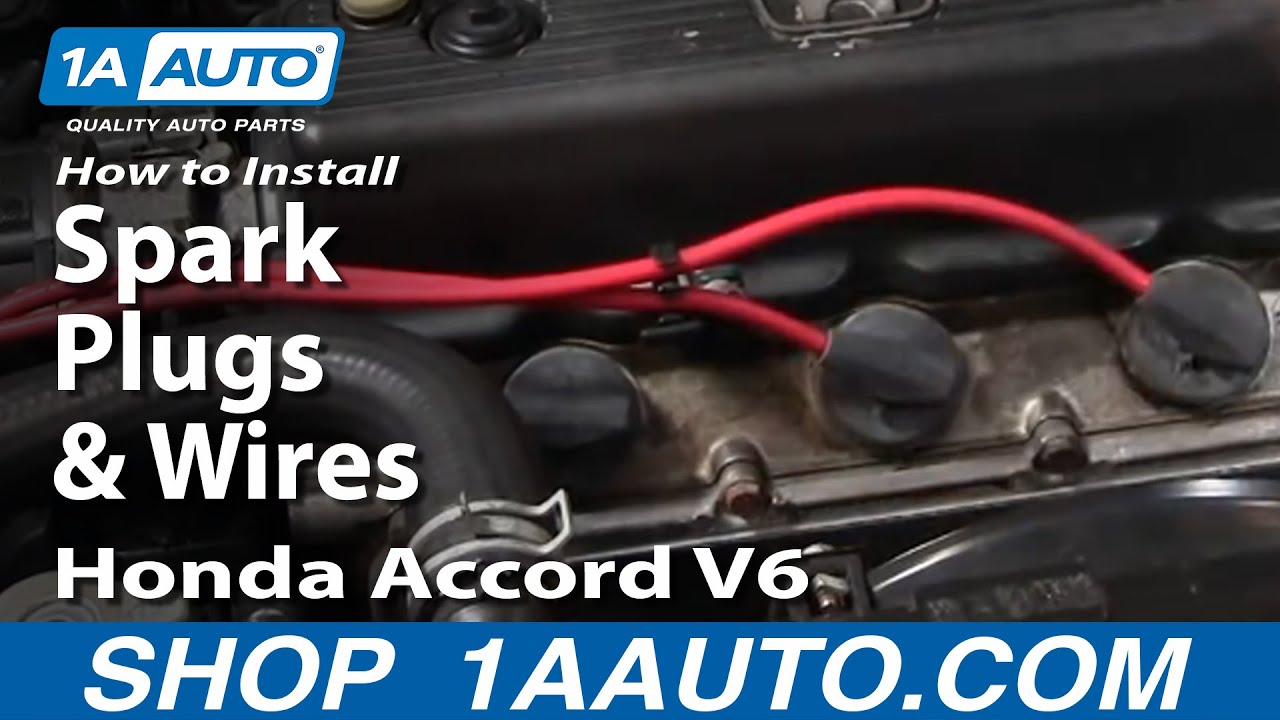
In this video, we'll be showing you how to replace the spark plugs and plug wires on this Honda Accord V6. Process is similar for most Honda V6s. Tools you'll need are a five eighth inch spark plug socket, an extension and ratchet and maybe an extendable magnet.
Replacing spark plugs and wires on these Honda V6s is actually a pretty easy job but it's also kind of easy to mess up. Many times I've heard people say, "I took all the wires and plugs out and then I put it all back together but now my car doesn't run right." That's because you have to put everything back together correctly. The key is just do them one at a time. Take one wire off and one plug off, put the plug back in and put the wire back on. Very easy to work on like I said; all these six plugs are accessible.
On the rear, you can easily see, they're all very easy to get to. What you want to do is you pull the plug out over to here and then you give it a good twist. While you're twisting, pull it up and out. That's your plug wire. You'll need a five eights spark plug socket and an extension and put it right down in there and then just take the plug out. Once it gets easy to turn, it's usually a pretty good sign that your plug is all the way out and if you have a good socket you should be able to pull it up and out. My socket is a little worn out so my plug stayed down in there.
So a good tool to have around is a little extendable magnet which goes right down in and pulls the plug out. Actually, you can see somebody that did this before. It looks like they put a little bit of a paper towel around it to hold it into their socket probably. So you got the plug out and if you're replacing the wires at the same time or if separately. Now, you want to just take the whole wire off and, again, here at the distributor, twist and pull and then the wires on this car are actually fairly new so I'm not going to replace them, but you would not put your new wire on right in place because you have to make sure that you put each wire back on the same spot on the distributor. That's why you don't want to just take them all off and then try and put them back on, you just do them one at a time. Always route the back the way they were originally.
Before your installing your plugs, you want to check the gap and according to the sticker that's on the hood, right there, it tells you what kind of plugs to have and it also tells you what the gap is supposed to be. I'm sure you can't read it, maybe you can, but it says the gap is 1.1 millimeters which translates into .044 inches. I have a little gap tool and .044 just barely gets through there. That's set correctly. You might have noticed I've skipped through a different hole, but a good way to put these plugs back in is actually with a little bit of glue. Just put a little glue on there because my socket is worn and it won't hold on to the spark plug. A little bit of glue makes it so the spark plug sticks in there. You get it down in, start turning.
You always want to make sure you could turn it by hand first because if it's difficult to turn at all then you might be cross-threading is and you don't want to do that. Okay, tighten it. You want them snugged but not too tight. Put the spark plug wire down in there, make sure it clicks. Make sure you put the wire back into its correct spot.
We hope this helps you out. Brought to you by www.1AAuto.com, your source for quality replacement parts and the best service on the internet. Please feel free to call us toll free, 888-844-3393. We're the company that here's for you on the internet and in person.
Tools used
Dielectric Grease
Torque Wrench
Drill
10mm Socket
5/8 Inch Spark Plug Socket
Ratchet
Pocket Screwdriver
Okay friends, one of the first things we need to do is get under the hood. Once you're under the hood, just make sure it's not super hot because we don't want to deal with a hot engine. Go ahead and remove this cover right here by removing your 2 10-millimeter headed nuts. Okay, there should be one right here, ours is missing. Go ahead and carefully lift that up and set it aside.
Awesome. Now that the cover is off we have a clear view of our ignition coil harness right here. We need to go ahead and squeeze on this tab right here and try to draw it off. If you can't squeeze hard enough, go ahead and use a pocket screwdriver, come right underneath this ear, carefully lift it, and then draw this away. Every time I remove an electrical connector, I always look to see if there's any funny colors, if there is it's probably corrosion and that's going to cause restriction. This looks good. Let's set it aside.
The next thing we're gonna do is remove our 10-millimeter head bolt right here. Set that aside as well. Go ahead and grab onto the coil, twist, and lift. Underneath where that coil was is where you gonna find your spark plug. You gonna need a 5/8 socket that looks like this and you want to make sure that it's a spark plug socket, the spark plug socket's going to have a little rubber gasket in there and it's gonna hold the spark plug. Go ahead and put it right down in there, turn it counterclockwise and remove the spark plug. There it is, friends.
Now that we have the spark plug out, I always like to take a peek right along the electrode area just to make sure there isn't any buildup. If there's buildup that could indicate that there's an issue going on inside the engine. This one actually looks pretty good. Now it's gonna be time to install our brand new spark plug. Go ahead and put it into your spark plug socket. Make sure it doesn't fall out. The last thing you want is for it to fall out and potentially damage the electrode area. Go ahead and carefully put it down in here. And you always want to start this in by hand. Go ahead and screw it all the way until the bottoms out. Now we gonna go ahead and make sure we torque this down. Has a crush gasket on it and you want to torque this to exactly 13-foot-pounds. To install the coil, I always like to put a little bit of dielectric grease right down inside this area here. It's going to keep the moisture away and of course along this area right there, also to keep the moisture away. Right in there. Along here. You don't need very much. Go ahead and set that down on there and press it down onto the spark plug. Let's put our bolt in there. I always want to start these in by hand of course. Now snug it up. Just bottom it out. Give it a teeny bit more. That's good. If you want to use a little bit of dielectric grease inside of your connector, we'll call it your prerogative. Aside from that, go ahead and press it on, listen for a click. Give it a nice tug, make sure it's secure. We would just do the same down the line. Now when you get down to this portion of this, you're probably gonna see that these black pieces in the way. There's a 10-millimeter bolt here and a 10-millimeter headed nut right there. We're gonna remove the pair of those and then you can lift this up and out of the way.
All right, now that we have everything nice and securely connected, we have this back on there as it should be, let's go ahead and put this cover back on. Line up the holes with the studs coming off your engine. Put on your nut, and then of course snug it up. Do the same to the other one if you have one. Okay, friends, the next thing that we need to do is carefully start up the vehicle. We're gonna come right back out here and we're gonna watch the engine. Make sure it's not shaking around. If it's shaking around, you have a misfire, there's a possibility that maybe you didn't plug something in. Aside from that, shut the hood, hop back in the vehicle, make sure there's no check engine light, and take it for a road test.
Tools used
Air Blow Gun
Dielectric Grease
Hose Pliers
Gloves
Socket Extensions
Socket Driver
10mm Wrench
10mm Socket
5/8 Inch Spark Plug Socket
Needle nose pliers
Safety Glasses
Pick
Tools used
Dielectric Grease
1/4 Inch Ratchet
Torque Wrench
Gloves
Socket Extensions
10mm Socket
5/8 Inch Spark Plug Socket
3/8 Inch Drive Ratchet
Safety Glasses
NGETK00018
In Stock
Product Reviews
Loading reviews
4.33/ 5.06
6 reviews
5 Stars
4 Stars
3 Stars
2 Stars
1 Star
5
0
0
0
1
No spark
S
July 28, 2018
Totally wrong fit for my vehicle. Had to go purchase again from local car parts store in the area. Paid double the amount. My car is weird in told part never right even when mechanic makes purchases for me.
So no spark from these plugs unfortunately
Great
Juan
May 20, 2020
Awesome performance and fast shipping
Price less
Teddy
June 27, 2020
I have the other brand on my Celica more expensive only a year hear engine excitation when pressing gas, i dicided to change this spark plug, i use to buy some parts to 1aauto.so i order this sets of spark plug for $29. After I installed them as soon you press the gas, you can tell that this Celica will back to the speed you want . Im gladd I bought this now tge car runs like when I bought it New. Thanks 1aauto.
Johnnie
July 28, 2020
Just great parts to use.
Great online Part Store
Henry
January 2, 2021
I had a problem with one of my many order and it was handle correctly. So, with that note, I encourage anyone who read my review..... Try this company at least once.
Runs like New
Josh
August 9, 2021
Had a severe misfire in my 2007 Toyota Prius. I should have read the codes but I figured it was probably the spark plugs and coil packs. My vehicle has 225,000 miles and I doubt the previous owner ever replaced them. I ordered these along with the coil packs and the shipping was super fast and came in nice packaging. Install was easy, just youtube'd a DIY video. Car runs flawless now!
Customer Q&A
Are the spark plugs already gap?June 30, 2023
Yia X
10
Yes, the spark plugs will come pre-gapped.
July 1, 2023
Meghan R
Customer service
877-844-3393
Monday - Friday 8:00am - 9:30pm ET Saturday - Sunday 8:00am - 4:30pm ET
Toyota is a registered trademark of Toyota Motor Corporation. 1A Auto is not affiliated with or sponsored by Toyota or Toyota Motor Corporation.See all trademarks.
Enter Vehicle Year Make Model
Specify your vehicle's year, make and model to guarantee fit.
Year
Make
Model
Options
Drivetrain
This part doesn’t fit a . Select from parts that fit.