WARNING: Cancer and Reproductive Harm - www.P65Warnings.ca.gov.
Lifetime Warranty
This item is backed by our limited lifetime warranty. In the event that this item should fail due to manufacturing defects during intended use, we will replace the part free of charge. This warranty covers the cost of the part only.
FREE Shipping is standard on Orders shipped to the lower 48 States (Contiguous United States). Standard shipping charges apply to Hawaii, Alaska and US Territories. Shipping is not available to Canada.
Expedited is available on checkout to the United States, excluding Alaska, Hawaii and US Territories as well as P.O. Boxes and APO/FPO/DPO addresses. Final shipping costs are available at checkout.
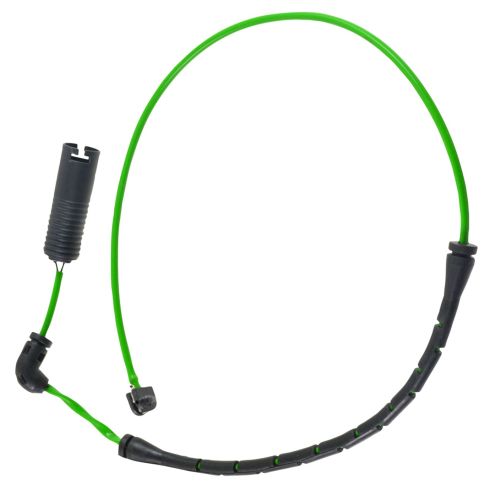
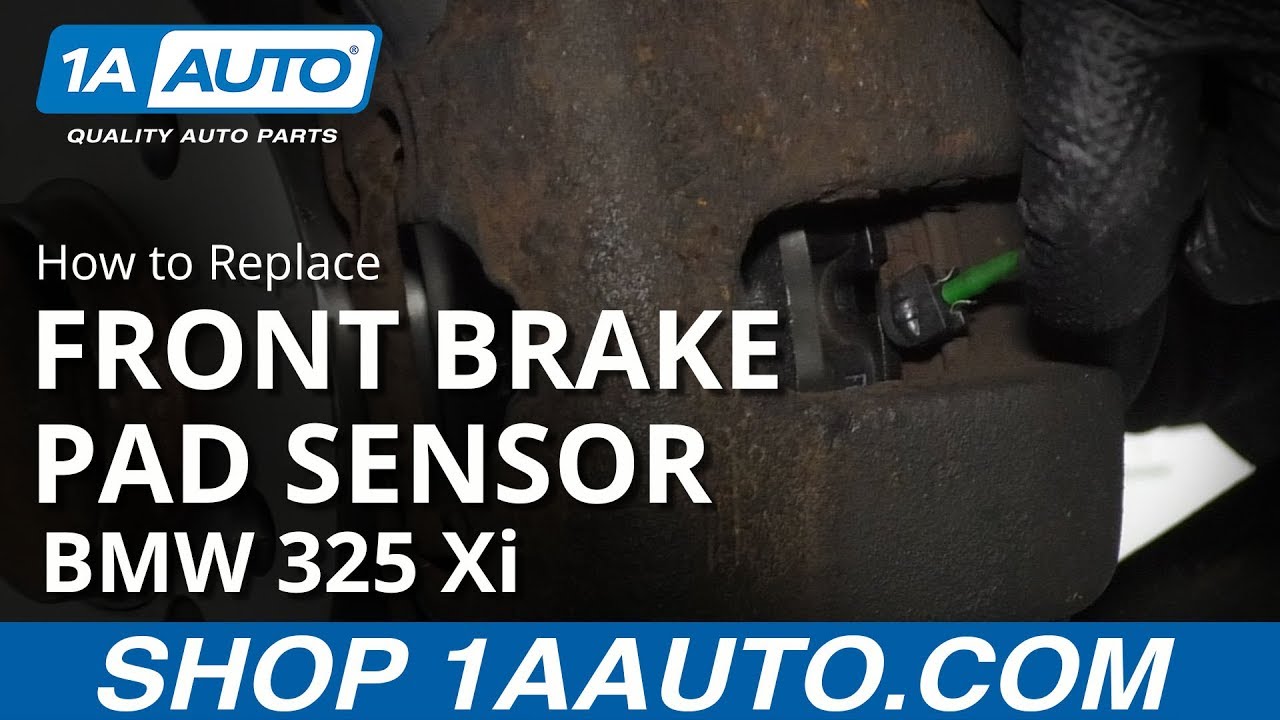
How to Replace Front Brake Pad Sensor 1997-2006 BMW 325 Xi
Created on:
Tools used
Torque Wrench
17mm Socket
Needle nose pliers
1/2 Inch Breaker Bar
1. Removing the Wheel
Partially raise the vehicle off the ground
Loosen the 17 mm lug bolts
Raise and support the vehicle on jack stands
Remove the lug bolts
Replace one lug bolt loosely
Hammer the tire from the back side if the wheel is stuck
Remove the last lug bolt and the wheel
2. Removing the Front Brake Pad Sensor
Open the brake pad sensor wire retainer attached to the brake bleeder screw
Pull the brake pad sensor out of the brake pad notch using needle nose pliers
Remove the metal clip if it does not come out with the sensor
Follow the wire and remove it from all retaining clips
Open the wire connector box door
Disconnect the sensor wire electrical connector
3. Installing the Front Brake Pad Sensor
Connect the brake pad sensor electrical connector
Clip the electrical connector into the connector box
Close the electrical connector box
Starting at the connector end, replace the wire into the retaining clips
Insert the brake pad sensor into the brake pad
Replace the wire in the retainer mounted on the bleeder screw
4. Replacing the Wheel
Set the wheel in position and line up the bolt holes
Replace the 17 mm lug bolts
Lower the vehicle with the wheel slightly touching the ground
Torque the 17 mm lug bolts in a star pattern to 95 ft-lb
Lower the vehicle completely
What's up guys? I'm Andy from 1A Auto. In this video I'm going to show you how to replace the front brake pad sensor on this 2001 BMW 325xi. If you need this part or other parts for your vehicle, click the link in the description and head on over to 1aauto.com.
All right, I'm going to loosen up these lug bolts. I'm going to use a 17 millimeter socket and a breaker bar. Loosen them up. Now I'm going to raise and support the vehicle. We're using a two post lift. If you're doing this at your house, you can use a jack and jack stands. Now I'll take these lug bolts out, just use the socket to help you get them out. I'm going to just hold the wheel with my other hand so it doesn't fall. Take the last one out then I can grab the wheel and slide it off.
Right so I'm going to use some needle nose and I'm going to just grab right here, try to squeeze this. This is that brake pad sensor, and try to pull it out. Just like that, this little spring in there, and then we can take this off here. That's the retainer that holds it on. Take this wire, this little retainer that holds it in right here. It's slotted, push it towards the vehicle and then right here, there's another one. Just grab it and pull it out. There's a little cover right here, just pull on the snaps for the cover. We can slide the connector out. Just like that. There's a little button on the back side of the connector, push that button, slide the connector off. Here's the old brake pad sensor, here's the new brake pad sensor from 1aauto.com. If you look at the connector, connector is the same. The wire length is the same and the sensor is the same. Got the same spring on it, get yours at 1aauto.com and you can do it yourself.
Right so take the new sensor, you want to line this up with the connector. Make sure it goes that same way, slide it in, lock it in place. If it seems like you're struggling to push it in, you're probably going the wrong direction. Slide this connector back in this bracket just like that and this little elbow gets slid right in there. We can close the door. Slide this into this bracket right there and same with this one right here.
Now before I put the wire through this retainer right here, I'm just going to slide it in position on that pad, just take the needle nose pliers to help assist. Just slide that in position just like that and then put this retainer right there, lock that down. Now I'm going to install the wheel. Line it up with the lug holes and I'll hold the wheel on, grab a socket with my lug bolt, get that started. All right now I can lower the vehicle and torque the lug nuts. Now I'm going to use a 17 millimeter socket and this torque wrench that we sell at 1aauto.com. I'm going to torque these lug bolts to 95 foot pounds in a star pattern so that it torques the wheel down evenly. I'll just go around again.
Thanks for watching. Visit 1aauto.com for quality auto parts shipped to your door, the place for DIY auto repair. And if you enjoyed this video please click the subscribe button.
BSA70813
In Stock
Product Reviews
Loading reviews
There are no reviews for this item.
Customer Q&A
No questions have been asked about this item.
Customer service
877-844-3393
Monday - Friday 8:00am - 9:30pm ET Saturday - Sunday 8:00am - 4:30pm ET
BMW is a registered trademark of Bayerische Motoren Werke AG. 1A Auto is not affiliated with or sponsored by BMW or Bayerische Motoren Werke AG.See all trademarks.
Enter Vehicle Year Make Model
Specify your vehicle's year, make and model to guarantee fit.
Year
Make
Model
Options
Drivetrain
This part doesn’t fit a . Select from parts that fit.