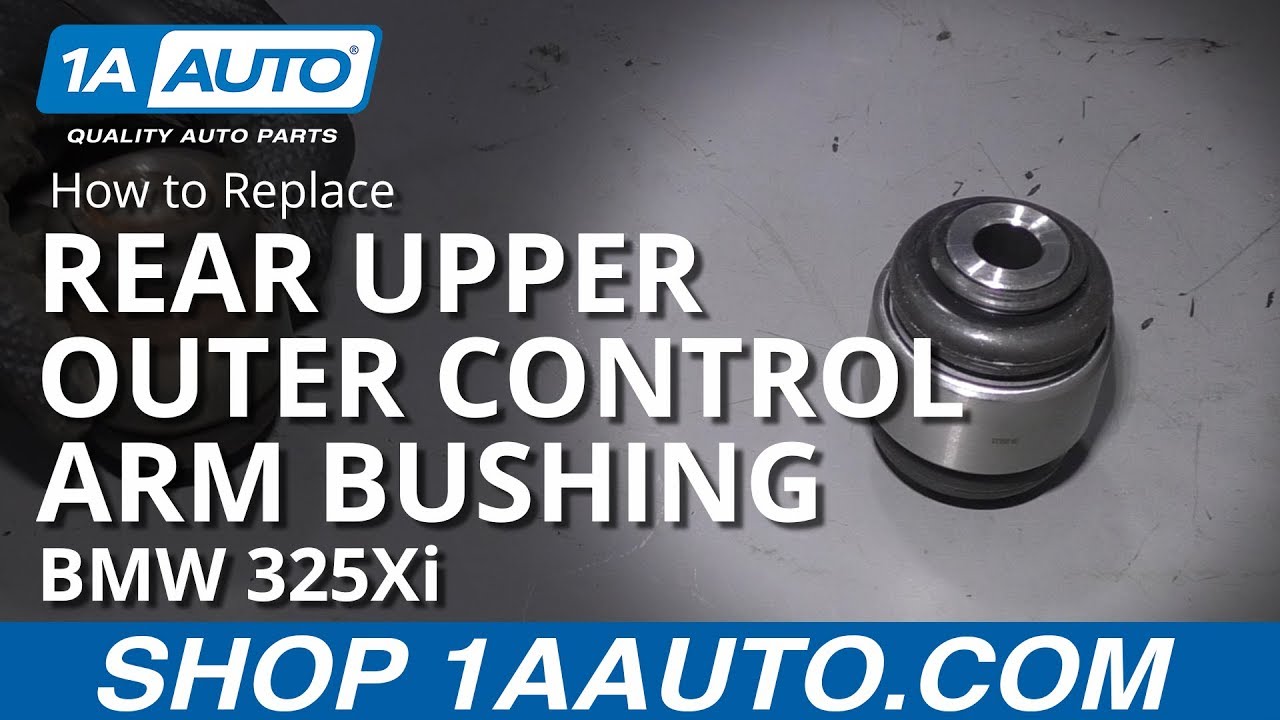
What's up guys? I'm Andy from 1A Auto. In this video, I'm going to show you how to replace the rear upper outer control arm bushing on this 2001 BMW 325xi. If you need this part or other parts for your vehicle, click the link in the description, head over to 1aauto.com.
We're going to loosen up these lug bolts. I'm going to use a 17 millimeter socket and a breaker bar. Now, I'm going to raise and support the vehicle. We're using a two-post lift. If you're doing this at your house, you can use a jack and jack stands.
Now, I'm going to take the 17 millimeter socket and extension just to take the lug bolts out. Now when I go to take the last one out, I am going to hold the wheel so that the wheel doesn't fall. Take that one out, set it aside and grab the wheel and shake it off.
After I get the wheel off, I'm just going to support the lower control arm because I want to remove the shock and just I'm going to support right here. If you're doing this on the ground, you can use a floor jack, just raise this up a little bit. Once you can get it to move a little bit, you should be able to take the shock bolt out.
Now with the lower control arm supported, I'm just going to take an 18 millimeter socket and an air gun. I'm going to take this bolt out. If you don't have any air tools, you can always use a ratchet or a breaker bar.
Take that out, slide the bolt out. Now I can lower the control arm. It's going to take the tension off the coil spring. Just going to move this brake pad wear sensor wire, just pull it out of that clip right there. Just move it out of the way. That's fine, like that. All right, that's good.
Now, we're to remove this bolt right here. There's a nut on the inside here, so I'm just going to use an 18 millimeter wrench. Hold that nut. 18 millimeter socket and then an air gun. You can use a ratchet if you don't have an air gun.
Loosen that up, get the nut off. Carefully remove this bolt. Oops. All right. Now that can separate. All right. I want to take these three 18 millimeter bolts out, right here. That's of the lower trailing arm, but first, I want to take off some of these wires. I don't want to, I want to give him a little more slack because I don't want to break them when I'm taking those out.
Slide those out, out of the clips. And those are the ABS wires and the break sensor wires, brake pad, sensor wire. Now I'm going to use an 18 millimeter socket and my air gun. You can use a breaker bar if you don't have an air gun.
I'm just going to loosen these up a little bit first. I'm not going to take it out completely. Once they're all loose, then I'll take them out.
Pull that out, that's why I left one of them in. So if this falls, it's not going to hit anything or hit myself. Now, I can support this, take this last one out. There we go. I'm just going to get a pry bar, get underneath this spring. Try to slide this out. Just be careful. You don't want it to hit you. Just like that.
Get the spring out and makes it a little easier to get this upper control arm out of the way. Just take the pry bar and get it underneath here. What I could do, instead of taking the spring out, I could've taken the lower control arm bolt out. I could take this bolt out, but then you're going to mess with your alignment adjustments, which you should have the vehicle aligned anyway after you do a job like this.
But what you can do is if you take the spring out and then you take this weigh bar link off, then you can move this upper control arm out of the way and it's easy to get that bushing out.
On the top side of the bolt, I'm going to use a 17 millimeter wrench to hold the bolt and then underneath the car I'm going to use a 13 millimeter socket extension and an air gun, or you could use a ratchet, then take the nut off.
Oops. Going to take that side off, and then also this other side, right here. There we go. With that loose, we can gain access to this bushing right there. So this is rusted pretty bad, so I'm just going to spray this down with some rust penetrant. Get in there a little bit, let it soak for a little while, that's going to help push the bushing through.
So to get this bushing out what you actually need as a special kit that can push the bushing out and into this cup. So we have a cup that goes on the outside that's bigger than the bushing, and then a cup on the inside that's the same size as the bushing, then a threaded rod with bearings on it, and that's going to push the bushings straight through into this cup. So I'll just do this. This nut on here.
All right. So that's looking pretty good, so get that on. If it seems like the brake caliper is in your way, you can take the brake caliper off. It looks like it's going to be okay on this one. So now I'm just going to support, at least hold the threaded rod from spinning. For this tool, it's an eight millimeter socket to use and a ratchet. And then I'm using a 15/16 wrench. Tightening the tool down and tools are going to vary depending on the tool that you get.
And just tighten this down. Should suck the bushing right through. As I tighten this down over here, it's sucking the bushing straight through. I'm just going to make sure this piece right here is smaller than that knuckle right there.
You should know, once you get to that point, if it stops, then this piece probably is too big. As you're pressing this through, just keep in mind the tension on this brake line. You don't want this too tight. You could support underneath this just to keep that loose. Just keep that in mind.
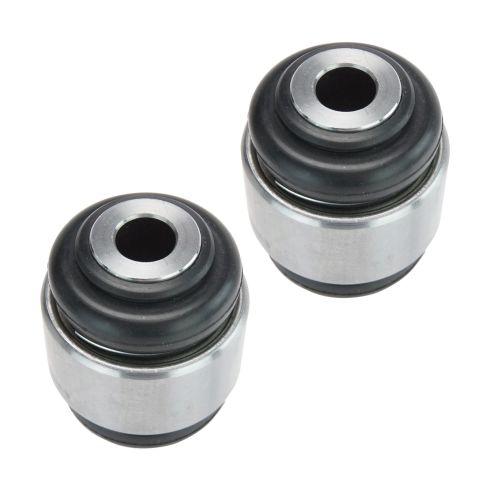
All right, so that's going all the way through and I can loosen up the tool. The bushing is right inside there. And there it is. Here's the old part. Here's the new upper control arm bushing from 1aauto.com. As you can see, the size is the same, they're set up the same, has the same boots. Get yours at 1aauto.com and you'd be ready to rock and roll.
So now I want to set up the tool a little bit different. This was the piece that pushed the bushing through. So you want that to push the bushing in. This is going to go over here and you want it to go over that seal, maybe twist it a little bit, because we want it tight up against this piece right here. So that pushes it in. And then this, you want to make sure this is a little bit bigger than that because you want this to go in and just a little bit further. So get this set up.
Then I'm pretty much just going to do the opposite of taking it off. It's just going to press in. As I push this in, I'm just going to watch this area and you kind of want it exactly how it was when you took the old one out. So just a little bit showing of the bushing.
Once you start getting close, you can loosen up the tool and just check the other side and see how close you are. So I still have a ways to go so we just tighten up the tool again.
Okay, so I will set up the tool and that side looks good and the other side looks the same. So that's good. Take the tool out. Now we're going to install these bolts for the sway bar link. Now, I'm replacing the bolts because the bolts were pretty rusty, so the size is going to be different. Normally, you'd have a 17 millimeter on top and a 13 down below. I have 12 and 12 here, so we'll just put these on.
So I'm just going to use an electric ratchet and tighten these down and then use a wrench underneath. Do the same on this side. Now, I'll just snug these down with a regular ratchet. That's good. Same on this side. That's good.
Take the spring, make sure you have this cone bushing on the bottom, and then open one up top. And now for taking the spring out and putting it in, we had this bolt out right here and then the bolts out for this lower control arm here. That just made this a lot easier to get the spring in and out.
I have seen other people take and put a floor jack in between here and push down on this upper control arm, but I feel like that puts a lot of strain on the rear axle and I feel like it might do some damage, so be careful doing that. Not to say it's impossible to do it that way, but so we'll get this lined up.
Push this in. I'm going to take a pry bar. Try to slide this into position. I'm just going to take a longer pry bar, pry right above the sway bar link in the frame, just pry it down. Just try to get over that piece right there. And push the spring in.
There we go. Be careful with your fingers. And that's good, and that's good down below and it's good up top. We want to get this lined up with the upper control arm. Take the bolt. I put a little copper anti-seize on the bolt so sometimes you could take a pick or your screwdriver, pick works a little bit easier. Get that to line up and then take your bolt. Get your bolt started.
There we go. Then I can just take a 18 millimeter socket, electric ratchet, tighten this down. That's all the way through and we can put the nut on the other side. Get that nut on. Take an 18 millimeter wrench. Just tighten this up. That's good.
Then I'll take a torque wrench, 18 millimeter socket, 18 millimeter wrench, and torque this to 81 foot pounds. Right, now I'm going to raise this trailing arm into position right there and then put the bolts in. Just get the bolts started. You got those other front two bolts in, and now raise this up, get this back one in. I can snuggle them all down with a 18 millimeter socket and the air gun.
I'm just loosening this pole jack, get that out of the way. And I'll take a 18 millimeter socket and a torque wrench, tighten these to 57 foot pounds. There we go. Now take this ABS wire and break sensor wire and reposition these back in the clips. And same with the clips on top. You can get these from above if you can't get them from down below. With a screw jack, I'm just going to get underneath the trailing arm right here.
You could probably put a floor jack underneath right there. I'm just going to raise this up a little bit more so that I can get the shock bolt in, that lined up. Get that started. Then I'm going to tighten this bolt down with a torque wrench and an 18 millimeter socket. Tighten this down to 74 foot pounds.
Anytime you do any kind of suspension work like what we did today, it's a good idea to go down to your local shop and have the vehicle aligned, that way the tires go down the road straight and you don't have premature tire wear.
Now I'm going to take the wheel, slide it in position, make sure the hole is lined up and hold the wheel. I'm going to take my 17 millimeter socket and the lug stud and get one started, then I can grab the other ones.
Now I'm going to use a 17 millimeter socket and a torque wrench and I'm going to torque these lug bolts in a star pattern to 95 foot pounds. Go right around again, just make sure everything's tight. Good to go.
Thanks for watching. Visit 1aauto.com for quality auto parts shipped to your door, the place for DIY auto repair. And if you enjoyed this video, please click the subscribe button.