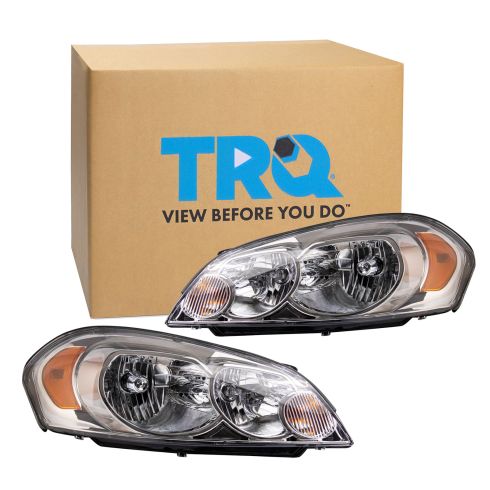
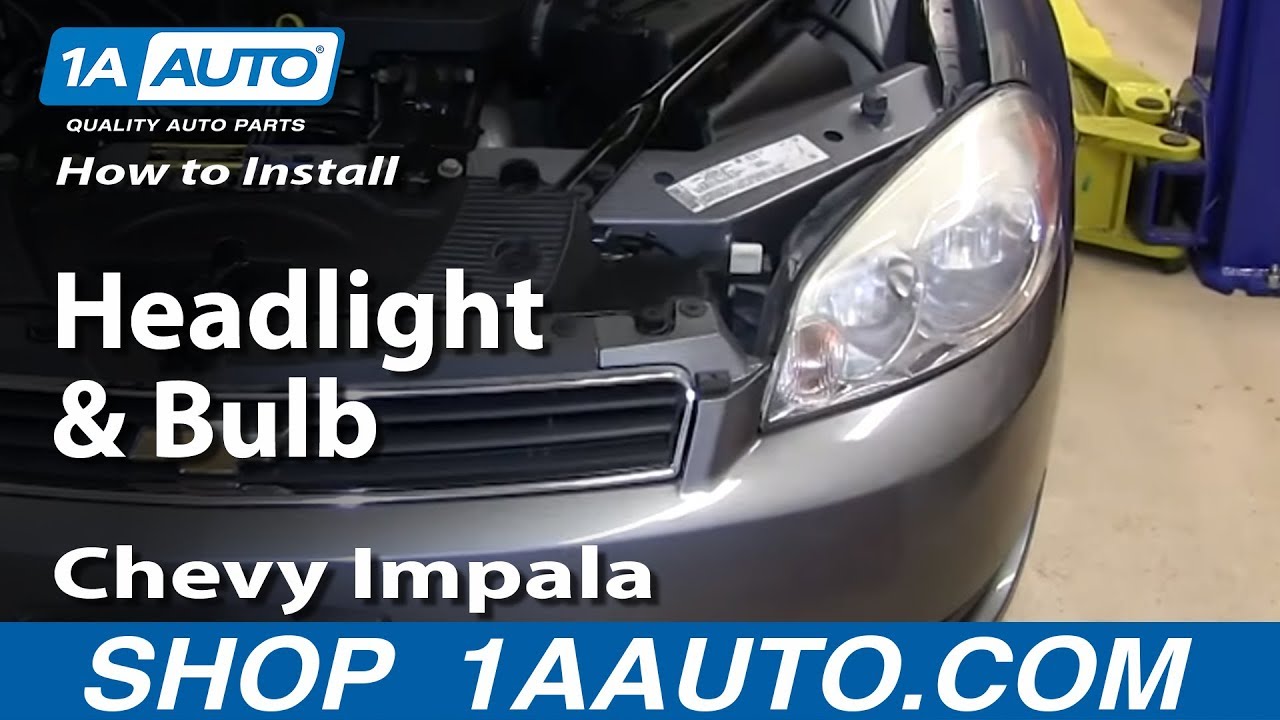
Kit Includes: (1) Passenger Side Headlight (1) Driver Side Headlight
Lens Material: PC (Polycarbonate)
Bulb Technology: Halogen
Quantity: 2 Piece
Grade Type: Regular
Specification
Side Location
Driver & Passenger Side
Product Features
Direct Fit - No vehicle or wiring modification necessary
DOT, SAE, and FMVSS Compliant - Meets on-road use regulations
Matching set for a restored look
Assemblies may include halogen or incandescent test bulbs that should be replaced before installation.
Item Condition:New
Attention California Customers:
WARNING: This product can expose you to chemicals including Chromium (Hexavalent Compounds), which is known to the State of California to cause cancer, and birth defects or other reproductive harm. For more information, go to www.P65Warnings.ca.gov
Lifetime Warranty
This item is backed by our limited lifetime warranty. In the event that this item should fail due to manufacturing defects during intended use, we will replace the part free of charge. This warranty covers the cost of the part only.
How to Replace Headlight 2006-13 Chevy Impala Sedan
Created on:
Tools used
7mm Socket
Ratchet
1. Removing the Headlight
Remove the 7mm bolt.
Pull the white clip up and out.
Pull the headlight out.
Disconnect the harness.
2. Replacing the Bulbs
Twist the socket out.
Pull the bulbs straight out and push the new bulb in.
Twist the socket back in.
For high and low beams twist off the cap to access the sockets. Disconnect the harness on these two to remove the bulbs.
3. Replacing the Headlight Assembly
Connect the harness.
Push the headlight into place.
Replace the 7mm bolt.
Replace the white clip by lining it over the hooks and pressing down.
Brought to you by 1AAuto.com your source for quality replacement parts and the best service on the internet.
Hi. I'm Don from 1A Auto. I hope this how to video helps you out, and the next time you need a part for your vehicle think of 1AAuto.com. Thanks.
In this video we're going to show you how to replace a headlight assembly on a 2006 Chevy Impala. It's virtually the same for the right side and the left side as well as model years 2006 through 2012. In order to do this you'll need a 7mm socket and socket wrench as well as a new headlight assembly from 1A Auto. We'll also show you how to service the bulbs inside the headlight assembly as well. We're going to be doing the driver side headlight, it's basically the same for the passenger side.
Locate the one 7mm fastener right there, as well as the white clip right there. I'm using a 7mm deep socket with a socket wrench to remove that fastener there. I'll go ahead and fast-forward as I do that. Once you got that out, go ahead and pull upon that white bar, and pop it off the two hooks on the back of the headlight assembly. Go ahead and pull out your headlight assembly.
In this clip here, we're going to show you how to service the bulbs, and their all pretty much the same style of installation. In taking it out, you're just going to twist the bulb socket out of the housing, and once you get them out, you're going to pull the bulbs out. Disconnect them from the harness, and that's true for all the bulbs there. See, this one just pulls right out and snaps back in. The high-beam and low-beam which are the next two bulbs are behind two plastic covers. Those are the same where you have to turn them to the left, and once you do that you'll be able to access the bulb and the harness. It's probably easier if you unclip the harness first, and then twist the bulb out. It's going to go back in. It's got three prongs. They need to line up with the housing of the headlight assembly. Once you've done that, twist it, tighten it, and clip your harness back in. It's going to be the same for the next bulb. The last bulb is going to be just like the first where you twist it out and pull the bulb from the socket.
If you're looking to replace the whole headlight assembly go ahead and disconnect your connector. Here's a side-by-side of the old part that's faded and pitted, and then the new part from 1A Auto that you see has a perfectly clear lens. It's ready to be installed just as it is. To reinstall, first plug in your harness to the connector on the back of the headlight assembly. Then I found that it's easiest to line up the three tabs or recognize that there's two there that go in those slots, and that one on the back. That goes into the inner fender well. If you put the bottom in first, it's a little bit easier. You can see I'm kind of having trouble with it right there. If you slide in the bottom first it should go ahead and fit right in just like that. Go ahead and reinstall that 7mm screw. I'll fast-forward as I do that. Now go ahead and take that white long clip that you took out. Align it over that taps of the hooks that went on the back side of the headlight assembly and push down.
We hope this helps you out. Brought to you by www.1AAuto.com. You source for quality replacement parts and the best service on the internet. Please feel free to call us toll free 888-844-3393. We're the company that's here for you on the internet and in person.
HLA95277
In Stock
Product Reviews
Loading reviews
5.00/ 5.04
4 reviews
5 Stars
4 Stars
3 Stars
2 Stars
1 Star
4
0
0
0
0
1A Auto is A1 in my book !!
Brian
August 25, 2023
The quality was great and the fit was perfect !! Easy to install !!! Very Pleased !!! Packaging was solid delivery was quick !!! So what is not to like !!!
Better than OEM!
William
July 2, 2024
Excellent product! Look better than the OEM products. Installation was as simple as 1-2-3. The owner of the vehicle thought she was given a new car!
Doris
September 16, 2024
Order these came within 3 days installed them and have no issues
Well worth the money!
Carol
September 29, 2024
Very secure packaging.Prompt shipping and best of all really dresses up my old Chevy Impala! It did come with test bulbs so I did replace them with new bulbs.
Customer Q&A
Does it come with the bulbs?September 13, 2024
Zhivago M
10
NO THEY DO MOT
September 13, 2024
RODNEY G
10
Yes
September 16, 2024
Doris W
10
New light bulbs are not included with this assembly. Occasionally, manufacturers leave test bulbs in the lights. If you receive test bulbs, you'll want to replace them with your original bulbs or with new bulbs.
September 16, 2024
Nick R
Does the life time warranty cover the lens if it deteriorates or clouds up over time?November 27, 2024
Frank E
10
Yes, petina or yellowing is covered under our warranty.
December 2, 2024
Jessica D
Customer service
877-844-3393
Monday - Friday 8:00am - 9:30pm ET Saturday - Sunday 8:00am - 4:30pm ET
Chevrolet is a registered trademark of General Motors Company. 1A Auto is not affiliated with or sponsored by Chevrolet or General Motors Company.See all trademarks.
Enter Vehicle Year Make Model
Specify your vehicle's year, make and model to guarantee fit.
Year
Make
Model
Options
Drivetrain
This part doesn’t fit a . Select from parts that fit.